Loading ...
Loading ...
Loading ...
Page 9
SET UP & USE
INSTALLATION GUIDE
LOCATION
1. Examine the dryer after unpacking. Check for damage such as a misaligned door,
broken door or dent in the cavity. If any damage is visible, DO NOT install, and
notify your dealer immediately.
2. Check to ensure that you have four (4) leveling legs.
3. Install the dryer on a flat, level surface. If the surface is uneven, adjust the leveling
legs.
4. Install the dryer away from direct sunlight; direct sunlight may aect the acrylic
coating, plastic and electrical components. The room temperature should not fall
below 32°F.
5. Check the ventilation. DO NOT block the air vents, especially when the dryer is
installed on a carpeted floor. If the air vents are blocked during operation, the
dryer may overheat and eventually fail. For proper ventilation, allow at least 5
inches of space between the dryer top, sides, rear, and adjacent surfaces. Ensure
adequate space for ventilation. It is recommended that the unit be vented outdoors.
(Ventilation Kit not included.) A ventilation kit with a 4" diameter duct can be
purchased at your local hardware store.
6. Install the dryer away from heating appliances and water taps. Keep the dryer
away from heat, steam, or splashing liquids. Never splash water onto the control
panel. These things can adversely aect the wiring and electrical conduction
contacts of the dryer.
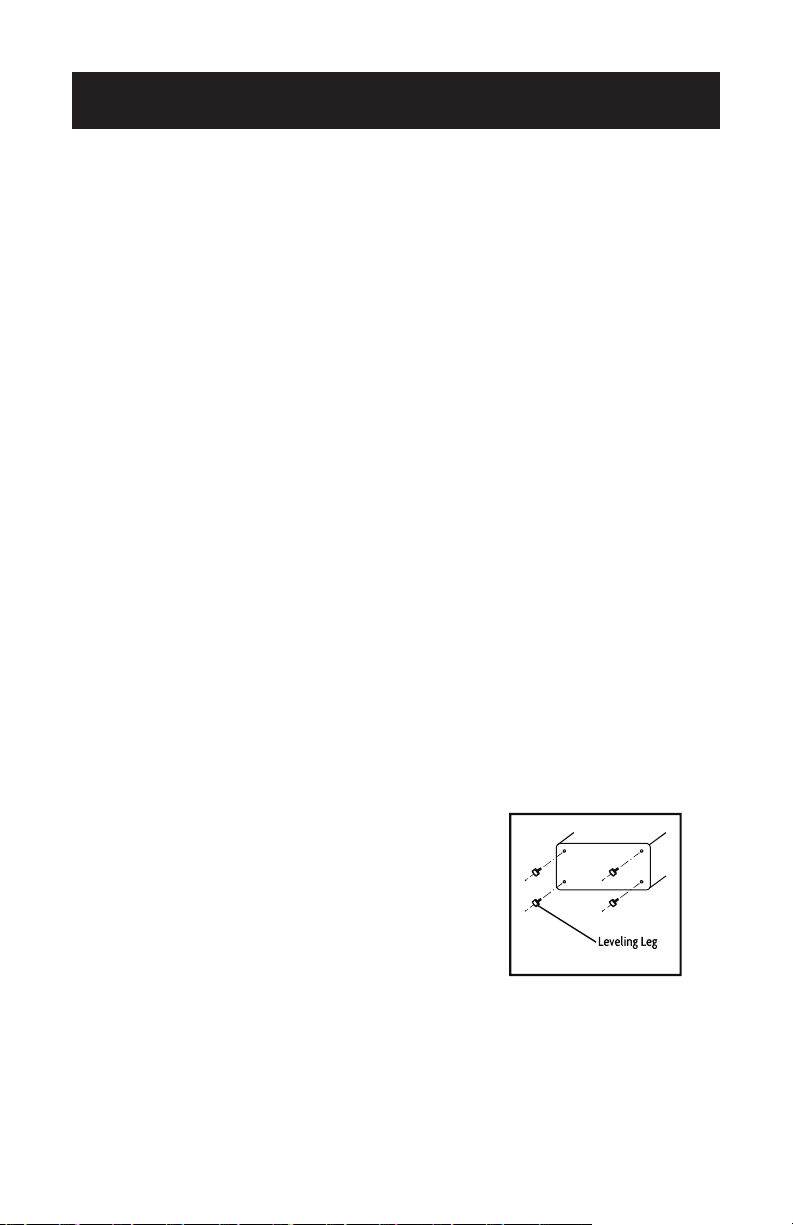
ADJUSTING THE LEVELING LEGS
The dryer is shipped with a bag containing the user
guide and four(4)leveling legs. See the illustration
to the right to install and adjust the leveling legs.
If the dryer is placed on an uneven or weak surface,
noise or vibrations will occur from the appliance. If
the floor is uneven, adjust the height level of the
leveling legs accordingly. DO NOT insert pieces of
wood or any other objects under the legs.
Loading ...
Loading ...
Loading ...