Loading ...
Loading ...
Loading ...
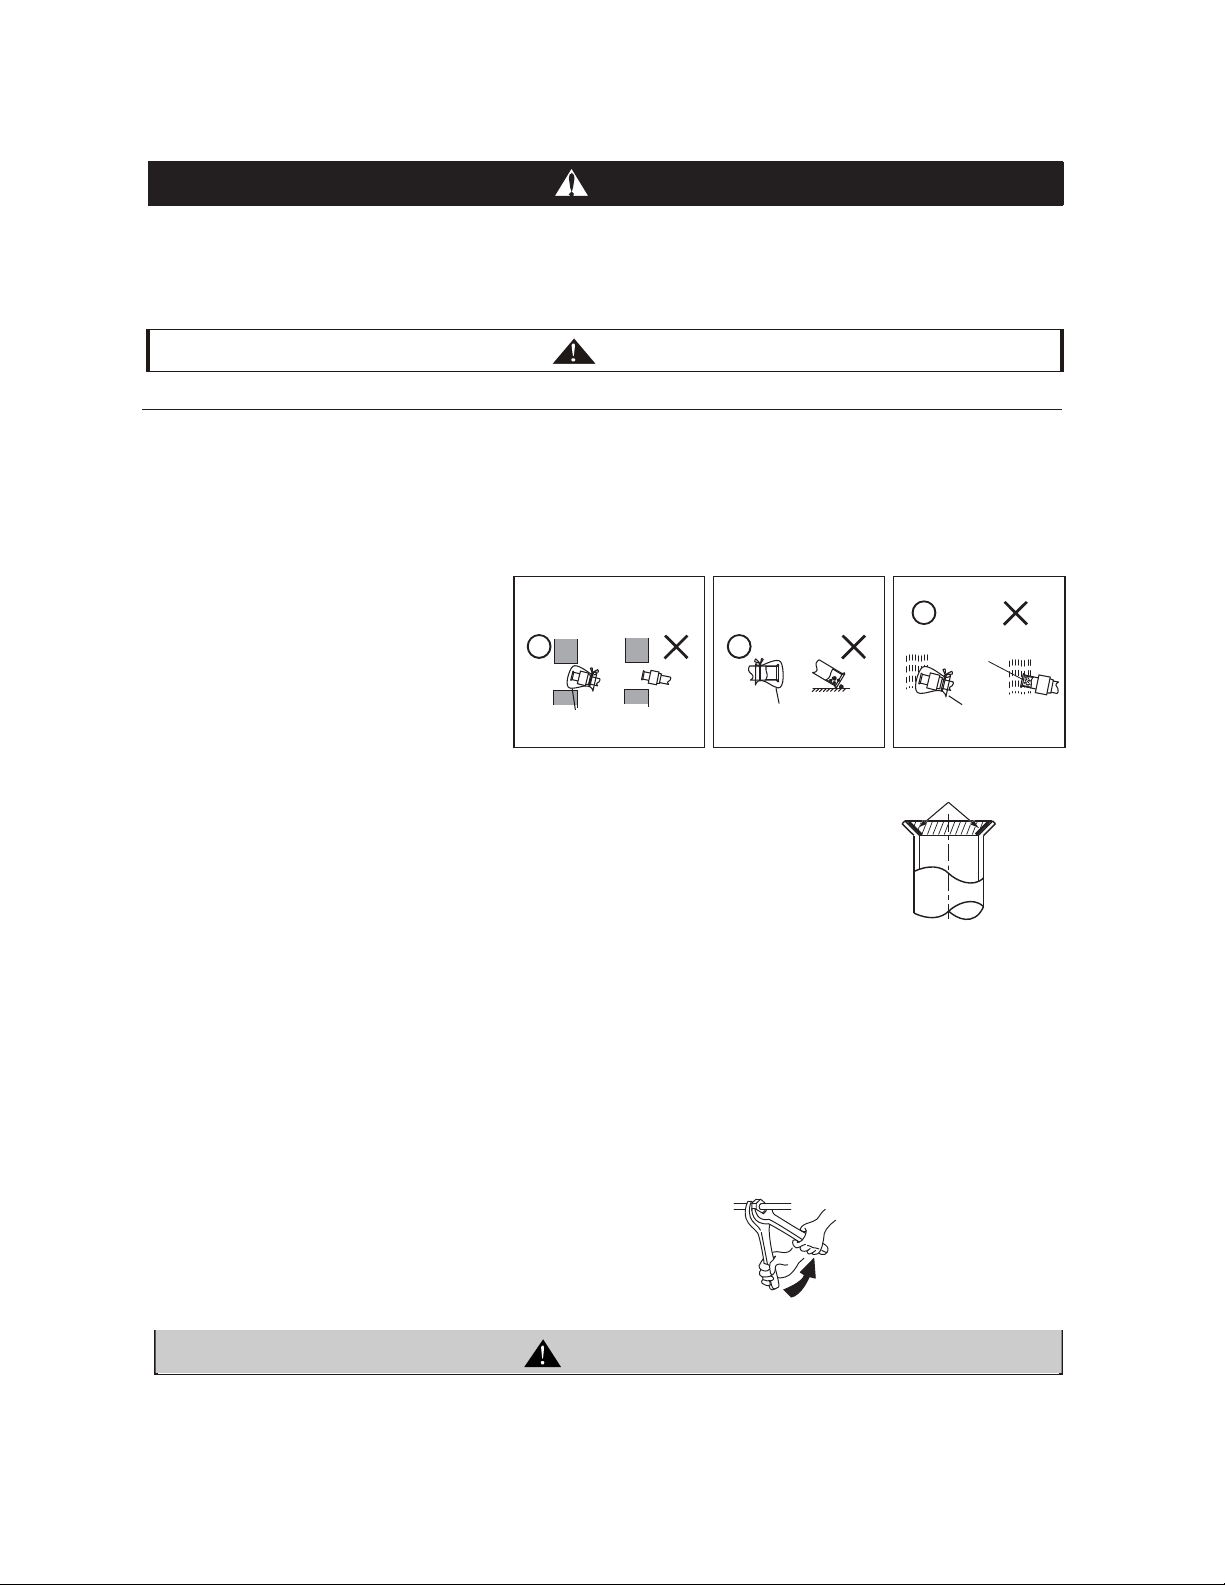
When installing pipe through the wall, secure
a cap at the end of the pipe.
Correct Incorrect
Hole Hole
Attach a cap or vinyl tape.
Do not place the pipe directly on the
ground
Correct Incorrect
Attach a cap or vinyl tape.
Correct
Incorrect
Rain water can enter
Attach a cap or
vinyl bag with
rubber band.
with two
●Use refrigerant R410A in the refrigerant cycle.
Do not charge oxygen, acetylene or other flammable and poisonous gases into the refrigerant cycle when
performing a leakage test or an air-tight test. These types of gases are extremely dangerous and can cause
an explosion. It is recommended that compressed air, nitrogen be used for these types of tests.
●Check to ensure that no pressure exists inside the stop valve before removing the flange
5.Refrigerant Piping Work
5.1 Piping Materials
(1) Prepare copper pipes to be supplied in the locality.
(2) Select the piping size from the Technical Catalog.
(3) Select clean copper pipes. Make sure there is no dust and moisture inside the pipes. Purge pipes with nitrogen
●Cautions for Refrigerant Pipe Ends
●Cautions for Piping Connection Work
(1) Connect the indoor/outdoor units with refrigerant pipes. Fix the pipes and pay attention
(2) Apply refrigerant oil slightly on the sheet surface of the pipe and flare nut before the
NOTE:
Refrigerant oil is field-supplied.
●When tightening the flare nut, use two
.
Apply Refrigerant Oil
DANGER
CAUTION
Ensure to connect the piping among the units in the same refrigerant cycle.
Do not apply excessive force to the flare nut when tightening. Otherwise, the flare nut may crack due to
aged deterioration and refrigerant leakage may occur. Use the specified tightening torque.
11
【Model: FVC68D】
WARNING
or dry air to remove any dust or foreign matters before connecting pipes. Do not use any tools which produce a
lot of swarf such as a saw or a grinder.
not to contact with weak materials such as ceiling. Otherwise, vibration of piping may
give off abnormal sound.
flaring work. Then tighten the flare nut by two spanners with the specified tightening
torque. Perform the flaring work on the liquid piping then on the gas piping. Check
the gas leakage after the flaring work.
(3) In case the temperature and humidity inside the ceiling exceed 80.5°F/RH80%, apply additional insulation
(approx. 3/8in. thickness) to the accessory insulation. It prevents dew condensation on the surface of the
insulation (refrigerant pipe only).
(4) Perform the air-tight test (601psi for the test pressure).
(5) Perform cold insulation work by insulating and taping the flare connection and reducer connection. Also
insulate all the refrigerant pipes.
Loading ...
Loading ...
Loading ...