
TABLE OF CONTENTS
◆ INSTALLATION & OPERATION…………………….……………………… 1
Cabinet location and installation guidelines…………………………………. 1
Electrical ………………………………………………………………………... 3
◆ SAFETY / WARNINGS ………………………………………………………. 5
◆ REGULAR MAINTENANCE ………………………………………………… 6
Cleaning the condenser coil………………………………………………….... 6
Cleaning the fan blade and motor …………………………………………..... 6
Cleaning the interior of unit…………………………………………………….. 6
◆ TROUBLE SHOOTING……………………………………………………….. 7

1
IMPORTANT SAFETY INSTRUCTIONS, READ CAREFULLY
AND KEEP FOR FUTURE REFERENCE
INSTALLATION & OPERATION
IMPORTANT!!! PLEASE READ BEFORE INSTALLATION
■ If the unit has recently been transported. Please, let unit stand still for a
minimum of 24 hours before plugging it in.
■ Make sure that the unit drops down to desired temperature before loading
the unit with product.
■ Maker sure that there is proper ventilation around the unit in the where it will
operate.
■ Make sure all accessories are installed before plugging the unit in.
■ Please read through the manual in its entirety.
CABINET LOCATION AND INSTALLATION GUIDELINES
■ Install the unit on strong and leveled surfaces
-unit may make unpleasant noises if surface is uneven
-unit may malfunction if surface is uneven
-If the floor is not flat, please use something to make sure the base of this
unit in horizontal level
■ Install the unit in an indoor, well-ventilated area
-unit performs more efficiently in a well-ventilated area
-for best performance, please maintain clearance of 10 cm on the back of
the unit, 30 cm on the top of the unit, at least 10 cm space around the
unit
-outdoor use may cause decreased efficiency and damage to the unit
■ Avoid installation in a high humidity and/or dusty area
-humidity could cause unit to rust and decreased efficiency of the unit
-dust collected on condenser coil will cause unit to malfunction. Clean the
condenser at least once a month with a brush or clean cloth
■ Select a location away from heat and moisture-generating equipment
-high ambient temperature will cause the compressor to overwork,
leading to higher energy bills and gradual breakdown of the unit
2
■ The appliance shall not be exposed to rain, sun
CAUTION: PROBLEMS CAUSED BY
UNPROPER POSITION OF UNITS ARE
NOT COVERED BY WARRANTY
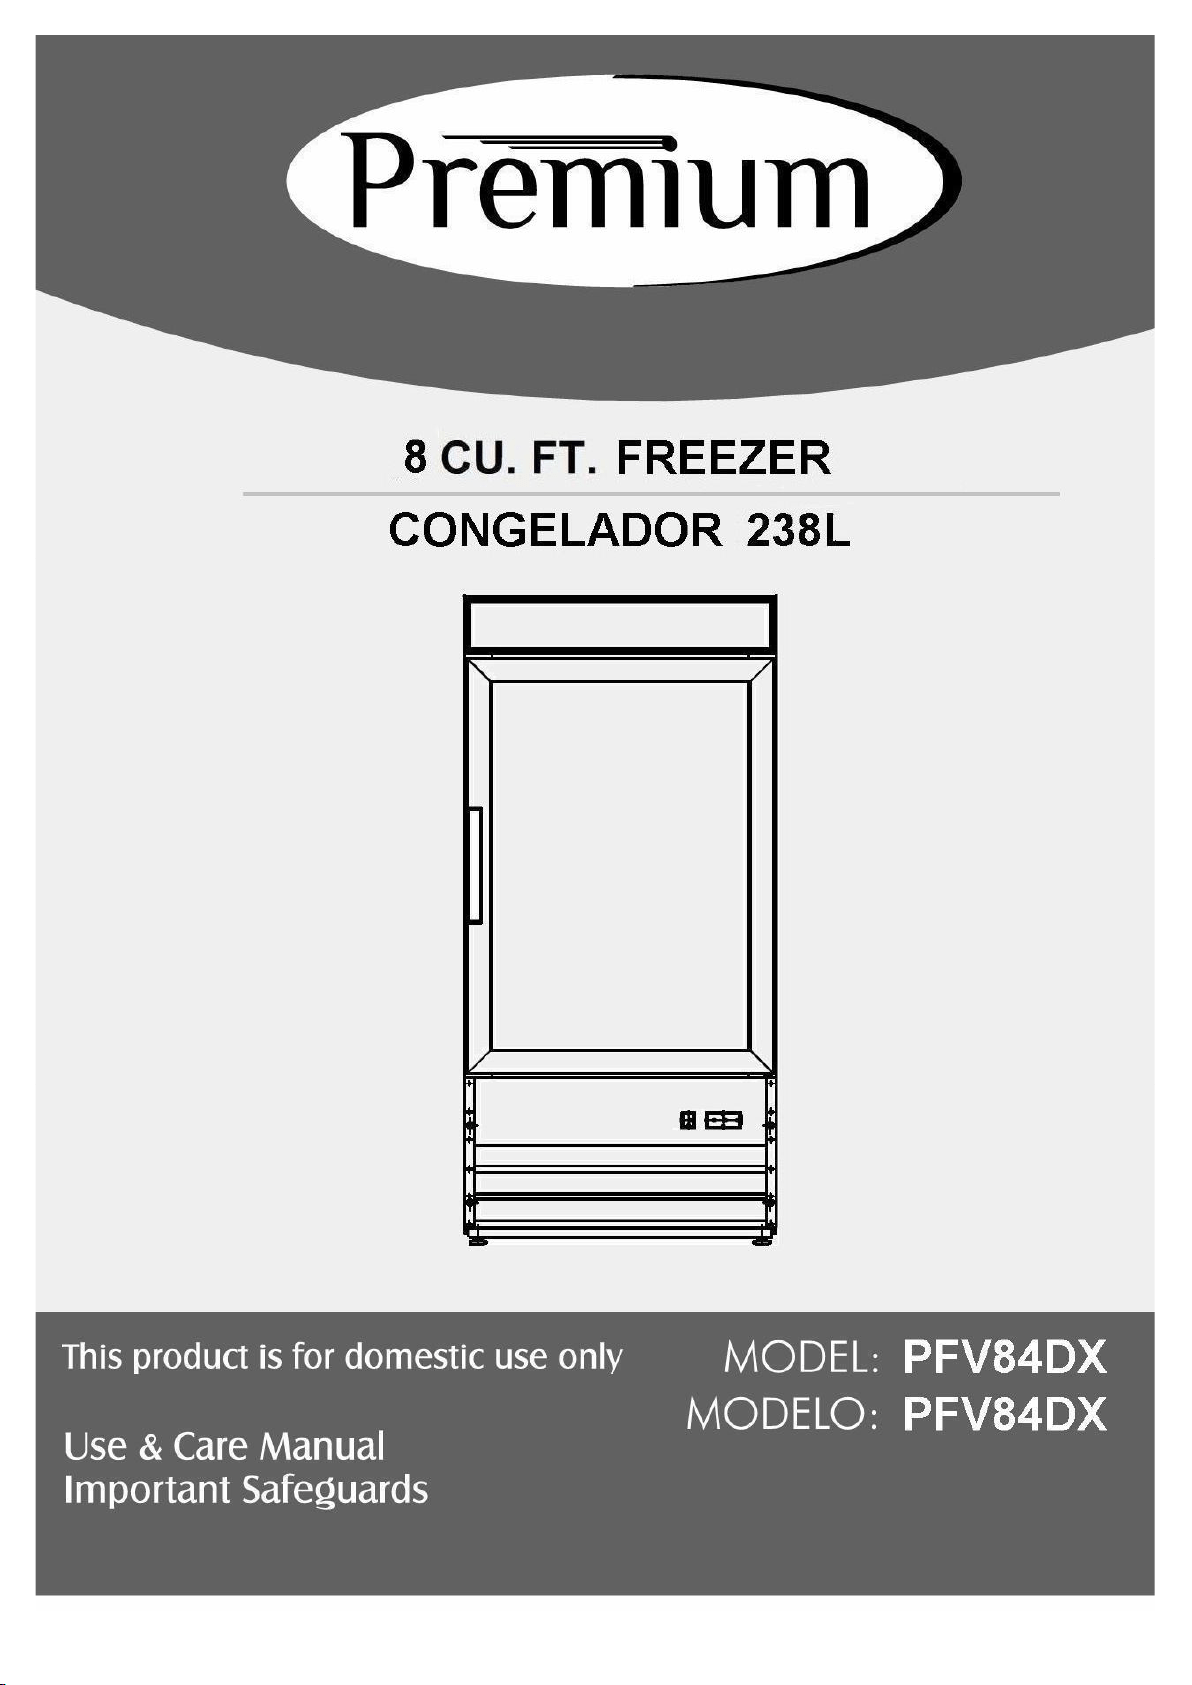
■ Shelf installation
A. Hook shelf clips onto clip hanger
B. Place shelves on shelf clips making sure all corners are seated properly
C. Hook the plastic frame of price tag on shelves
3
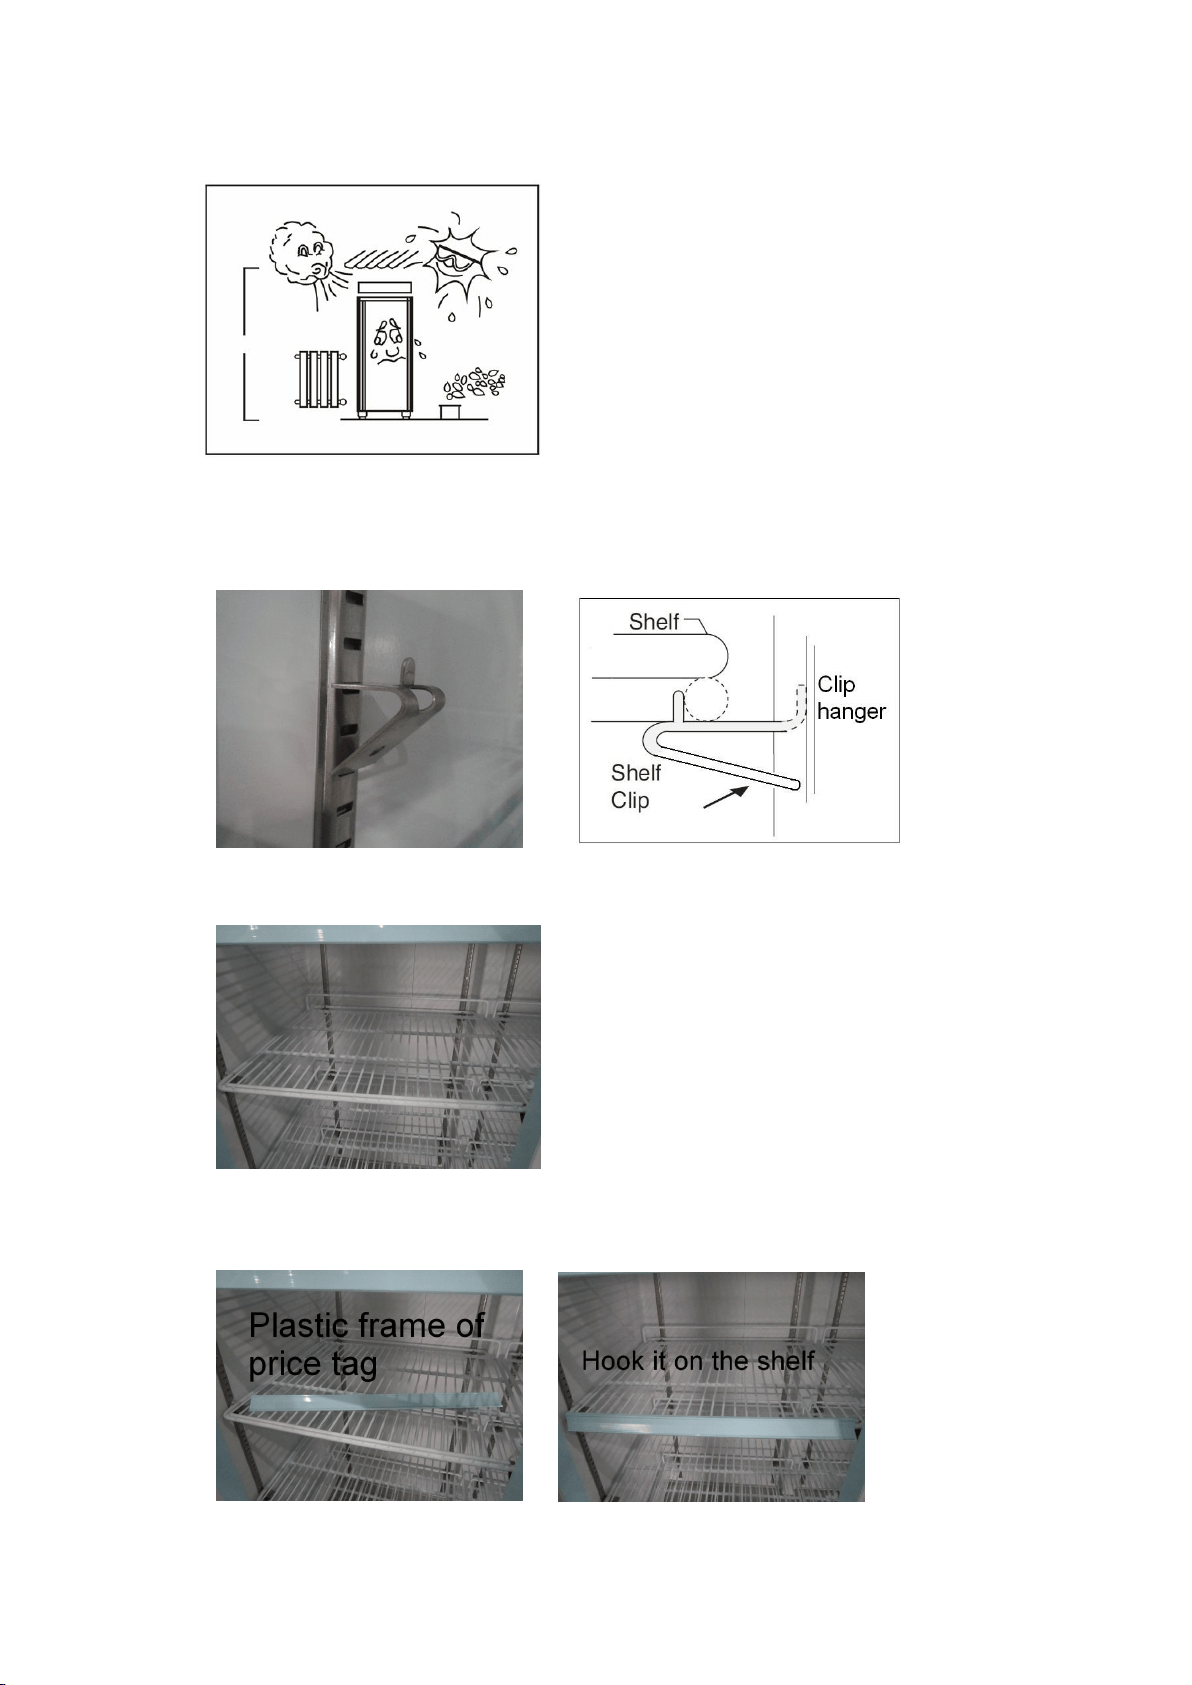
■ Remove the glass door bracket from the door before use
■ Caster or adjustable feet are available for the units
-- Adjustable feet
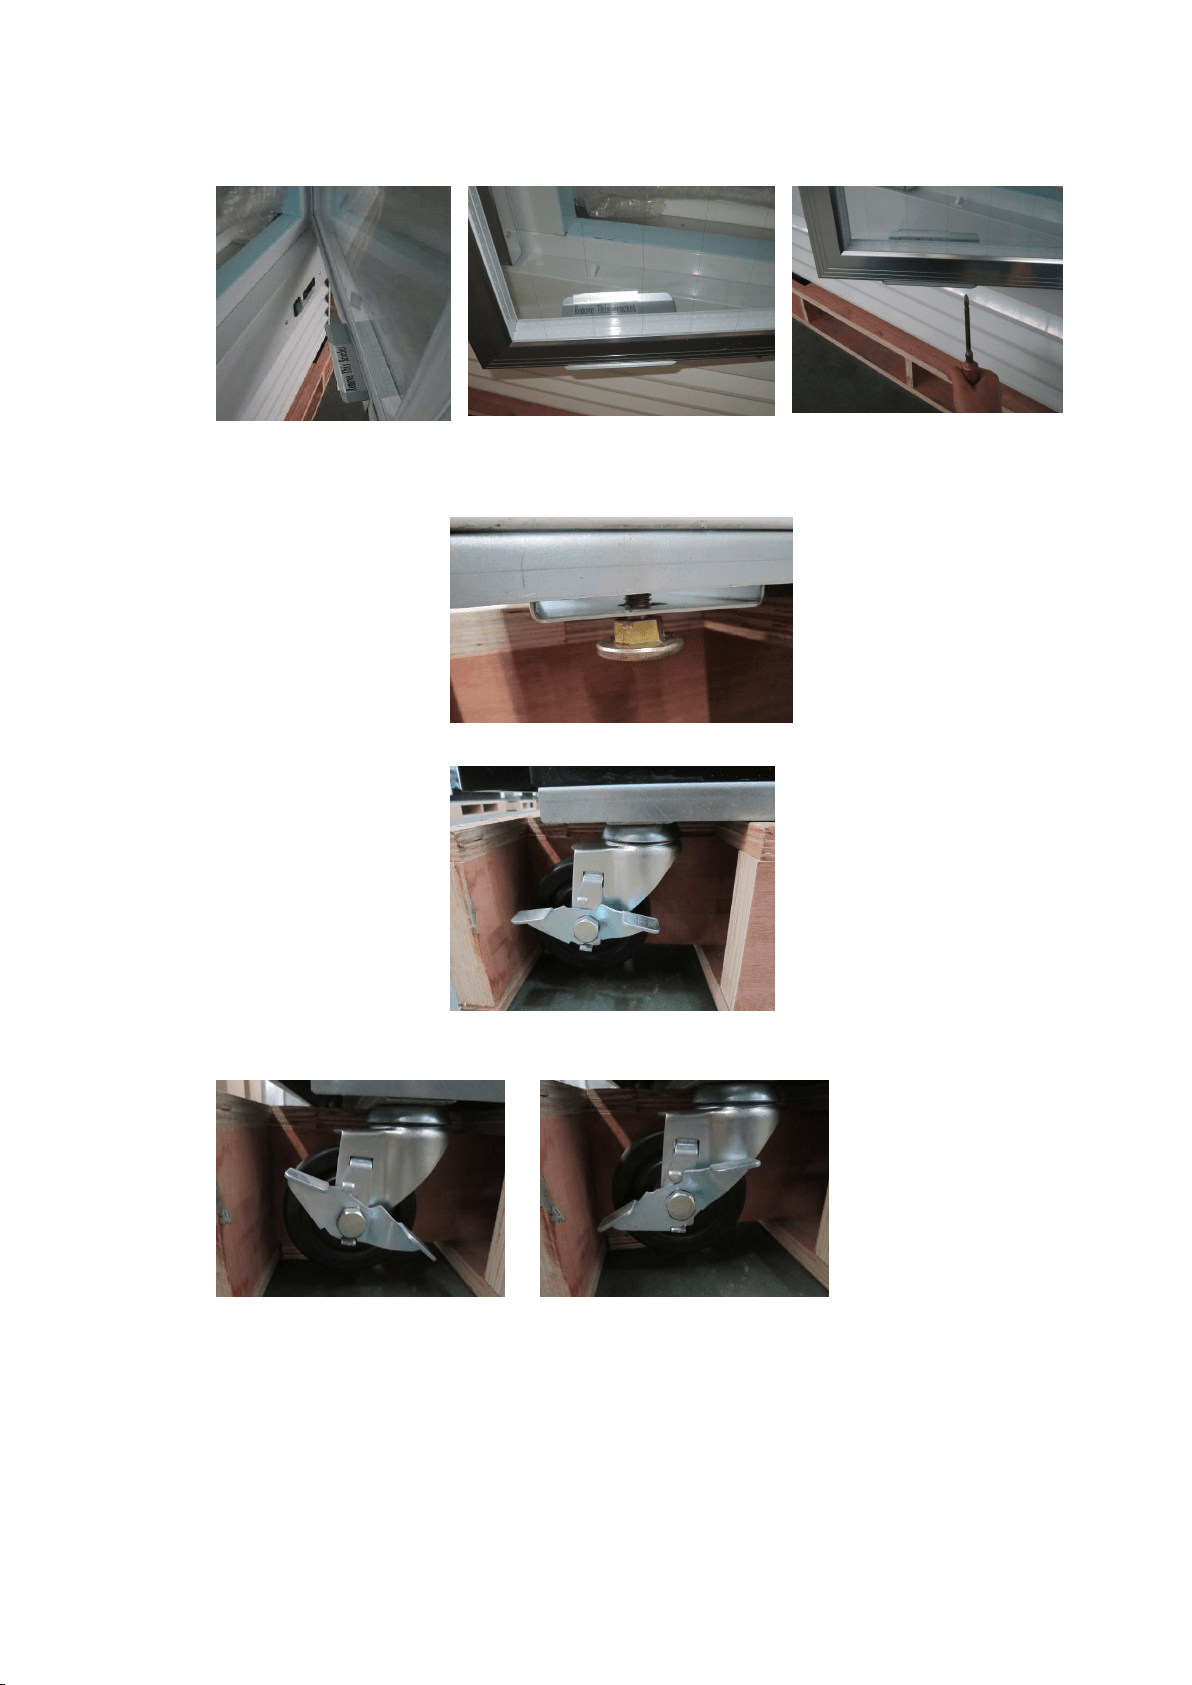
-- Caster with brake
The caster has a brake, turn it to different side can lock or unlock the
castor.
ELECTRICAL
■ Please ensure that the required voltage of the compressor is being
supplied at all times
CAUTION: Low or high voltage can detrimentally affect the refrigeration
unit.
4
■ All units should be plugged into a grounded and properly-sized
electrical outlet with appropriate overcurrent protection. Please refer
to the electrical requirement on the nameplate.
NEMA plugs
NEMA 5-15P NEMA 5-20P
If you do not have the right outlet have a certified electrician install the correct
power source.
■ Please make sure that your unit has its own dedicated outlet. Do not
use an extension cord.
After proper installation, please plug the cord and turn on the power switch.
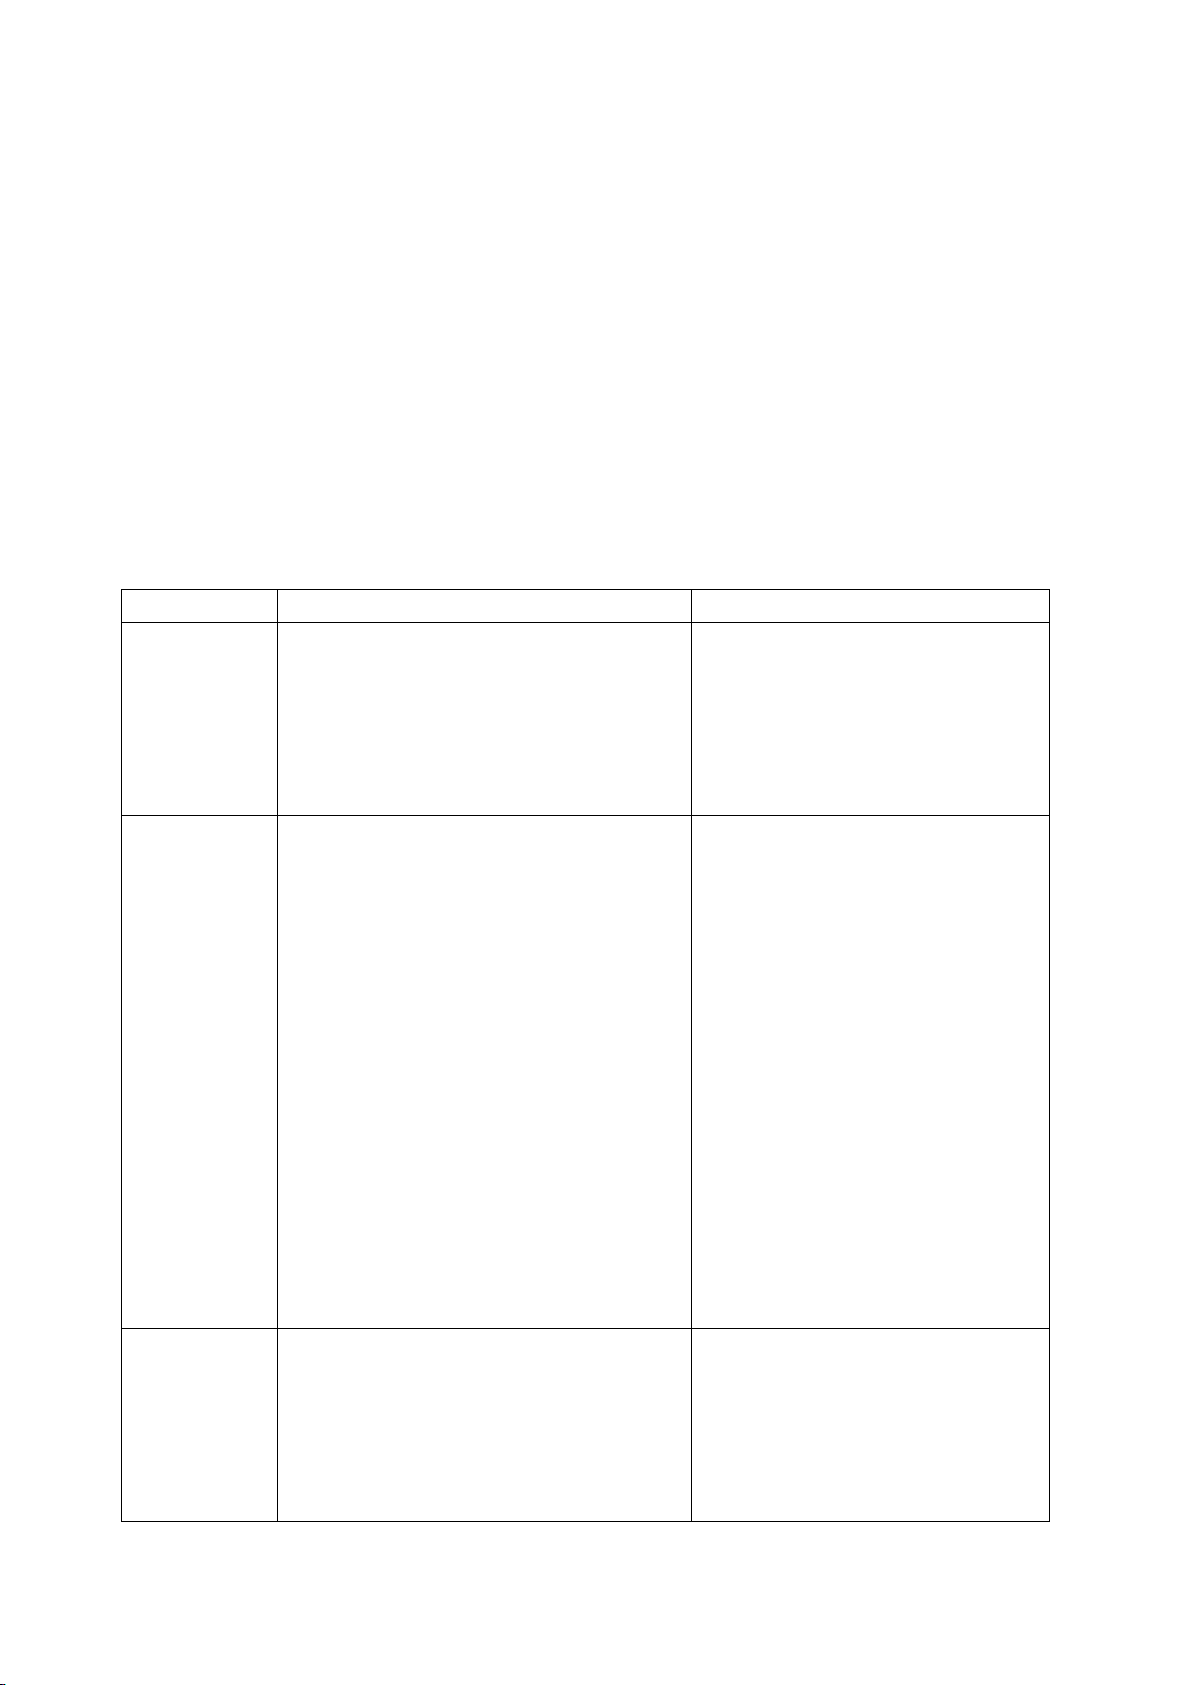
■ Operation instruction of temperature controller
-Cooler model
Setting the set point (desired temperature value)
To display or set the set point, proceed as follow:
1) press SET for 1s, the set value will start flashing after a few moments;
2) increase or decrease the value using UP or DOWN;
3) press the SET button again to confirm the new value.
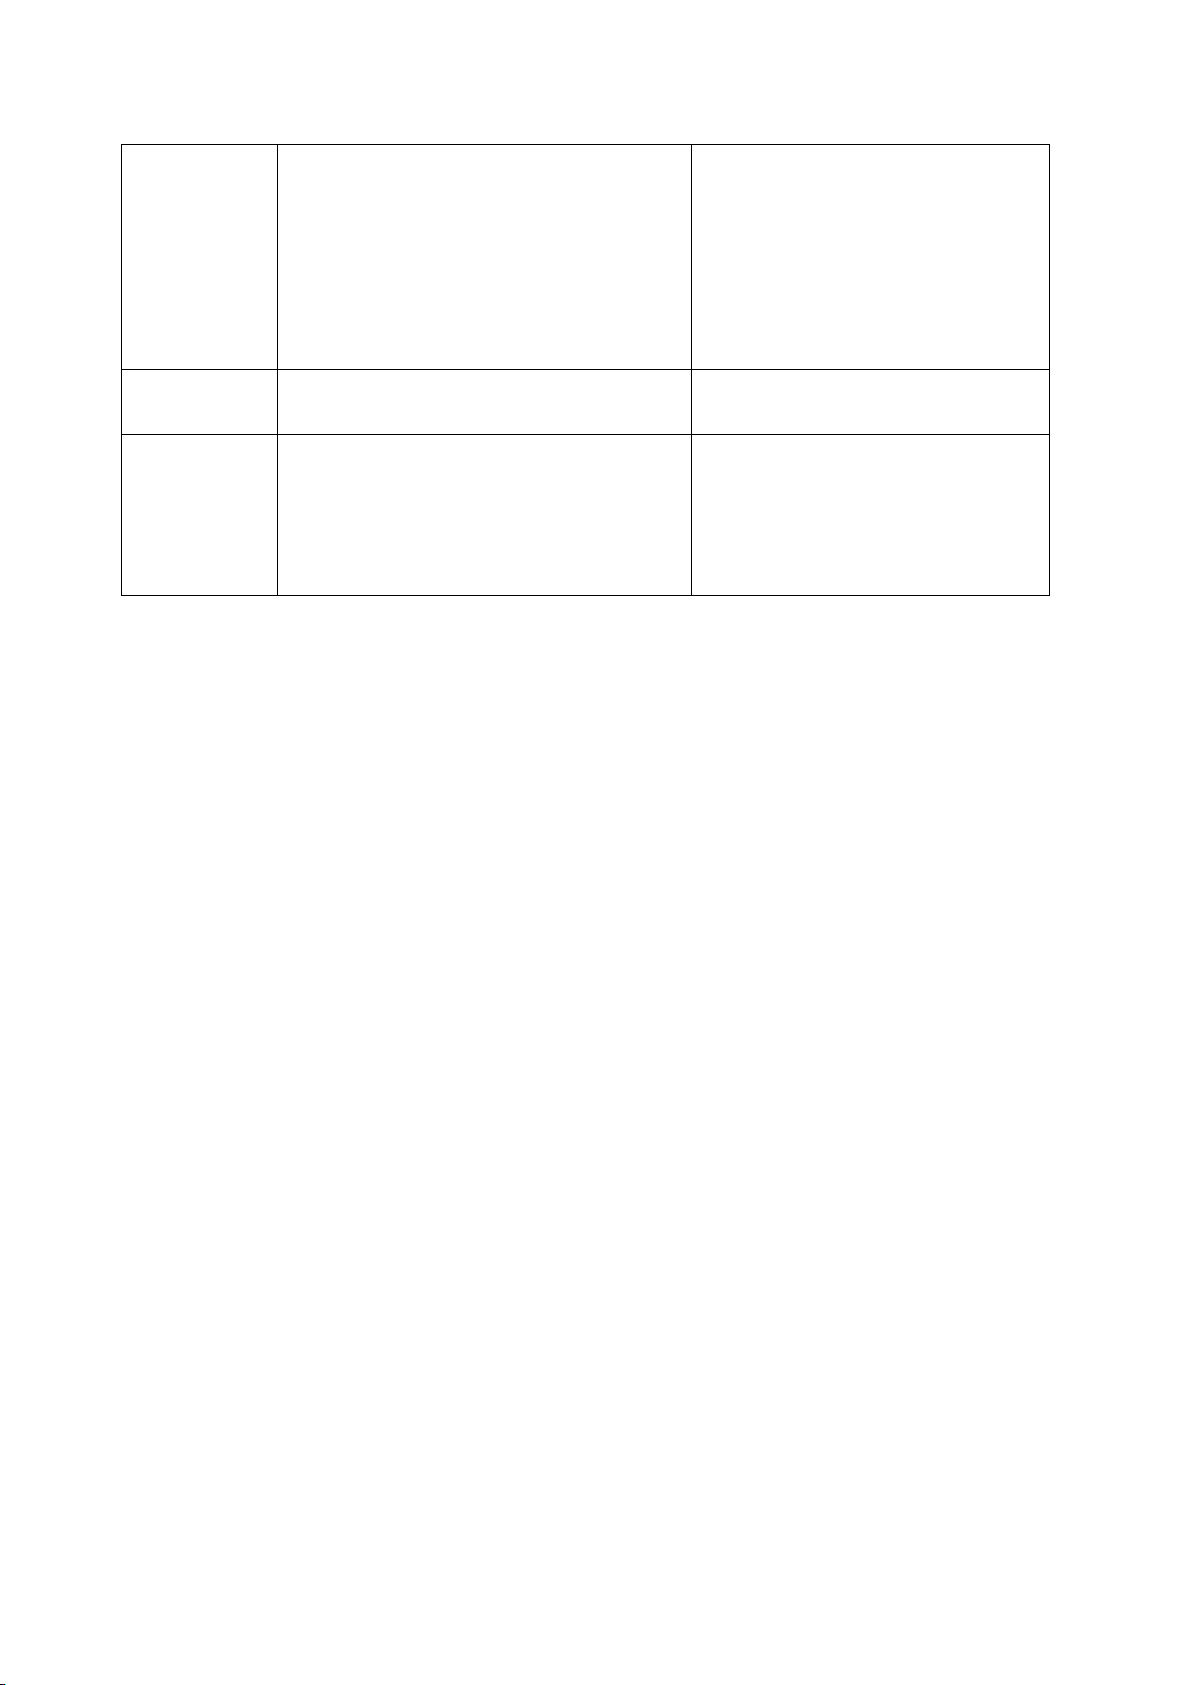
-Freezer model
Setting the set point (desired temperature value)
To display or set the set point, proceed as follow:
4) press the SET button for more than 1 second to display the set point;
5) increase or decrease the value of the set point, using the and
respectively,until reaching the desired value;

5
6) press the SET button again to confirm the new value.
SAFETY / WARNINGS
Please pay close attention to the safety notices in this section.
Disregarding these notices may lead to serious injury and/or damage to
the unit.
ATTENTION
■ To minimize shock and fire hazards, be sure not to overload outlet. Please
designate one outlet for your unit.
■ Do not use extension cords.
■ When the unit is not in use for a long period o time, please unplug the unit
from the outlet.
■ After unplugging the unit, wait at least 10 minutes before re-plugging it.
Failure to do so could cause damage to the compressor.
UNPLUG CORD
■ To minimize shock and fire hazards, please do not plug or unplug the cord
with wet hands.
■ During maintenance and cleaning, please unplug the unit.
PROPER GROUNDING REQUIRED
■ To minimize shock and fire hazards, make sure that the unit is properly
grounded.
PROHIBITION
■ Do not attempt to remove or repair any component unless instructed by
factory.
■ Make sure that the unit is not resting on or against the electrical cord and
plug.
■ To minimize personal injury, do not hang on the doors.
■ Do not store any flammable and explosive gas or liquids inside the unit.
■ Do not attempt to alter or tamper with the electrical cord.

6
REGULAR MAINTENANCE
CLEANING THE CONDENSER COIL
■ For efficient operation, it is important that the condenser surface be kept
free of dust, dirt, and lint.
■ We recommend cleaning the condenser coil and fins at least once per
month.
■ Clean with a commercial condenser coil cleaner, available from any kitchen
equipment retailer. Brush the condenser fins from top to bottom, not side to
side.
■ After cleaning, straighten any bent condenser fins with a fin comb.
CLEANING THE FAN BLADE AND MOTOR
If necessary, clean the fan blades and motor with a soft cloth. If it is necessary
to wash the fan blades, cover the fan motor to prevent moisture damage.
CLEANING THE INTERIOR OF UNIT
■ When cleaning the cabinet interior, use a solvent of warm water and mild
soap.
■ Do not use steel wool, caustic soap, abrasive cleaners, or bleach that may
damage the stainless steel surface.
■ Wash door gaskets on a regular basis, preferably weekly. Simply remove
door gasket from the frame of the door, soak in warm water and soap for
thirty (30) minutes, dry with soft cloth, and replace.
■ Check door gaskets for proper seal after they are replaced.
■ Periodically remove the shelves and pilasters from the unit and clean them
with mild soap and warm water. To remove the pilasters, first remove the
shelves and shelf brackets. Then, simply lift the pilaster up and out.
7
WARNING
Disconnect power cord before cleaning any parts of the unit.
TROUBLE SHOOTING
Before requesting any service on your unit, please check the following points.
Please note that this guide serves only as a reference for solutions to common
problems.
SYMPTOM POSSIBLE CAUSE CORRECTIVE ACTION
Compressor
not running.
Fuse blown or circuit breaker tripped.
Power cord unplugged.
Thermostat set too high.
Cabinet in defrost cycle.
Replace fuse or reset circuit
breaker.
Plug in power cord.
Set thermostat to lower
temperature.
Wait for defrost cycle to finish.
Condensing
unit runs for
long periods
of time.
Excessive amount of warm product
placed in cabinet.
Prolonged door opening or door ajar.
Door gasket(s) not sealing properly.
Dirty condenser coil.
Evaporator coil iced over.
Allow adequate time for
product to cool down.
Ensure doors are closed when
not in use. Avoid opening doors
for long periods of time.
Ensure gaskets are snapped in
completely. Remove gasket
and wash with soap and water.
Check condition of gasket and
replace if necessary.
Clean the condenser coil.
Unplug unit and allow coil to
defrost. Make sure thermostat
is not set too cold. Ensure that
door gasket(s) are sealing
properly.
Cabinet
temperature
is too warm.
Thermostat set too warm.
Blocking air flow.
Set thermostat to lower
temperature.
Re-arrange product to allow for
proper air flow. Make sure there
is at least four inches of
clearance from evaporator.
8
Excessive amount of warm product
placed in cabinet.
Fuse blown or circuit breaker tripped.
Dirty condenser coil.
Prolonged door opening or door ajar.
Allow adequate time for
product to cool down.
Replace fuse or reset circuit
breaker.
Clean the condenser coil.
Ensure doors are closed when
not in use. Avoid opening doors
Evaporator coil iced over.
for long periods of time.
(see above)
Cabinet is
noisy.
Loose part(s).
Tubing vibration.
Locate and tighten loose
part(s).
Ensure tubing is free from
contact with other tubing or
components.

9