Loading ...
Loading ...
Loading ...
6
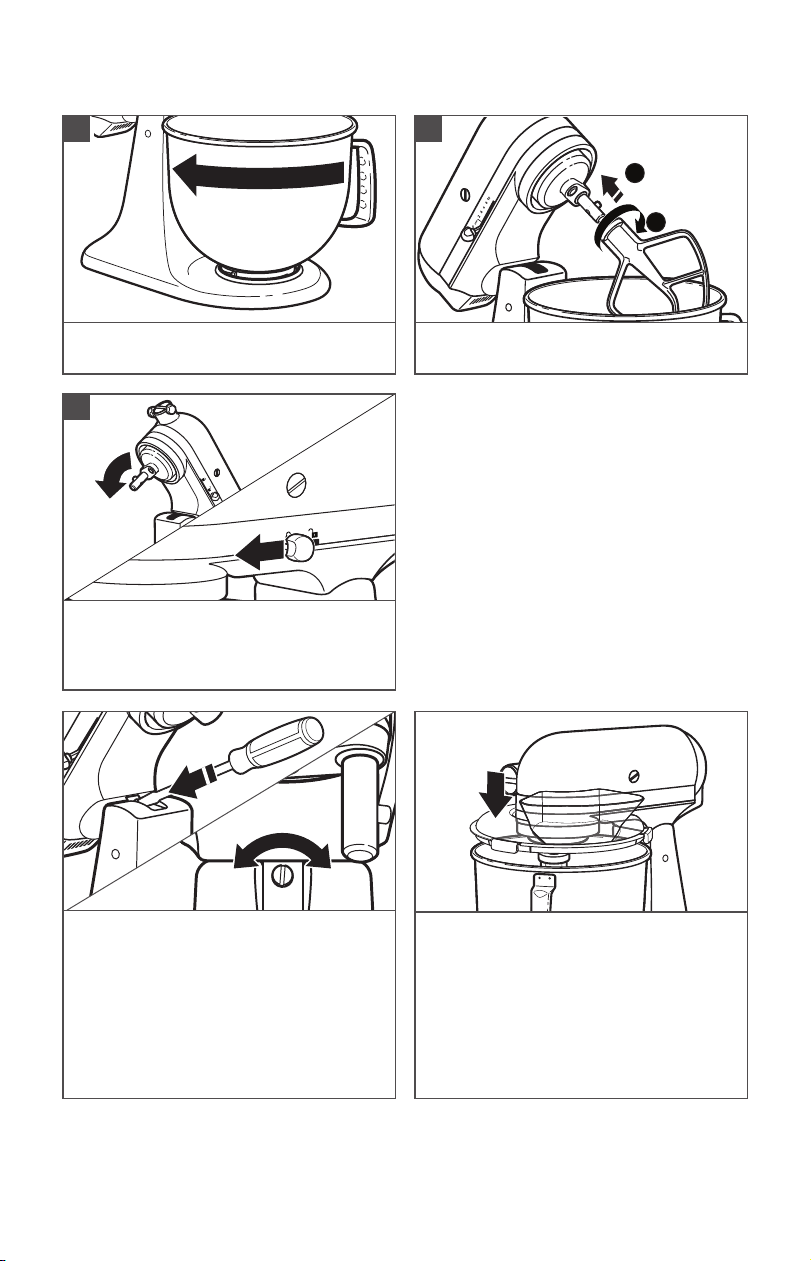
PRODUCT ASSEMBLY
Place the Bowl* on the Clamping Plate
and twist to lock in place.
3
1
2
Slide and rotate the accessory, aligning
over the pin on the shaft.
4
Unlock the Motor Head and move it
down. Then, lock** the head to keep
it down. Before mixing, test lock by
attempting to raise the Motor Head.
5
(OPTIONAL) To adjust Beater to Bowl
Clearance: Tilt and lock** the Motor
Head back. Turn the screw slightly
counterclockwise (left) to raise the
beater, or clockwise (right) to lower it.
NOTE: If you over-adjust the screw, the
Bowl lock lever may not lock into place.
(OPTIONAL) Place the Pouring
Shield***: From the front of the Stand
Mixer, place the Pouring Shield onto
the bowl so that the motor head covers
the u-shaped gap in the shield. This will
position the pouring chute just to the
right of the attachment hub as you face
the mixer. Press lightly so that the Easy
Snap tabs snap the shield onto the bowl.
*The Bowl design and material depend on the Stand Mixer model.
**Locking option is available on select models.
***Included with select models only. Also available as an optional accessory.
Loading ...
Loading ...
Loading ...