Loading ...
Loading ...
Loading ...
30
|
INSTALLATION / USE & CARE
Then mount the skewer on the grill before lighting the rotis-
serie infrared burner. Lighting the burner fi rst could result in
burning your hands while trying to mount the skewer on the
grill.
It’s okay to remove the grill racks and even the briquette
trays to make room for large foods on the skewer.
To load the skewer, slide one of the forks onto the skewer.
Push the skewer through the center of the food, then slide
the second fork onto the skewer. Center the food to be
cooked on the skewer then push the forks fi rmly together.
Tighten the thumb screws (use pliers if necessary). You
should wrap any loose, dangling pieces of food (like wings)
with butcher’s string (never use nylon or plastic string).
With the food secured to the skewer slowly roll the skewer
in the palms of your hands to check for balance. It should
rotate smoothly. If you fi nd it has a heavy side, adjust where
the skewer pierces the meat. An unbalanced skewer will
cause uneven rotation and uneven cooking. It’s normal for
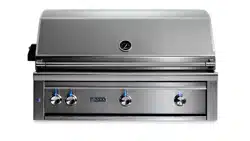
the skewer to fl ex with large foods.Slide the pointed end of
the skewer into the motor and rest the other end on the roll-
ers on the other side of the grill.
The notched portion of the skewer must
rest on the rollers for proper operation.
The Rotisserie Burner
To light the rotisserie infrared burner, fi rst mount the
skewered food item on the grill then follow the rotisserie
lighting procedure.
Once lit, the rotisserie burner should reach cooking tempera-
tures in about 1 minute. It will glow evenly across its surface
in about 5 minutes.
NOTE: The grill thermometer should not be used for rotis-
serie cooking. It is not designed to read direct infrared heat.
If the burner will not stay lit when you release the control
knob, re-light it and hold the control knob in for at least 60
seconds to allow the thermocouple to heat up.
If, after holding the control knob in for at least 60 seconds,
the burner still will not stay lit when releasing the control
knob, call for service.
Shut o all other burners while using the rotisserie burner.
...
c
o
n
t
in
u
e
d
T
o li
g
ht the rotisserie infrared burner, fi rst mo
u
Professional chefs far and
wide set their restaurant
cuisine apart by cooking
over wood fi res. Imparting a
delicate hint of wood smoke
enhances food, raising your
culinary skills to the next
level. Now you can impart that same culinary touch using
the smoker/steamer accessory.
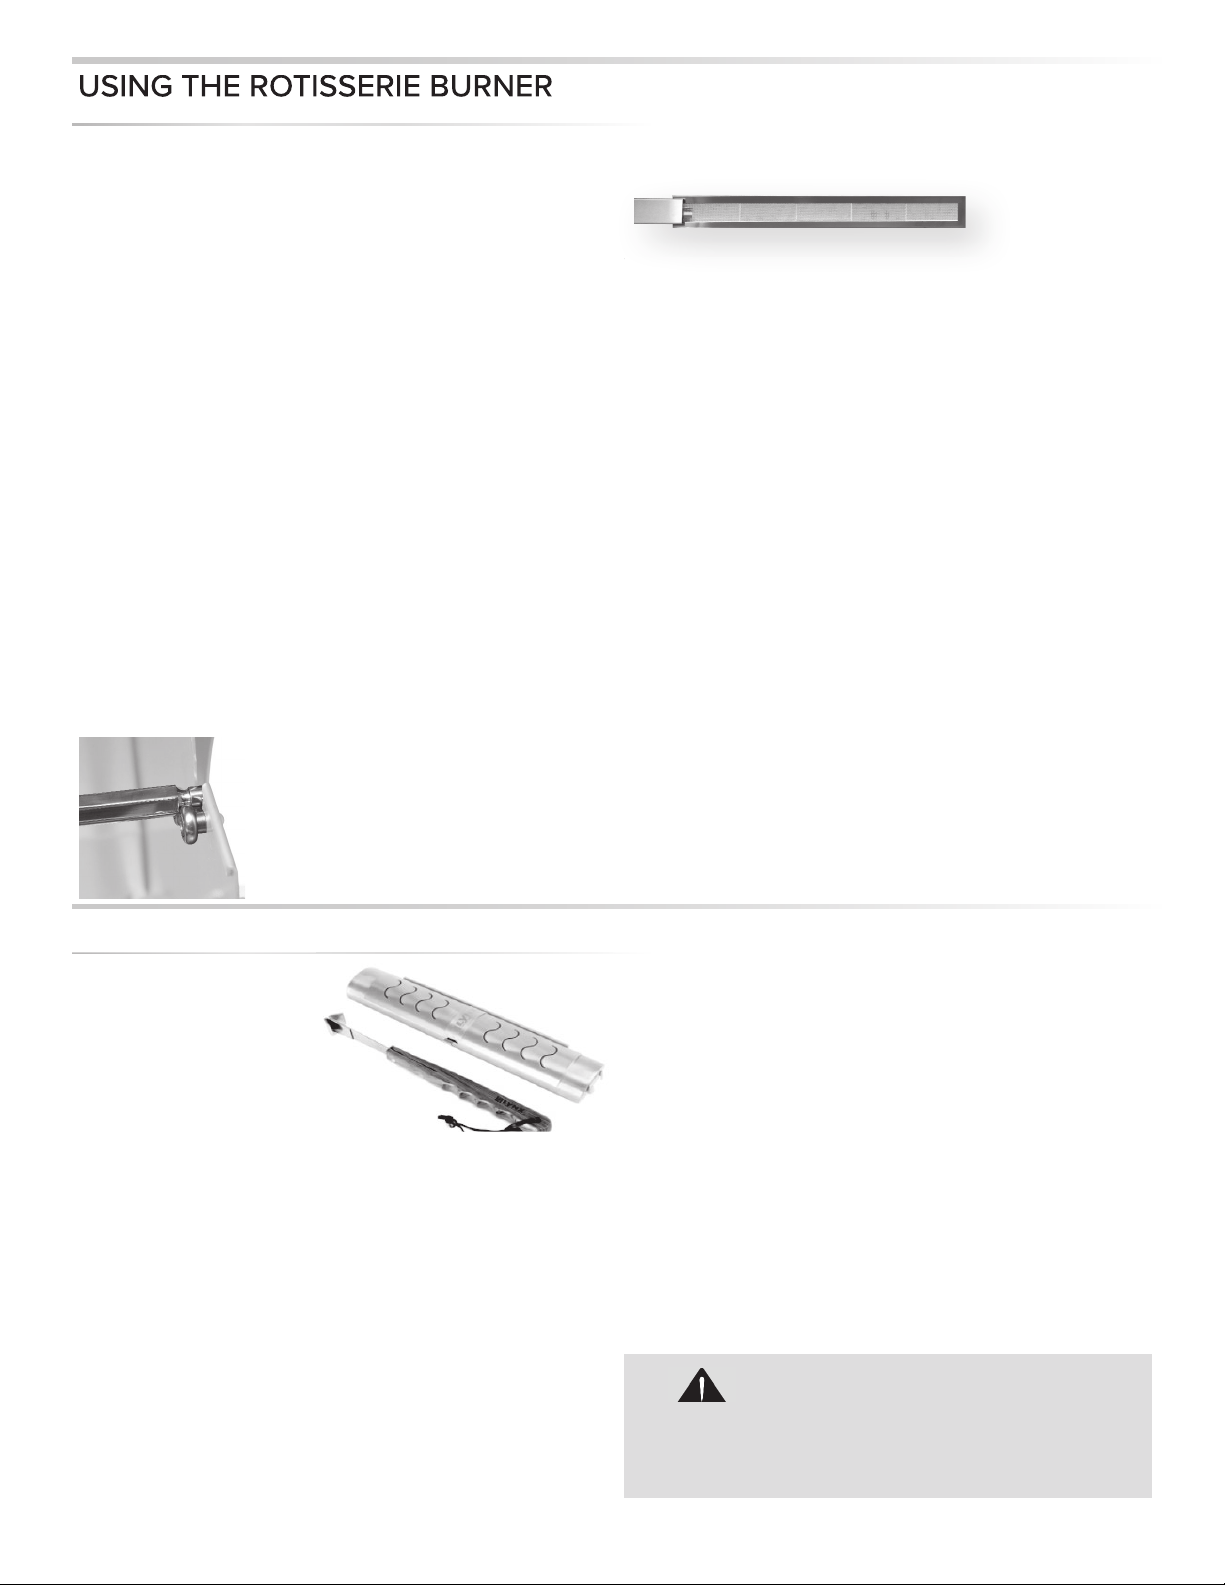
Your new grill comes with the Lynx Smoker Set with handle.
This oval shaped Lynx Smoker box can be placed anywhere
on the grates directly over any burner. The unique handle
and interlock mechanism is designed to allow quick removal
or refi lling of the Lynx smoker box.
The smoker box is designed with special draft and fl ow
through for maximum smoke. It is constructed of 304 Heavy
Gauge Stainless Steel for years of use.
The Lynx Smoker box can be used with smoker pellets
or wood chips. Whether using wood chips or pellets, we
recommend using approximately 3 oz. of either material.
There is no need for presoaking, just fi ll the smoker box.
Now use the handle to place the smoker box directly on the
hot grates. Don’t forget to remove the smoker handle before
closing the grill lid.
Smoke occurs at approximately 575 degrees F. at the grilling
surface. Set the burner knob to medium/medium low to
achieve this temperature. Control the smoking by adjusting
the heat and being careful not to adjust it too high.
For best results keep the lid closed. The best absorption
of smoke fl avor occurs early in the cooking process. When
fi nished with smoking, allow the smoker box to cool and
dispose of remnants.
USING THE SMOKER BOX
OKER
BOX
Handle the smoker box with care. The cover be-
comes extremely hot when in use. Use sturdy, prop-
erly insulated gloves or dry pot holders.
CAUTION
Loading ...
Loading ...
Loading ...