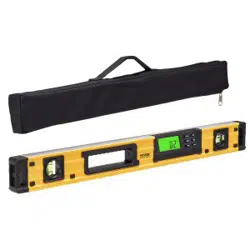

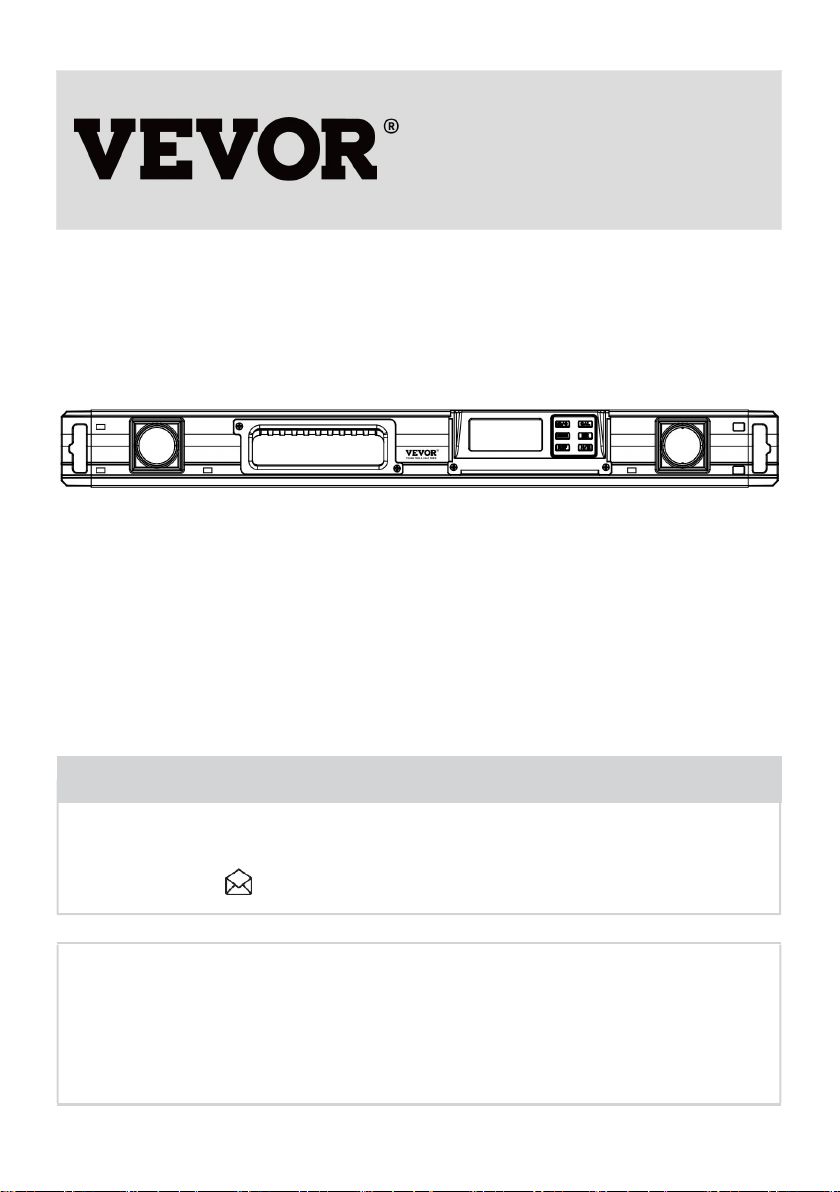
DIGITAL LEVEL
We continue to be committed to provide you tools with competitive price. "Save Half", "Half
Price" or any other similar expressions used by us only represents an estimate of savings you
might benefit from buying certain tools with us compared to the major top brands and doses
not necessarily mean to cover all categories of tools offered by us. You are kindly reminded to
verify carefully when you are placing an order with us if you are actually saving half in
comparison with the top major brands.
- 1 -
<Picture Only For Reference >
Have product questions? Need technical support? Please feel free to
contact us:
CustomerService@vevor.com
NEED HELP? CONTACT US!
This is the original instruction, please read all manual instructions
carefully before operating. VEVOR reserves a clear interpretation of our
user manual. The appearance of the product shall be subject to the
product you received. Please forgive us that we won't inform you again if
there are any technology or software updates on our product.
DIGITAL LEVEL

- 2 -
DESCRIPTION
This digital level is a highly versatile leveling tool designed for fast, easy operation.
It is designed to be used by carpenters, stonemasons, bricklayers, other building
trades workers, surveyors, millwrights and other metalworkers, and in
some photographic or video graphic work, particularly in civil engineering
applications, such as building construction and steel structure erection for on-site
angle alignment and leveling tasks.
Technical Data
● Measuring range of digital display: 4×90°
● Resolution of digital display : ±0.05°
● Precision of measurement : ±0.1° at 0° & 90°;
±0.2° at other angles.
● Unit of Measurement (°degrees / % percent / mm/m / IN/FT)
● Backlight
● Buzz Optional
● Hold function
● 0°calibration
● Memory/ Memory Recall Function
● Magnets on the Bottom
● Battery Type: 2x1.5V LR03 AAA batteries
●Working Temperature: 0℃ - 40℃
●Storage Temperature: -10℃ - 50℃
●Dimensions: 600*28*64mm
●Net Weight: 513g(without batteries)
Operation Instructions
1. Battery Replacement
Open the battery case. Insert two AAA batteries and close the case. Your electronic level is now ready
to use.
2. ON/OFF
Press the button to turn on the equipment. The screen displays the mode of last operation. Hold it down
for 2 seconds to turn off the equipment.
After about 3 minutes of no use, the equipment will power off automatically.

- 3 -
3. Level Measure
Turn on the equipment and set it to the level position for measuring.
4. Unit of Measurement Selection (°degrees / % percent / mm/m / IN/FT)
After powering the level on, press down the MODE button to change the angles unit display modes
from degrees (°), percent (%), (mm/m) to pitch (in/ft.). Pitch readings are in 1/8-inch/feet increments.
The icon indicates the current angle’s position, either up or down away from the horizontal or
vertical position.
The mode of measurement selection will be stored before the device is powered off, and the mode will
display the same information as was stored before the last power off.
5.Memory/ Memory Recall Function
a. By pressing down the H/M button and holding it for a 5 count, the current values of the angle will be
stored in one of the 8 memory setting, range set from M1 to M8.
b. Press the MR button briefly to display the stored values on the LCD screen. By pressing the MR
button, you can switch the values from M8 to M1. To exit, simply press any other button. Note:
The stored values would be cleared after a long time by pressing the “MR” button.
When it has already stored 8 sets of values, by pressing H/M button once again, the M1 values will
replace the current ones. M2 values will also be replaced if the H/M button is pressed again.
6.Angle Measure
If the equipment isn’t set to level, it will display a value on the screen. Press the REF button to set
current angle to zero, now you can enter relative angle measurement mode. The “s” icon will show on
the screen. Press the button again to exit this function.
7.Buzz Function
Press the button for a short time, the screen will show the “ ” icon, beeper sounds
at horizontal position or vertical position. Press the button again to turn off this function.
8. Hold
In positions where the display might not be readable, the actual measured value can be saved by
pressing the H/M button, then a saved measured value is displayed, and the “H” icon will appear on the
screen. The measuring mode will reactivate by pressing the H/M button another time.
9. Low Battery Indicator
When the low Battery indicator “ ” shows on the screen, replacing two new “AAA” batteries is
recommended.
10. 0°Calibration
Important Notes before proceeding into calibration:

- 4 -
*The device is calibrated in the factory for maximum accuracy. Users can recalibrate when
necessary.
*Ensure the device is kept still during calibration.
a. Turn off the equipment. Put the equipment on a flat and smooth surface.
b. In the shutdown state, hold down both the and CAL buttons until the LCD displays “CAL”
symbol. Enter calibration mode.
c. Keep it still for a few seconds and press the CAL button, then “CAL1” will be shown on the LCD.
d. Rotate the equipment 180° in the same location (see the following figure), then press the CAL button
– the “CAL2” will now show on the screen. After “CAL2” disappears from the screen, it indicates that
the calibrating is completed, the LCD will show the current angle in a high-accuracy display.
NOTE:
● The calibration must be performed on a flat and smooth surface with a gradient of no more than 5°. If
it exceeds 5°, “Err” will show on the LCD to indicate the calibration failed, you must turn on the
equipment again to complete calibration.
● During calibration, the level should not be moved.
CARE AND MAINTENANCE
*ALWAYS handle with care and treat your digital level as a precision tool; avoid bumping,
knocking, or dropping the unit.
*ALWAYS keep the level free of dust and liquids.
*AVOID exposing the level to shock, continuous vibration, or extremely hot or cold
temperatures.
*ALWAYS remove the batteries from the level if they are not used for an extended period.
- 5 -
WARNING!
Please observe safety rules as follows: Always keep out of reach of children and pets.
Battery Warnings
*Always remove exhausted batteries from these products.
*Do not dispose of batteries in a fire. Batteries may explode or leak.
*Do not short-circuit the battery terminals.
*Do not mix used and new batteries.
*Do not recharge non-rechargeable batteries.
*Do not allow water to contact the batteries or wiring.
*When installing batteries in the battery compartment, ensure the batteries
are placed as marked (+)(-).
*Keep this product out of reach of small children.
SAVE THE MANUAL
This manual contains important operating instructions. Please read all instructions and
follow them with the use of this product.
Correct Disposal
This product is subject to the European Directive 2012/19/EC provision. The symbol
showing a wheelie bin crossed through indicates that the product requires separate refuse
collection in the European Union. This applies to the product and all accessories marked
with this symbol. Products marked as such may not be discarded with regular domestic
waste but must be taken to a collection point for recycling electrical and electronic devices.

- 6 -
Address: Baoshanqu Shuangchenglu 803long 11hao 1602A-1609shi Shanghai
Imported to AUS: SIHAO PTY LTD, 1 ROKEVA STREETEASTWOOD NSW 2122
Australia
Imported to USA: Sanven Technology Ltd., Suite 250, 9166 Anaheim Place, Rancho
Cucamonga, CA 91730
REP
UK
Pooledas Group Ltd
Unit 5 Albert Edward House, The Pavilions
Preston, United Kingdom
REP
EC
SHUNSHUN GmbH
Römeräcker 9 Z2021, 76351
Linkenheim-Hochstetten, Germany
Made In China