Loading ...
Loading ...
Loading ...
5
Before installing the unit , make sure of the following:
a. The appliance must not be located directly beneath
a current outlet.
b. The plug and outlet must be easy to reach after
installation.
c. No electric cables or other pipes could be damaged
during the installation.
d. Keep away from curtains or ammable materials.
To wall-mount, proceed as follows:
Turn the appliance upside down on a at stable surface. Using
a screwdriver, x the 2 brackets (G) with the 2 screws (H) as
shown in Fig.2. For brick walls use a 6 mm concrete drill bit. For
plaster board or false (hollow) walls, it is recommended to use
appropriate screws and anchors (not supplied).
1. Before drilling the wall, mark the exact points, respecting
the minimum distances as shown in g. 3.
2. Drill the wall where previously marked, and insert the
plastic anchors (J).
3. Fix the 2 metal brackets (G) using the two screws (I)
provided.
4. Hang the appliance on the bracket.
5. Mark out the 2 lower xing points. Remove the appliance,
drill the lower holes and insert the wall anchors (J).
6. Now, you can hang back the heater on the bracket and
x the lower part of the appliance with the 2 remaining
screws (I).
USE
Operation and use
- Plug into the mains socket.
- The appliance emits a beep. The indicator light comes on
and remains lit while the appliance is powered.
- The appliance switches to stand-by.
- Press the ON/STAND-BY to turn the appliance on. It begins
heating the room according to the current settings.
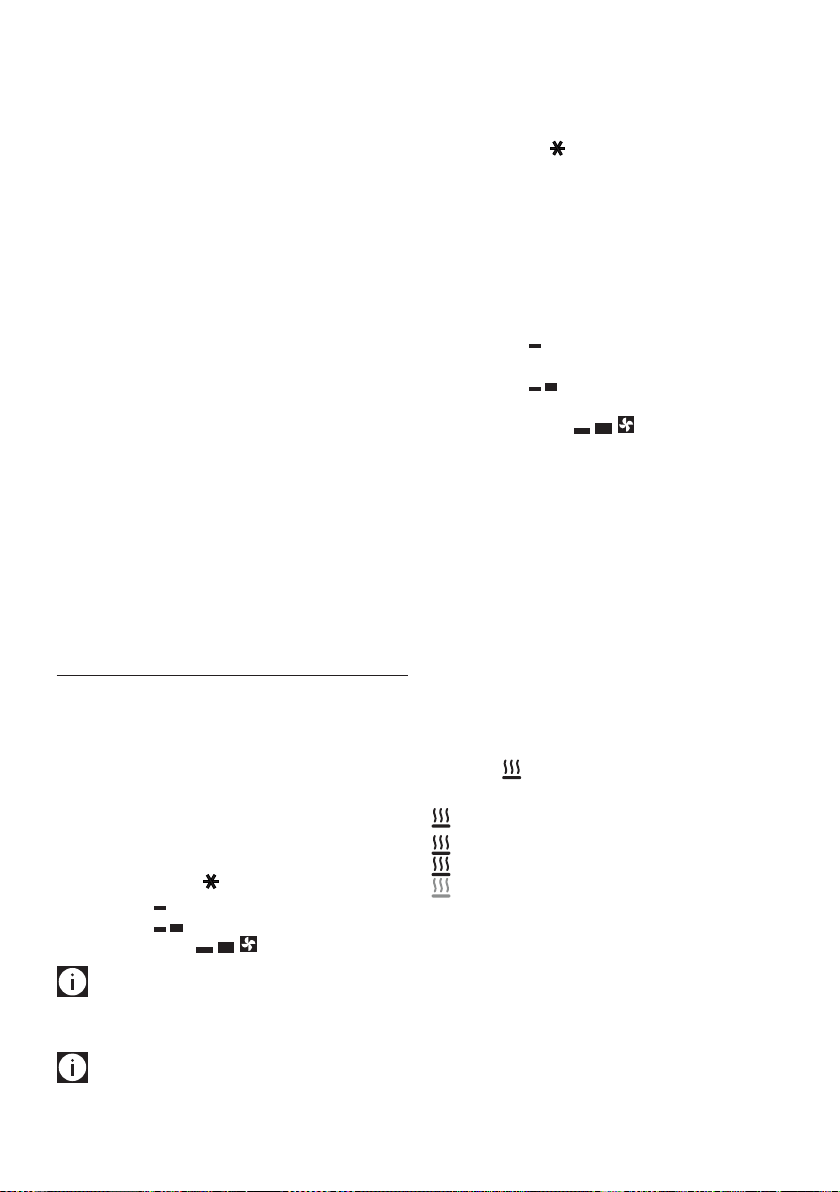
- Press the MODE button to select one of the following
operating modes:
l
Freeze prevention
l
Heating 1
l
Heating 2
l
Heating 3 + Fan
Please note: after an interruption of power supply
(power failure or appliance unplugged) the unit goes always to
stand-by.
Please note: in order to avoid peaks of power absorption,
with room temperature below -5°C the appliance will operate
automatically at power level 2 even if power level 3 has been
selected. Once the room temperature is higher than -5°C, the
appliance will operate at the selected power level.
Freeze prevention
In this mode, the appliance keeps the room at a temperature of
7°C to avoid freezing.
Heating 1, 2, and 3 + Fan
In this mode, the desired temperature can be selected by
pressing the adjustment buttons + and –. By pushing the +
or - button once, the temperature (shown on the display) will
increase or decrease by 1°C.
- Heating 1
The appliance operates at low power.
- Heating 2
The appliance operates at medium power.
- Heating 3 + Fan
The appliance operates at the maximum power with the
fan. The setting temperature range available is from 16°C
to 32°C.
“ECO plus” function
The “ECO plus” function is available in Heating 1, 2 and 3 + fan
modes only. To activate the function, press the “ECO plus” button
(E). When this function is active the appliance automatically
sets the most appropriate power level to guarantee optimum
comfort while reducing energy consumption.
While the “ECO plus” function is active, the appliance may switch
automatically to a lower heating power than the one displayed.
The working indicator colour could change.
Working indicator
The symbol indicates the heating status by means of its
colors.
RED: the unit is heating at the maximum power.
YELLOW: the unit is heating at the medium power.
GREEN: the unit is heating at the minimum power.
absent: the unit is not heating.
Brightness of the display
The appliance allows two dierent brightness settings for the
display. The highest is active when any key button is pressed.
After a few seconds of keyboard inactivity, the brightness will
decrease to the operating brightness level.
Key lock
In order to avoid accidental operation, you can lock the keyboard
using the keylock function. To activate this function during on
Loading ...
Loading ...