© ®
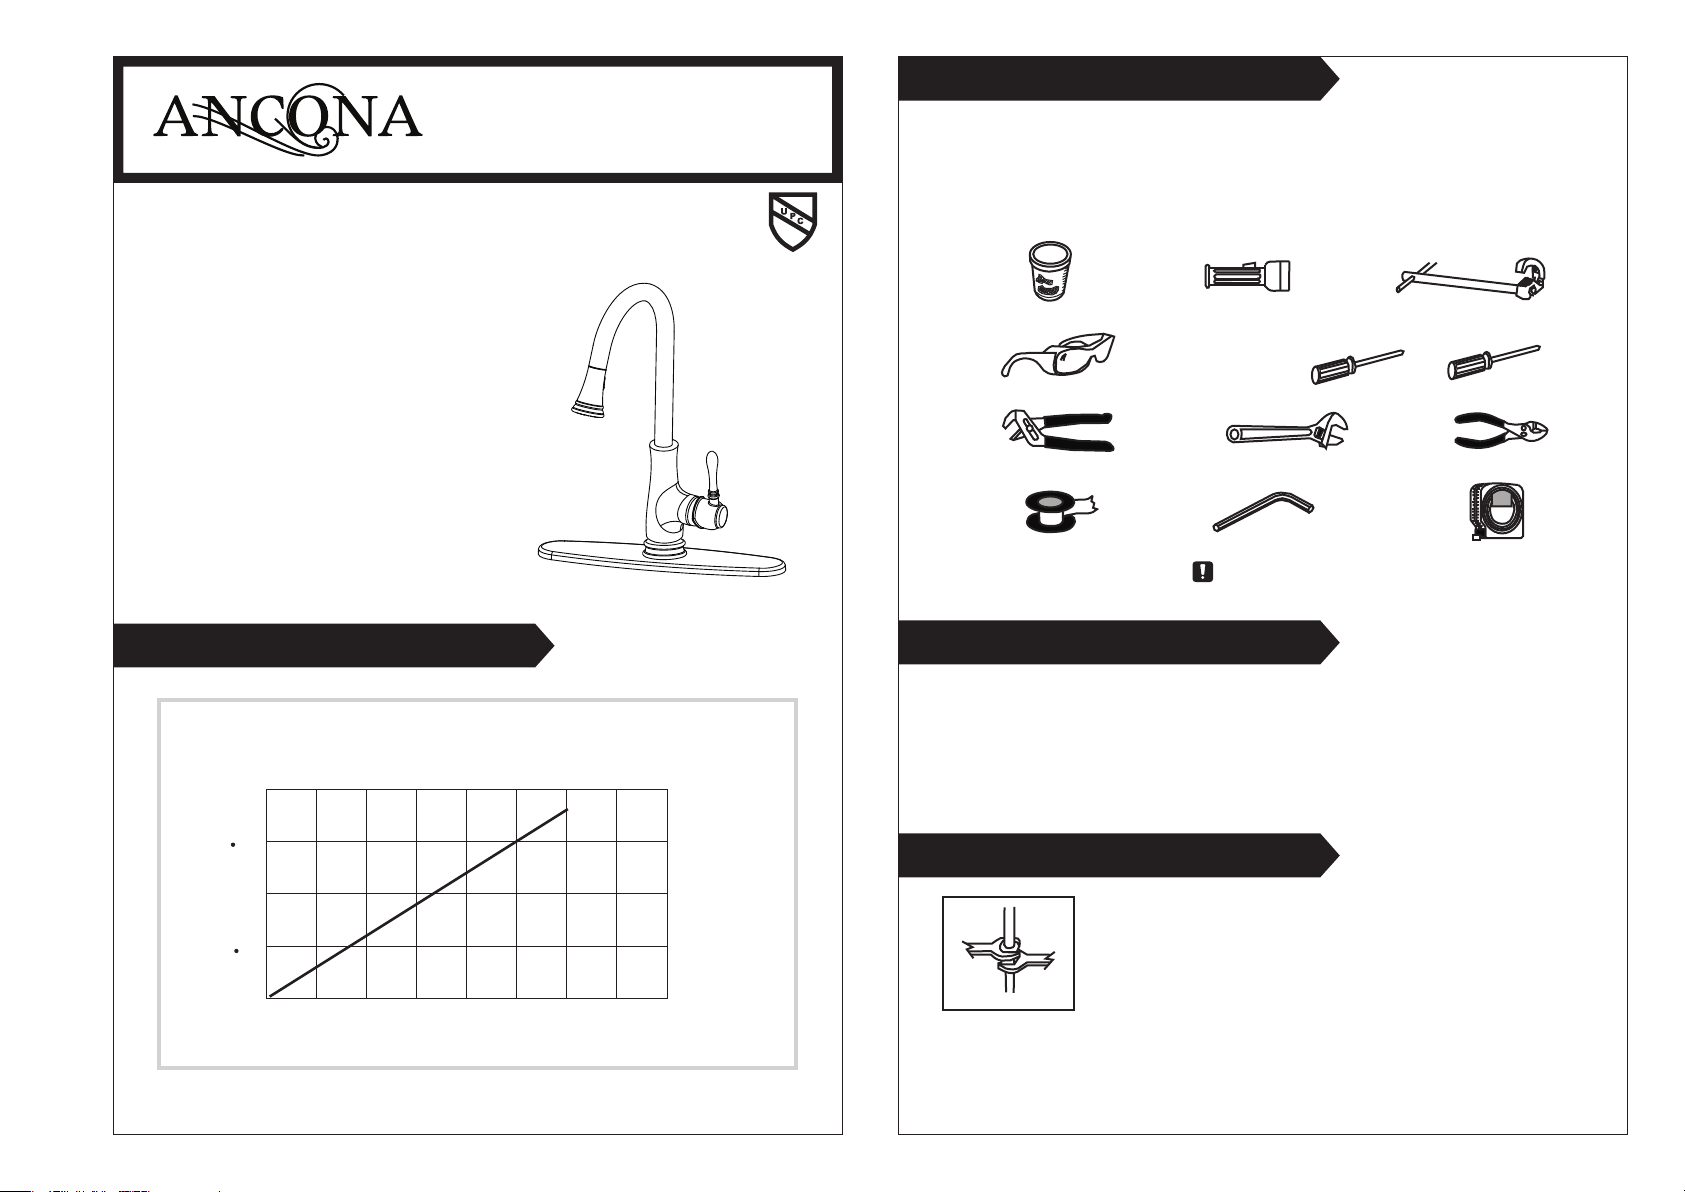
PSI
GPM
0
10
20
30
40
50 60
70
80
0
1
5
1
1 5
2
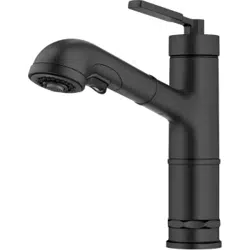
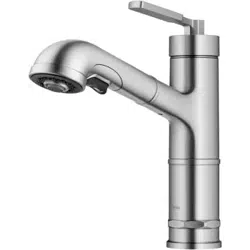
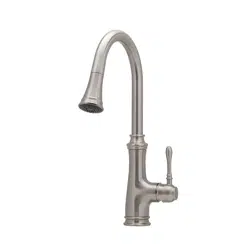
Single Handle Pull-out Kitchen Faucet
STANDARDS
- LISTED IAPMO/cUPC
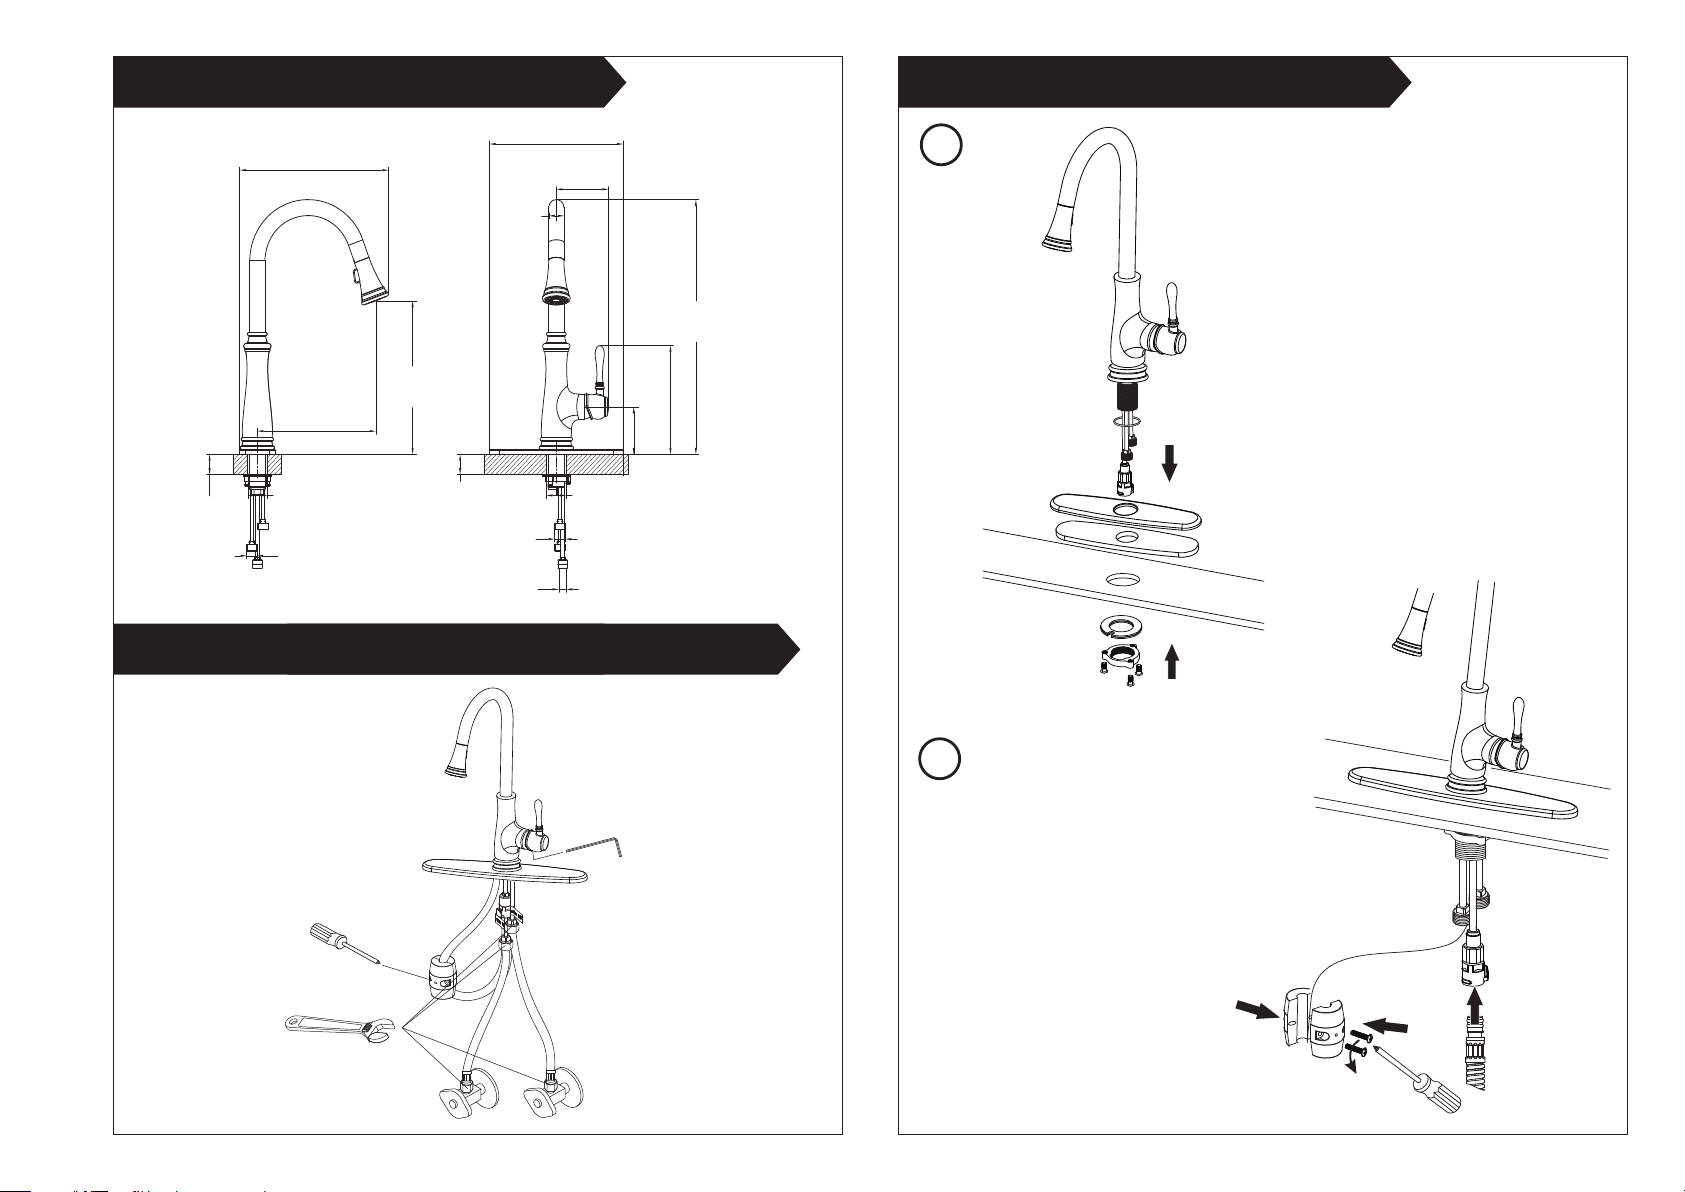
Gather the necessary tools as shown below to complete the installation of this
faucet. Some may not be needed depending on the model of faucet you are
installing. Check with your local hardware store on the requirements of your
installation situation.
Tools:
PLUMBERSPUTTY
FLASHLIGHT
BASINWRENCH
SAFETYGLASSES SCREWDRIVER
PLIERS
CHANNELLOCKS ADJUSTABLEWRENCH
HEX-KEY TAPE
For easy installation, you will need:
- To read all the installation instructions completely before beginning.
- To read all the warning, attention and maintenance information.
- To purchase the proper supply lines.
Tighten connection with two wrench to prevent
damage to tube body. Be careful not to bend
the stem as this will void the product warranty.
n:
Helpful Information
Flow Rate Chart
Important
SEALED-TUBE
WARNING:
Please keep the tools for future use
Installation
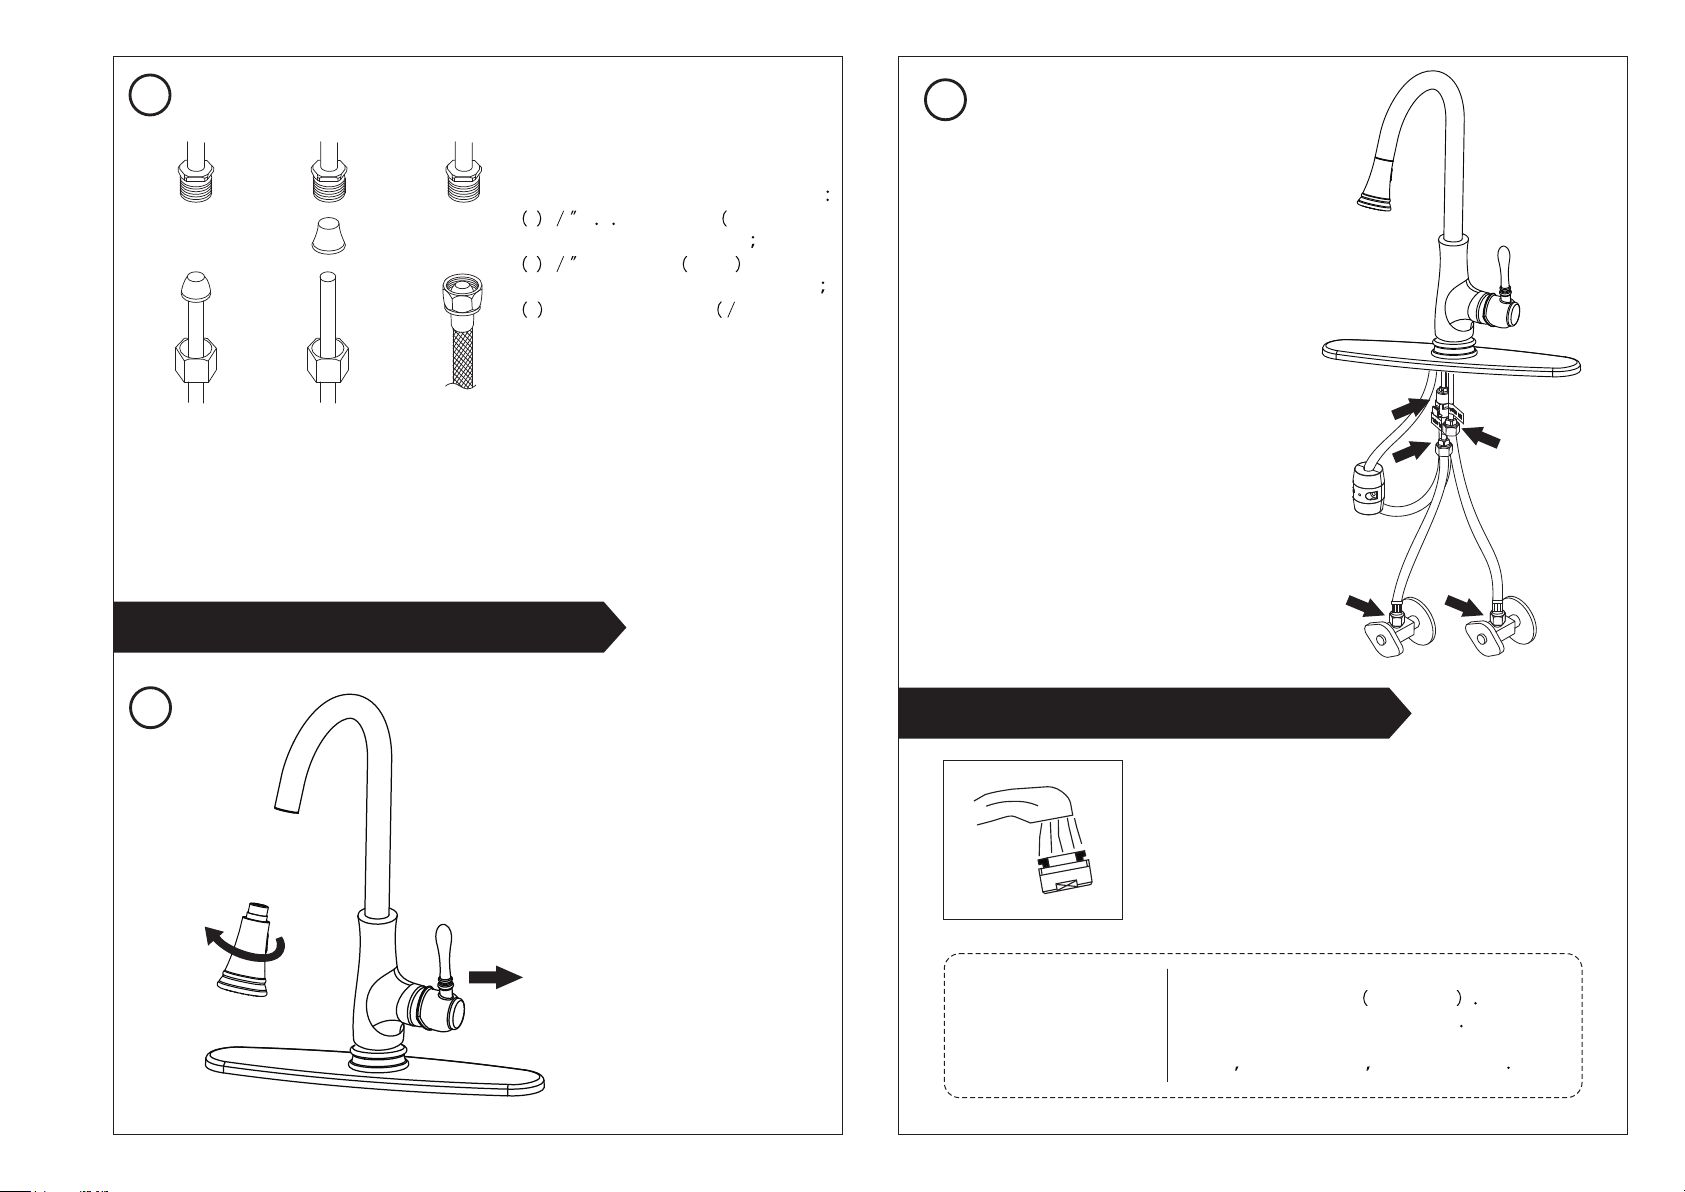
1
Position the faucet, deck plate and
gasket in order on the counter top as
shown. Don't forget the O-ring.
Assemble gasket assembly and lock
nut to faucet threaded sleeve by hand
and tighten the screws with
screwdriver.
2
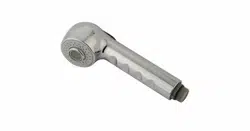
onnect the shower hose to uick
connect. O
O O D D
D O.
Disassemble the weight and put it on
the shower hose. hen fi screws by
screw driver.
Installation size map
11.6" (294.2 mm)
10.4" (264.2 mm)
4"
(103 mm)
18.8"
(479 mm)
3.5" (89.6 mm)
8" (204.7 mm)
Ø1.3" (35 mm)
Ø1.3-1.5"
(35-38 mm)
Ø1.3" (35 mm)
Ø1.3-1.5"
(35-38 mm)
9.2" (234 mm)
11.4"
(289.3 mm)
1.2"
(30 mm)
1/2-14NPSM
1/2-14NPSM
M15X1
A. Move handle into "OFF" position.
B. Turn on water supplies. Check connections for leaks.
C. Remove hand shower and let both hot and cold water
run for one minute. This will help clean any debris that
might otherwise clog the system. Replace hand shower.
D. Operate handle up and down, in cold and hot positions,
to flush water lines thoroughly.
Test Faucet Installation
Simply rinse the surface with clear water or
mild liquid detergents
if necessary Dry the
faucet with a clean soft cotton cloth
Do not
use any cleaning agents containing
acids
polish abrasives or harsh cleaners
Maintenance:
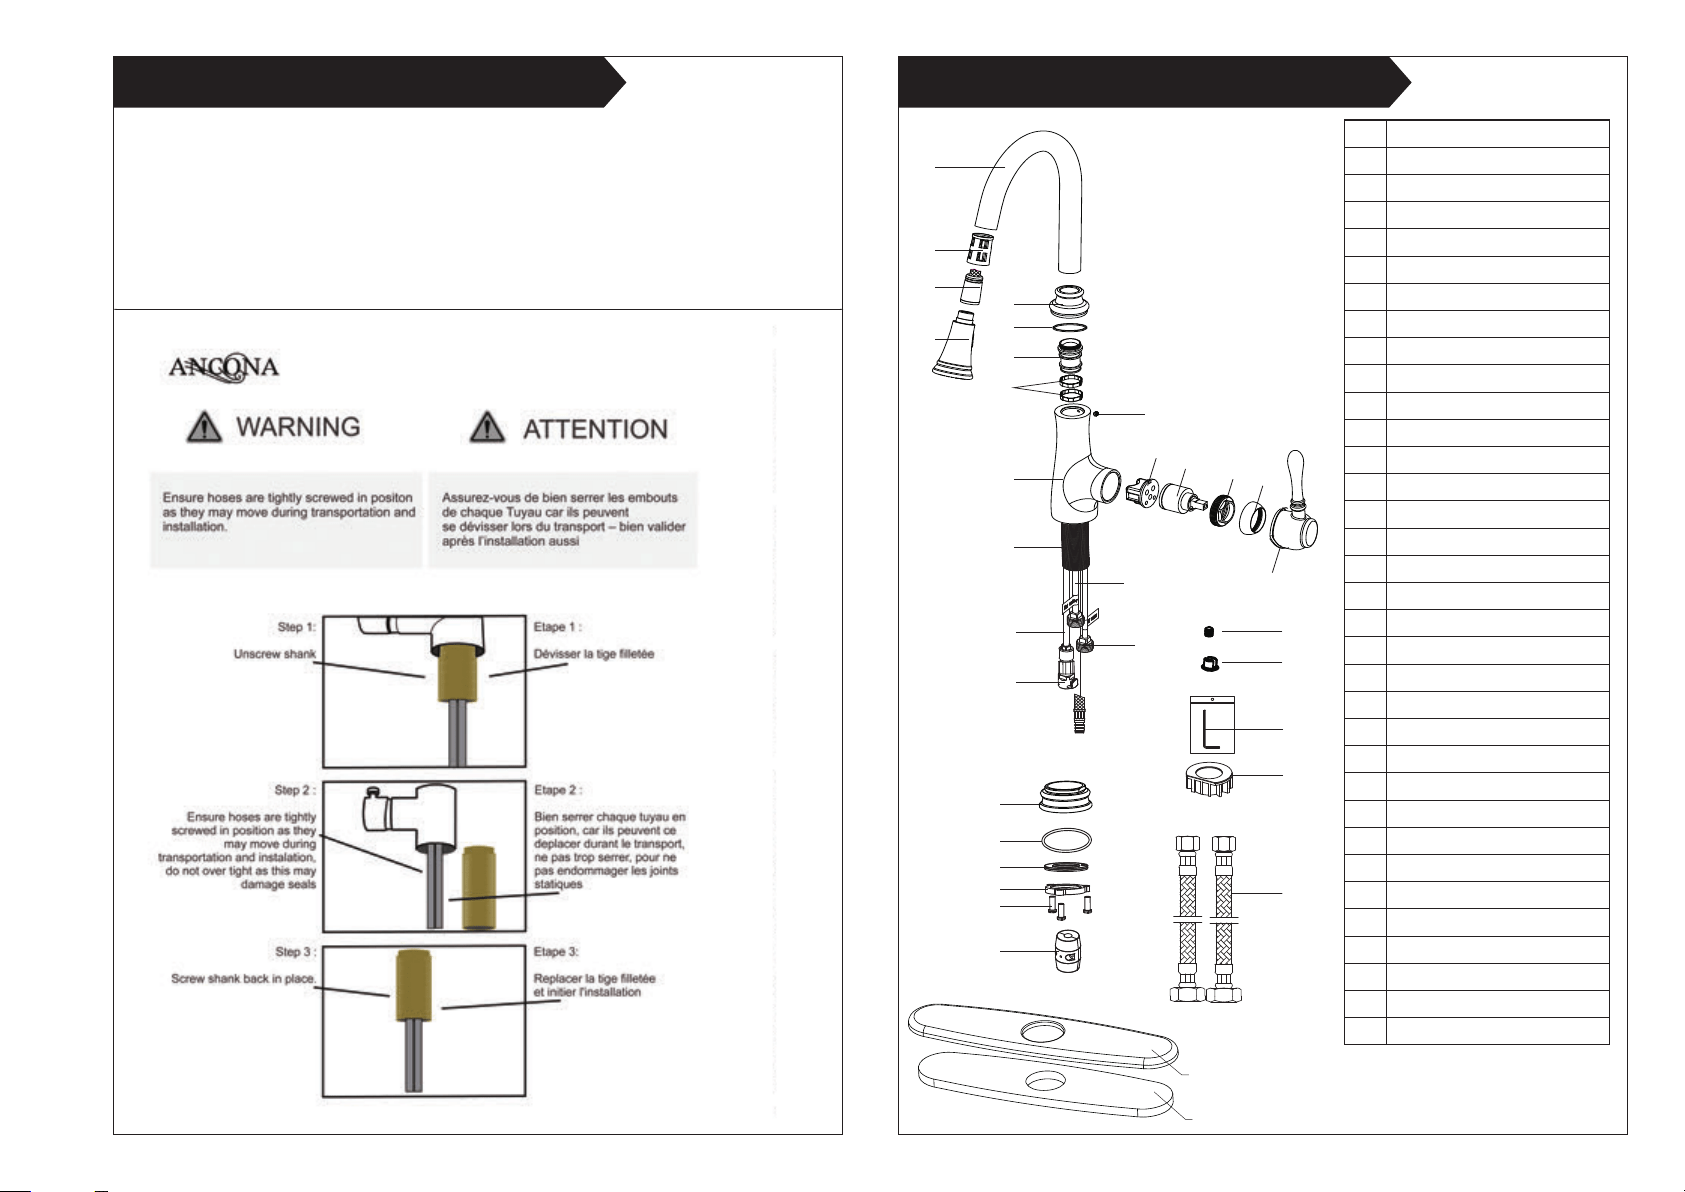
3
A. B. C.
Connect to water supply lines with either
A 3 8 O D copper tubing ball nose
risers with the coupling nuts or
B 3 8 copper tubing no ball with
supplied tube head interior connector or
C IPS faucet
connectors 1
2
.
4
Remove the shower by hand. Turn the
faucet handle all the way on, turn on hot
and cold water supply and flush water
lines for one minute. Reinstall shower
by hand.
5
Check all connections at arrows for
leaks and retighten if necessary. BUT
DON'T OVERTIGHTEN
. Clean it with water and dry it with soft cloth.
. Clean the product with gentle liquid or glass cleaner.
. Don't use acid cleaner.
. Don't clean with abrasive material, abrasive paper or knife.
Daily cleaning and care are required in order to keep the product shining and working properly.
hower hose
hower sleeve
pout
rim cap
ing
onnector
ing
crew
ody
artridge base
artridge
artridge locknut
rim cap
andle
crew
nde
hreaded shank
opper tubehot water
opper tube
opper tubecold water
uick connect
ase
O-ring
asket assembly
ock nut
crew
eight
Allen key
ase
Deck plate
asket
leible hose
hower