SKU
Model VT
Description
15356
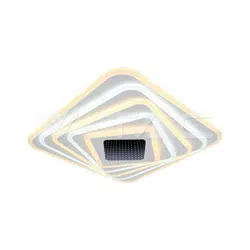
VT-7958
150W LED SMART DECORATIVE CEILING LAMP
(50*50*7CM) CCT: 3000K+6000K DIMMABLE+REMOTE
CONTROL
15357
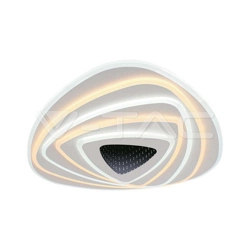
VT-7959
120W LED SMART DECORATIVE CEILING LAMP
(52*5CM) CCT: 3000K+6000K DIMMABLE+REMOTE
CONTROL
15358
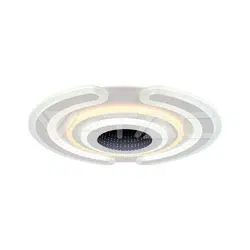
VT-7960
95W LED SMART DECORATIVE CEILING LAMP
(D50*7CM) CCT: 3000K+6000K DIMMABLE+REMOTE
CONTROL
15359
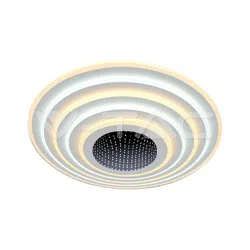
VT-7961
125W LED DECORATIVE CEILING LIGHT ( D60*H9CM)
COLORCODE: 3000K BLACK BODY
15360
VT-7962
130W LED DECORATIVE HANGING LIGHT (
L56*W48.5*156CM) COLORCODE: 3000K GOLD BODY

BG
Стъпки за сдвояване на дистанционно управление с плафони – посочени
модели:
1. Окабеляване на осветител / плафон към ел. мрежа съгласно приложена
инструкция/схема;
2. Поставяне на батерии в дистанционно управление;
3. Изключване на осветителя от захранването и повторно включване;
4. Натискане на бутон SETUP на дистанционното и задържане за период от
около 10 секунди;
5. При успешно сдвояване осветителя/плафона премигва и вече е свързан
с дистанционното управление;

EN
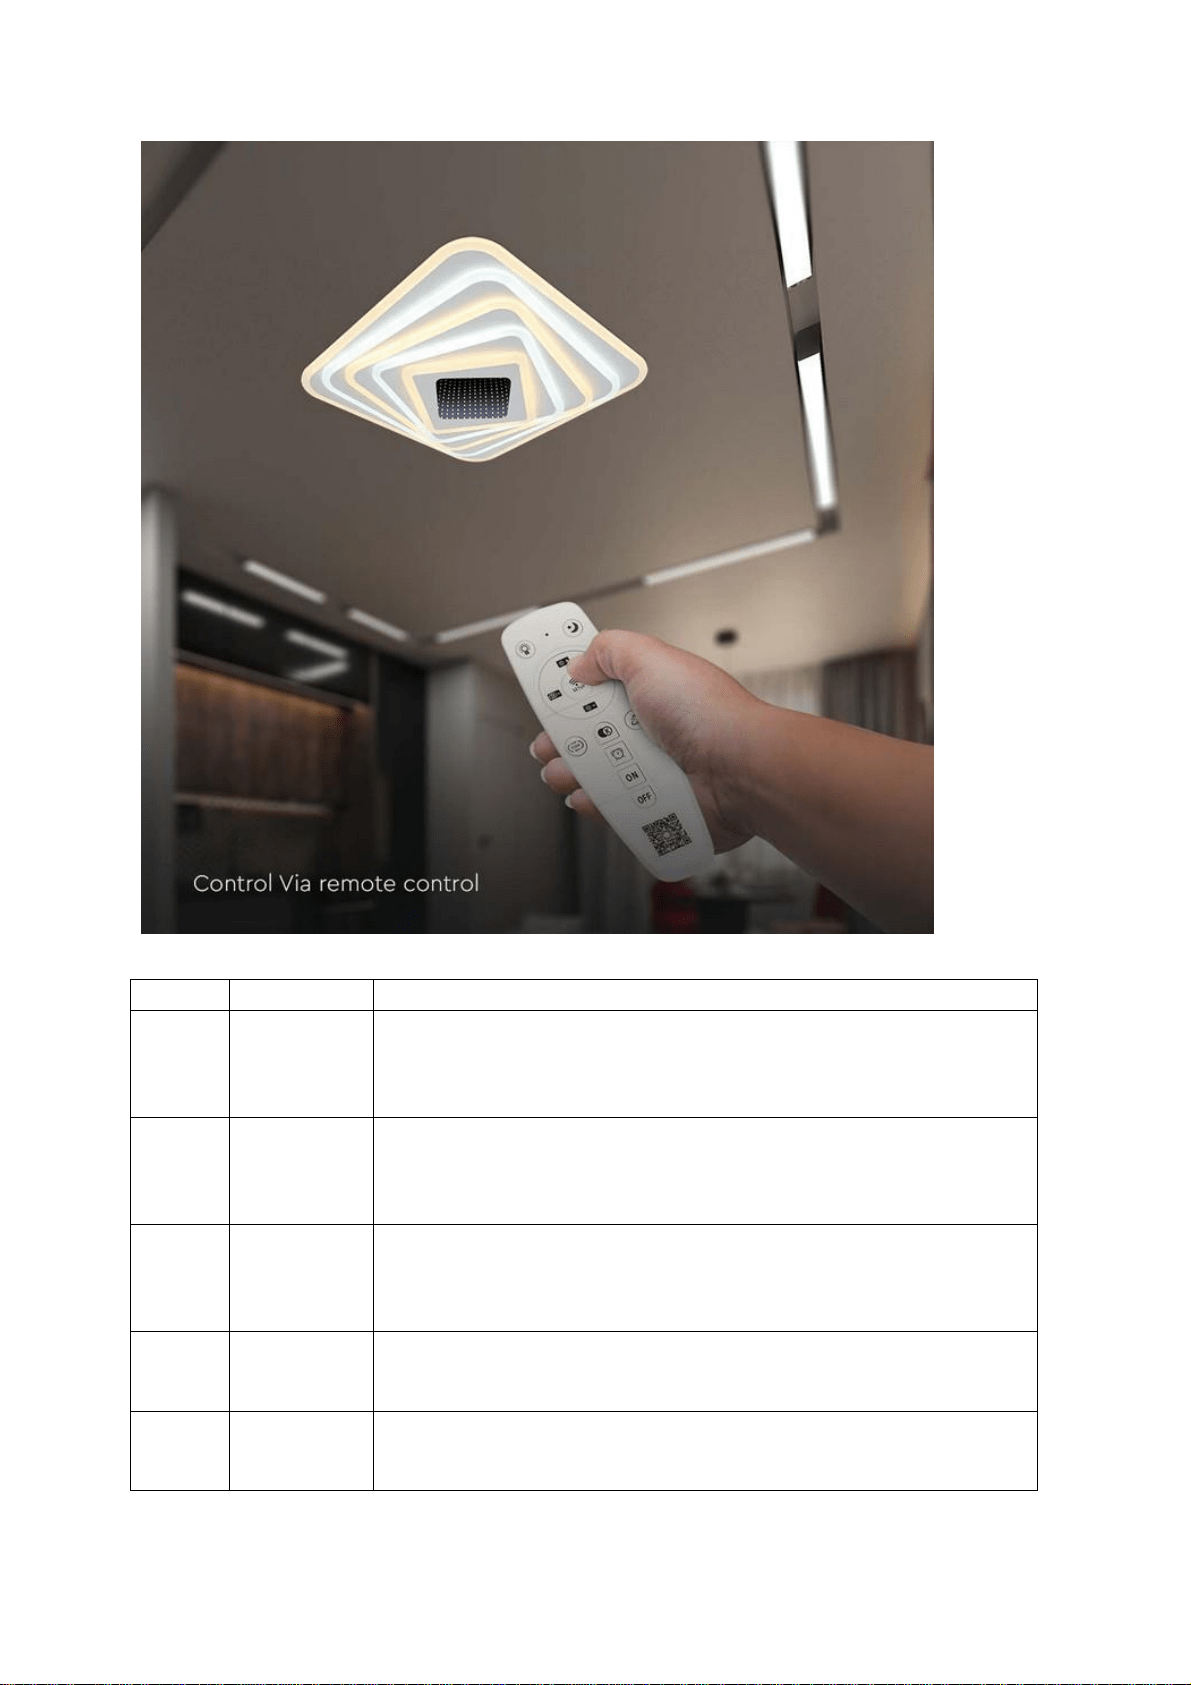
Steps for pairing a remote control with ceiling lights for the specified models:
1. Wiring the light fixture/ceiling light to the electrical network according to the
attached instruction/manual;
2. Inserting batteries into the remote control;
3. Unplug the light from the power supply and turn it on again;
4. Press the SETUP button on the remote control and hold it for about 10
seconds;
5. When successfully paired, the light/ceiling light flashes and is now connected
to the remote control.

GER
Schritte zum Koppeln einer Fernbedienung mit Deckenleuchten für die
angegebenen Modelle:
1. Verkabelung der Leuchte/Deckenleuchte mit dem Stromnetz gemäß der
beigefügten Anleitung/Handbuch;
2. Batterien in die Fernbedienung einlegen;
3. Trennen Sie die Leuchte vom Stromnetz und schalten Sie sie wieder ein;
4. Drücken Sie die SETUP-Taste auf der Fernbedienung und halten Sie sie etwa
10 Sekunden lang gedrückt;
5. Nach erfolgreicher Kopplung blinkt die Leuchte/Deckenleuchte und ist nun mit
der Fernbedienung verbunden;

IT
Passaggi per associare un telecomando alle plafoniere - modelli specificati:
1. Cablare la lampada/plafoniera alla rete elettrica secondo le istruzioni/schema
allegate;
2. Inserimento delle batterie nel telecomando;
3. Scollegare la lampada dall'alimentazione e riaccenderla;
4. Premere il pulsante SETUP sul telecomando e tenerlo premuto per circa 10
secondi;
5. Una volta accoppiata con successo, la luce/plafoniera lampeggia e ora è
collegata al telecomando;

HUN
A távirányító párosításának lépései a mennyezeti lámpákkal:
1. A mennyezeti lámpa bekötése a mellékelt használati utasítás/kézikönyv
szerint;
2. Elemek behelyezése a távirányítóba;
3. Kapcsolja ki a lámpát, és kapcsolja be újra;
4. Nyomja meg a SETUP gombot a távirányítón, és tartsa lenyomva körülbelül
10 másodpercig;
5. Sikeres párosítás után a mennyezeti lámpa villog, így jelzi, hogy
csatlakoztatva van a távirányítóhoz.

RO
Pași pentru asocierea unei telecomenzi cu plafonierele dintre modelele
specificate:
1. Conectarea corpului de iluminat/plafonierei la rețeaua electrică conform
instrucțiunilor din manualului atașat;
2. Introducerea bateriilor în telecomandă;
3. Deconectați plafoniera de la sursa de alimentare și porniți-o din nou;
4. Apăsați butonul SETUP de pe telecomandă și țineți-l apăsat timp de
aproximativ 10 secunde;
5. Când a fost asociată cu succes, plafoniera clipește și este acum conectată la
telecomandă.

GR
Βήματα για τη σύζευξη ενός τηλεχειριστηρίου με τα φώτα οροφής για τα
καθορισμένα μοντέλα:
1. Καλωδίωστε του φωτιστικού/φωτισμού οροφής στο ηλεκτρικό δίκτυο σύμφωνα
με τις συνημμένες οδηγίες/εγχειρίδιο.
2. Τοποθέστε μπαταριών στο τηλεχειριστήριο;
3. Αποσυνδέστε το φως από την παροχή ρεύματος και ανάψτε το ξανά;
4. Πατήστε το κουμπί SETUP στο τηλεχειριστήριο και κρατήστε το για περίπου
10 δευτερόλεπτα;
5. Όταν γίνει επιτυχής σύζευξη, το φως/φώτα οροφής αναβοσβήνει και είναι
πλέον συνδεδεμένο στο τηλεχειριστήριο.

ES
Pasos para emparejar un control remoto con luces de techo para los modelos
a continuación:
1. Cablear de la lámpara/lámpara de techo a la red eléctrica de acuerdo con el
manual de instrucciones adjunto;
2. Insertar baterías en el control remoto;
3. Desenchufar la luz de la fuente de alimentación y encenderla nuevamente;
4. Presionar el botón SETUP en el control remoto y mantenerlo presionado
durante unos 10 segundos;
5. Cuando se empareja correctamente, la luz/luz de techo parpadea y ahora está
conectada al control remoto.