
(Maximumpower:26W)
InstallationandMaintenanceManual
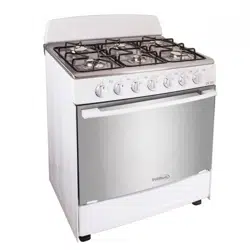
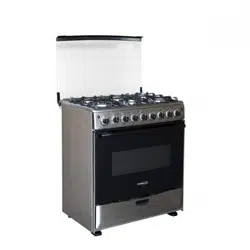
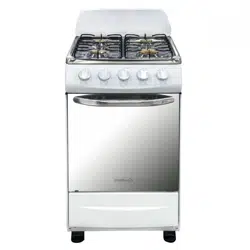
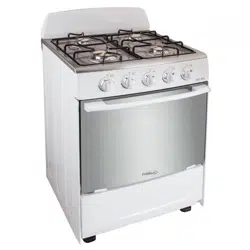
Freestanding Gas Stove
MODEL: PGS2000 PGS2009SK PISCIS
--
Warning
�
�
�
�Maintenanceproductsshouldbecarriedoutbyprofessionalandtechnicalpersonnelwithrelevantqualification,as
impropermaintenancemayleadtootherdangers!
�
�
�
�Beforemaintenance,besuretocutoffthepower!
�
�
�
�Ifthepowerlineshavefaulthiddendangers,itisrequiredtoreplacethepowerlineswithrelevanttechnicalparameters
(seethemanualforparameters)!
�Beforemaintenanceofproduct,pleasereadthesafetywarningsinthismanualcarefully!

--
Table
SPECIFICATIONS
SPECIFICATIONS
SPECIFICATIONS
SPECIFICATIONS……………………………………………………………………………1
TECHNICALINFORMATION…………………………………………………………….1
INSTALLATIONS
INSTALLATIONS
INSTALLATIONS
INSTALLATIONS……………………………………………………………………………..2
SAFETYPRECAUTIONSFORINSTALLATION
…………………………………..2
INSTALLATIONOFOVEN………………………………………………………………..2
SERVICE
SERVICE
SERVICE
SERVICEINFORMATION
I NFORMATION
INFORMATION
INFORMATION…………………………………………………………………3
NECESSARYTOOLS…………………………………………………………………...3
DISASSEMBLYANDADJUSTMENT……………………………………………….5
COMPONENTS
COMPONENTS
COMPONENTS
COMPONENTSTEST
T EST
TEST
TESTPROCEDURE
P ROCEDURE
PROCEDURE
PROCEDURE…………………………………………………6
TROUBLESHOOTING
TROUBLESHOOTING
TROUBLESHOOTING
TROUBLESHOOTING……………………………………………………………………....7
EXPLODE
EXPLODE
EXPLODE
EXPLODEVIEW
V IEW
VIEW
VIEW………………………………………………………………………………8
COMPONENTS
COMPONENTS
COMPONENTS
COMPONENTSLIST
L IST
LIST
LIST………………………………………………………………………..9
---1-
Specification
TechnicalParameters
ProductType
ProductDimensions
(Height/width/depth)(mm)
495*556*850
Maximumtemperature250°C
Functionswitch(quantity)6
Grillnumberoflayers4
Nozzleholediameter(mm)φ0.8/φ0.68/φ0.53/φ0.65
Heatingtubepower(down)(W)2700
20inch
---2-
Installation
BeforeMaintenance,pleasereadthefollowinginstructionscarefully!
InstallationWarning
1.Alltheequipmentaround50mmoftheproductshouldbeabletohaveheatresistanceabove75°C,otherwise,nearby
apparatusmaydeformduringtheuseofthisproduct.
2.Whenremovingpackingmaterials,keepmetalplates,packagingbags,foam,screwsandothermaterialsawayfromthe
reachofchildrentoavoidpotentialthreat.Forexample,childrenmayswallowsmallpartsorleadtoasphyxiationwhen
playpackagingbags.
OvenInstallation
1.Pleaseremovepackagingfirst,andtheninstallinreferencetothebelowspecifiedsize.(Pleasedisposepackaging
materialsproperly)
2.Ifitisnecessarytoliftormovetheoven,pleaseopentheovendoor,touchthetopandsquareholesontheback.Please
donotdirectlyuseovendoorhandletolifttheoven.
3.Theovenshouldnottouchorgetclosetoflammable,explosive,non-temperatureitems.
4.Floorforplacingtheovenshouldbesmoothenoughtoensuresufficientstabilityfortheproduct.
5.Productdimensions(Height/width/depth)(mm)495*556*850
---3-
MaintenanceInformation
RelevantTools
Relevanttoolslist.
•
•
•
•Drillsteelclamp(vise)•
•
•
•Needle-nosedpliers•
•
•
•Phillipsscrewdriver•
•
•
•Electriciron
•
•
•
•Solderwire•
•
•
•Insulationtape•
•
•
•Sandpaper•
•
•
•DCVoltageMeter
•
•
•
•ACVoltageMeter•
•
•
•Ohmmeter
Disassembleandrepair
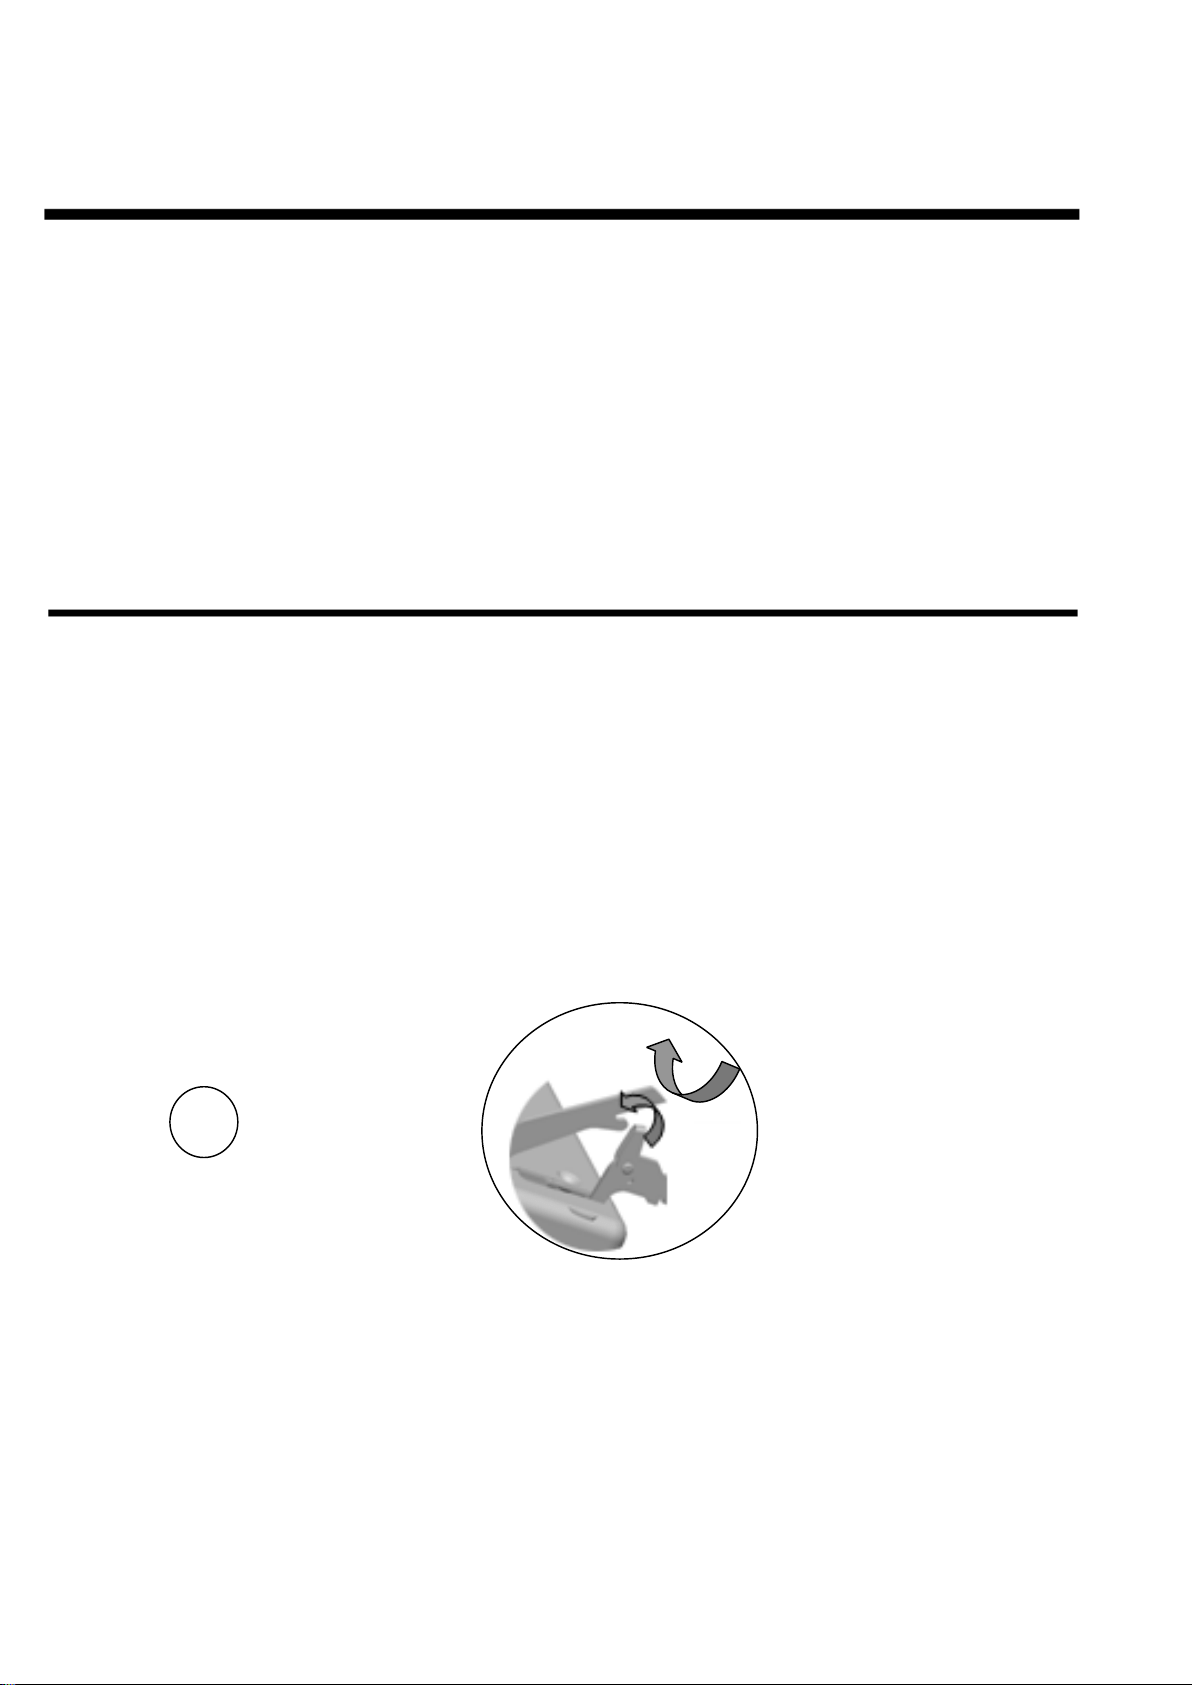
A.Theremovalofdoor
1)Opentheovendoortothehorizontalposition.
2)Slidesnapsoftheleftandrighthingetothemaximumposition.(Seebelowpictures)
3)Closethedoorto60degreesposition,graspthedoorwithbothhands,pulltogetherwiththehinge.(Seebelow
pictures)
Warning:thedoorcannotbepulledoutforciblytopreventbrokenglassintheremovalprocess
---4-
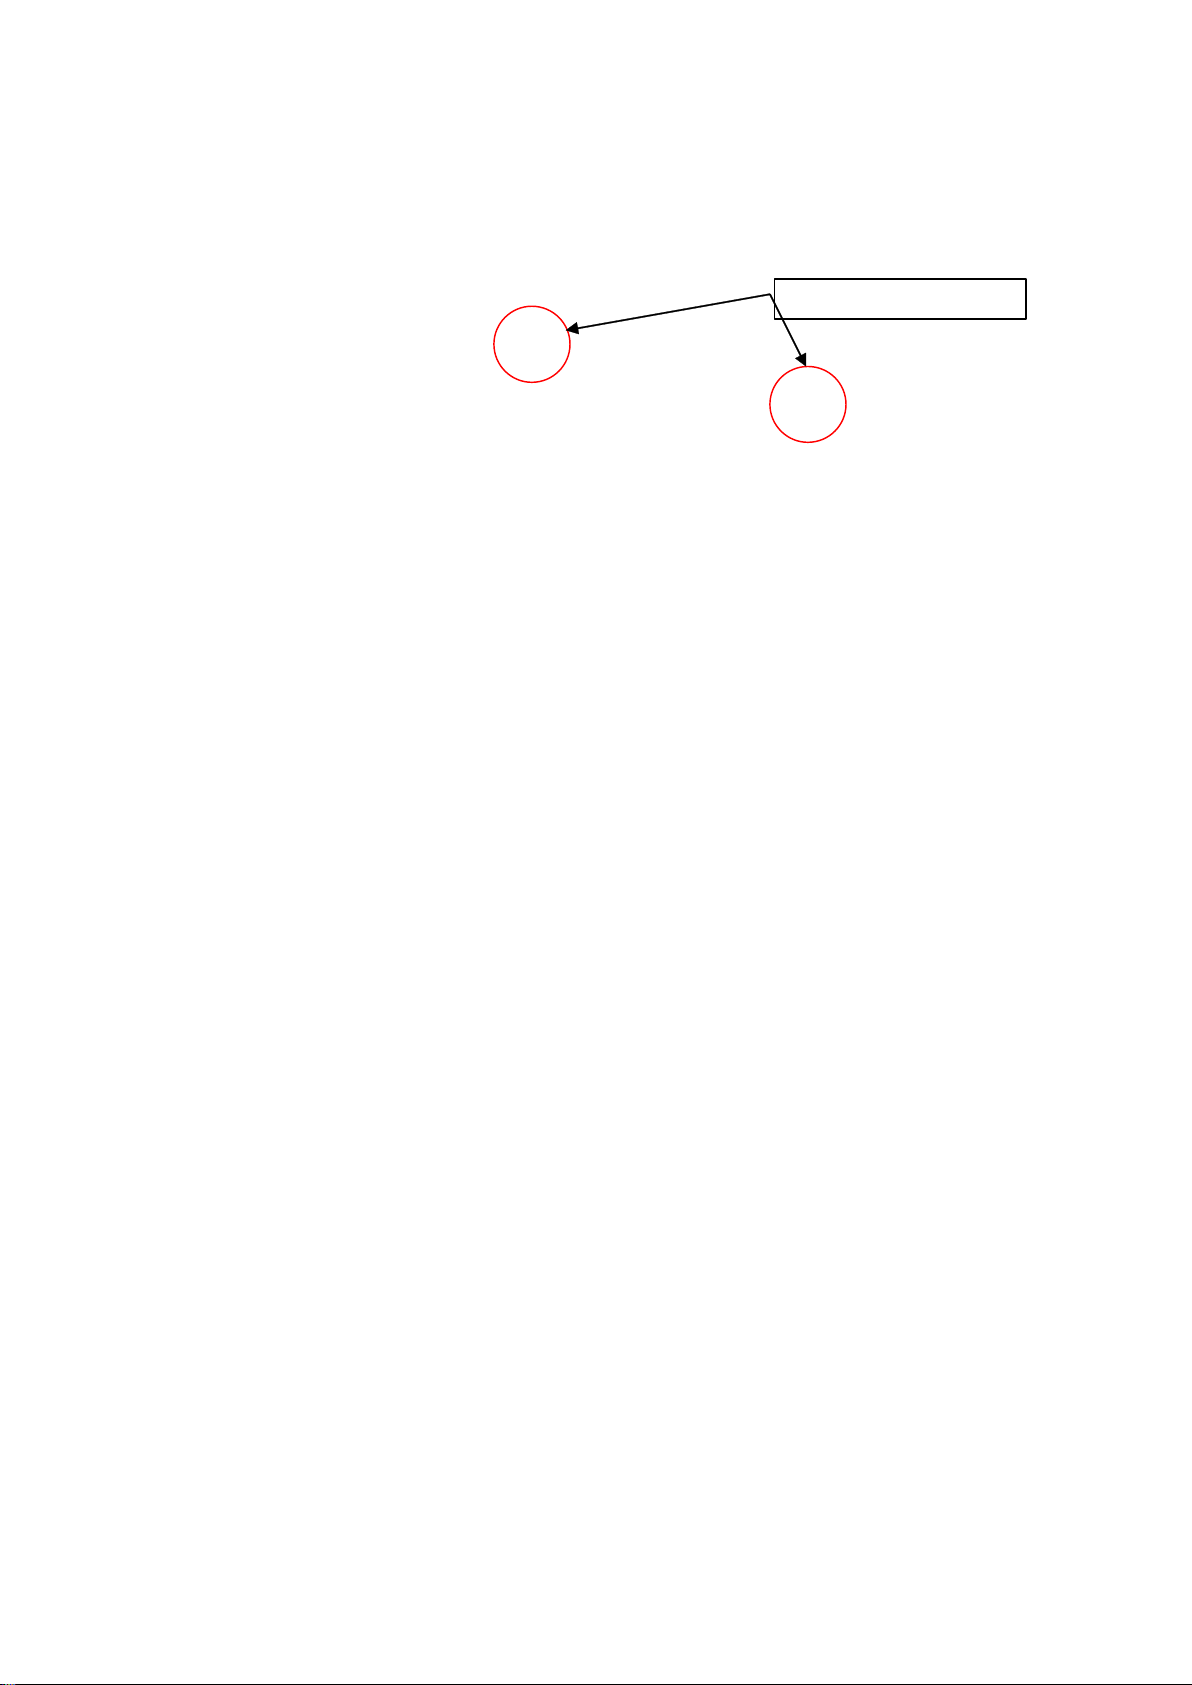
B.Theremovalofcooktopcover
1)Removethescrewsforfixingthebackboard.(Seebelowpictures)
C.Removetherightandleftbracketofthecooktop
1)Turnoffthegassource.
2)Removethescrewsonsupportingblocksofbothsidesofthecooktopcover.(Seebelowpictures)
Removethescrews

---5-
D.Removeofthestoveboard
1)Turnoffthegassupply,disconnectthepower,removethepowerline.
2)Removebackplateconnectionboard
3)Removethescrewsoftheendofthecookingplateconnectionthecup(Seebelowpictures)
4)Pushforward10-20mmfrombehindofthestoveboardbyhand,thenusetheappropriateforcetosqueezethesideofthe
stoveboard,takedownthestoveboardcarefully(can’ttakedownforcibly)
5)Accordingtothemaintenancecircuitdiagramofpartofthepowerfailureorgassourceinspectionandmaintenance
---6-
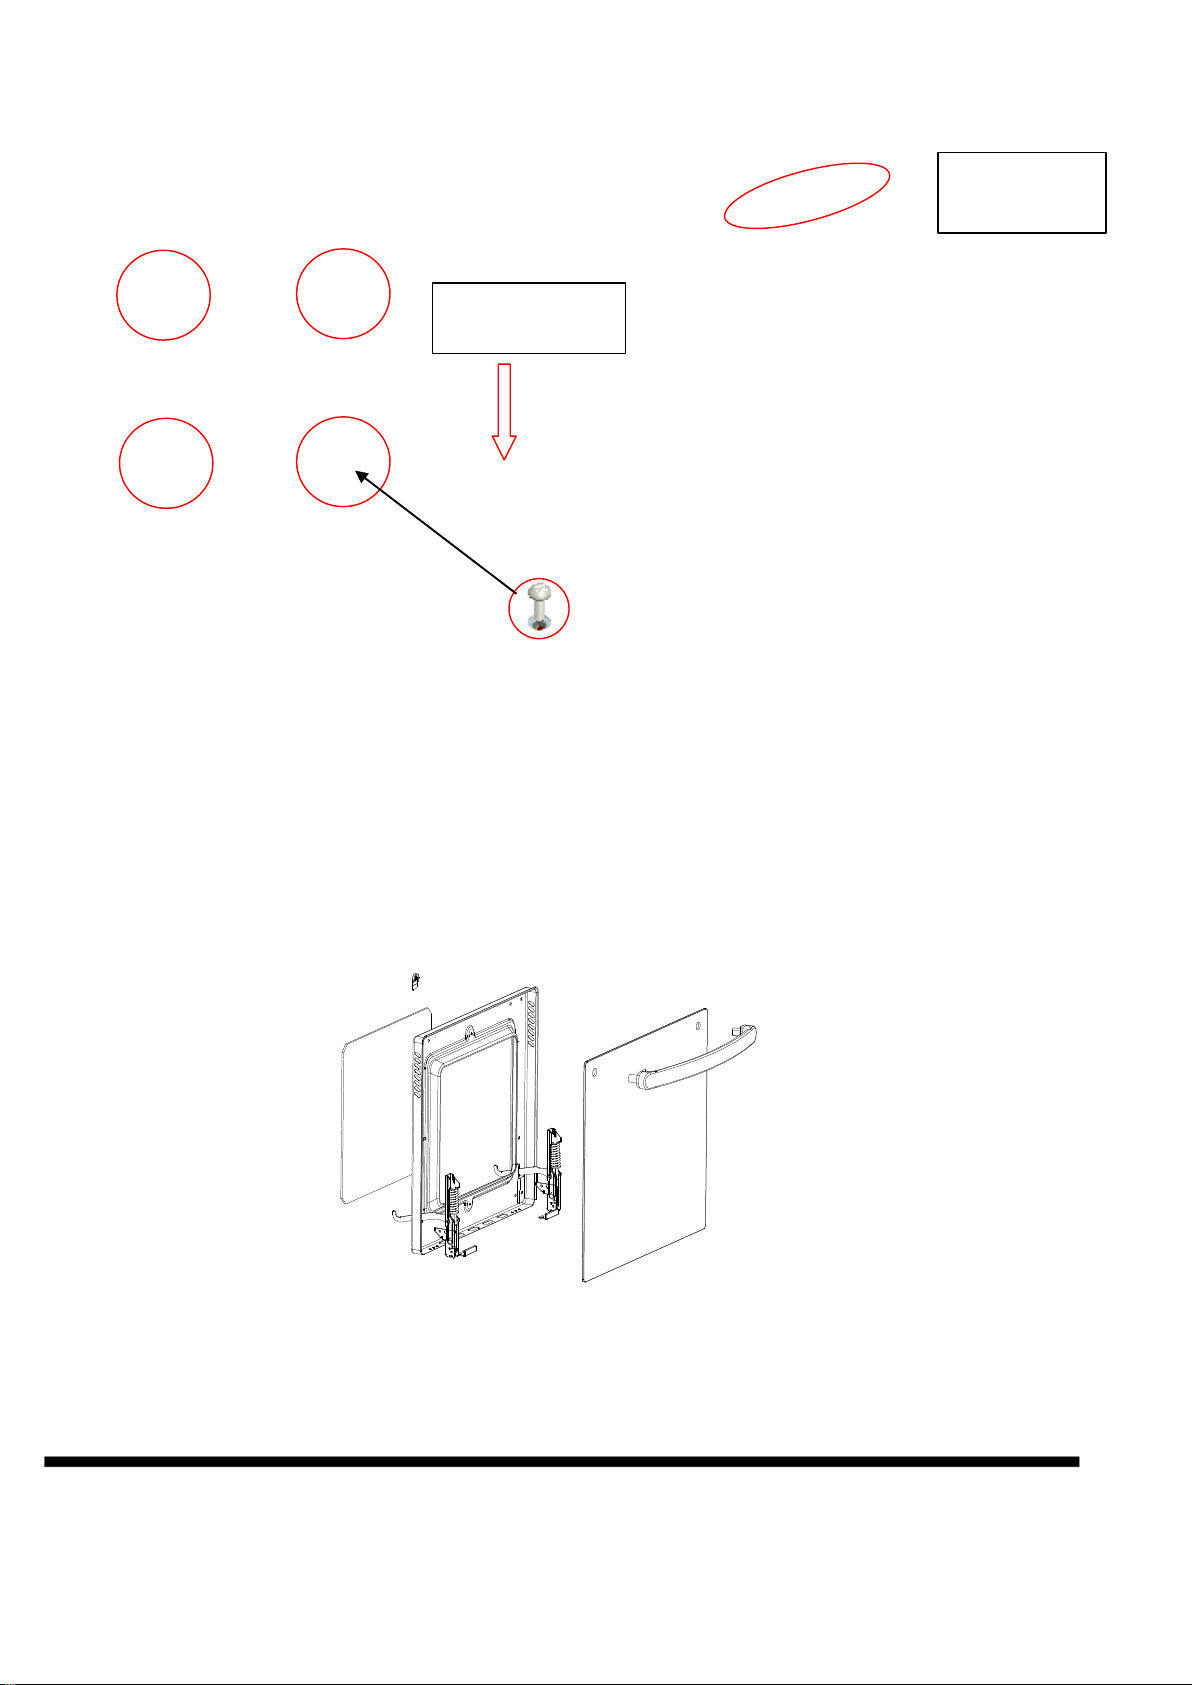
E.RemovalandReplacementofGlassDoor
1)Removethedoorandlieflatcarefully.
2)Removethescrewsforfixingsupportingblocksatthebottomofdoor.
3)Removethescrewsforfixinghandle,removethehandle,sealandwindowglassoutsidethedoor
carefully.
4)Removethesilicainthefourcornersofinsideglasswithabladeorothertools.(Glasswithcare)
5)Replaceglassinthesamespecificationsprovidedbymanufactures.(Glassmustbehightemperature
andtoughened)
RelevantTestofParts
Pneumatic
controlpart
Pushfromback
tofront5~10mm

---7-
Parts
T
estprogramResults
Stovebody
T
esttightness
(useairtightinstrumenttest:under15kpa
pressure)
Normal:lessthan0.5ml/min,
Fault:∞ormorethan0.5

---8-
Troubleshooting
Whenyoureceivecustomercomplaints,whatneedstodofirstisanalyzingcomplaintscarefully.Ifsomeofthefollowing
situationissuitable,pleasetellthecustomerhowtousetheovenproperly.Thiswillavoidunnecessarymaintenance.
Attention!
1.Checkgroundingbeforetrouble
2.Notethatsomehigh-voltagecircuit
Situation Check Results
Causes
Resolve
Ovendoesnot
work
Checkwhetherthe
switchispoweron
Nopower
Switchfailure Replace
Checkwhetherthe
energizedcableis
poweron
Nopower
Energizedcable
failure
Replace
Ovennot
heating
Checktheupper
heatingtube
components
Abnormal Damage Replace
AbnormalChecktheunder
heatingtube
components
Damage Replace
AbnormalStoveheatingtube Damage Replace
Connectorpoor
contact
Replace/
service

---9-
Name
Name
Name
Names
s
s
sand
a nd
and
andIcon
I con
Icon
Icons
s
s
sof
o f
of
ofParts
P arts
Parts
Parts
PartsName
Serial
number
Namenumber
1Outerglass1
2Doorbracket2
3Handbase2
4handle1
5Handlebracket2
6door1

---10-
7hinge2
8knob5
9Controlpanel1
10
V
alve0.682
11
V
alve0.52
12Maingastube1
13cooktop1
14Burnercup41
15Injector0.531
16Burner41
17Lid41
18Burnercup21
19Burner21
20Injector0.82
21Lid21
22Burnercup32
23Injector0.682
24Burner32
25Lid32
26grate2
27Gasrubefrontrow2
28Gasrubebaskrow2
29
V
alve0.451
30Bottomburnergastube1
31Injectorbase1
32Cooktopbracket4
33Sideboard2
35Cavityseal1
36Backingrack1
37Frontplate1
38Bakingtray1
39Bottomtray1
40Drawerpanel1
41Cavitybottompalte3
42Food4
43Cavitybracket2
44Cavitytopplate1
45Backplate1
46Backguard1

---
11
-
47Anti-fallchain1
48spring1
49Motorbracket2
50isolation2
51Ironwire2
52Injector0.741