Loading ...
Loading ...
Loading ...
MCD425A/W, R425A/W, MFD425A/W, P425A/W Ice Machines 27
6. Lower bottom bearing assembly into
evaporator mounting base.
7. While maintaining rm downward pressure
on bottom bearing assembly, tighten hex
head bolt with a 5/16 wrench.
8. Position evaporator over lower bearing
assembly and align grooves with pins in
bearing assembly.
9. Install vee band clamp and nut to 70 in/lb.
(Fig. 5).
Note: Clamp must be oriented as shown
in order for the insulation to be placed
properly.
10. Place auger in center of evaporator and
rotate to mate with drive pin.
11. Install ice compression loop, orienting loop.
12. Install upper bearing and seal assembly,
rotating bearing to slip pin into auger slot.
13. Install upper vee band clamp and nut to
70in/lb.
14. Install evaporator insulation.
15. Install compression nozzle and tubing.
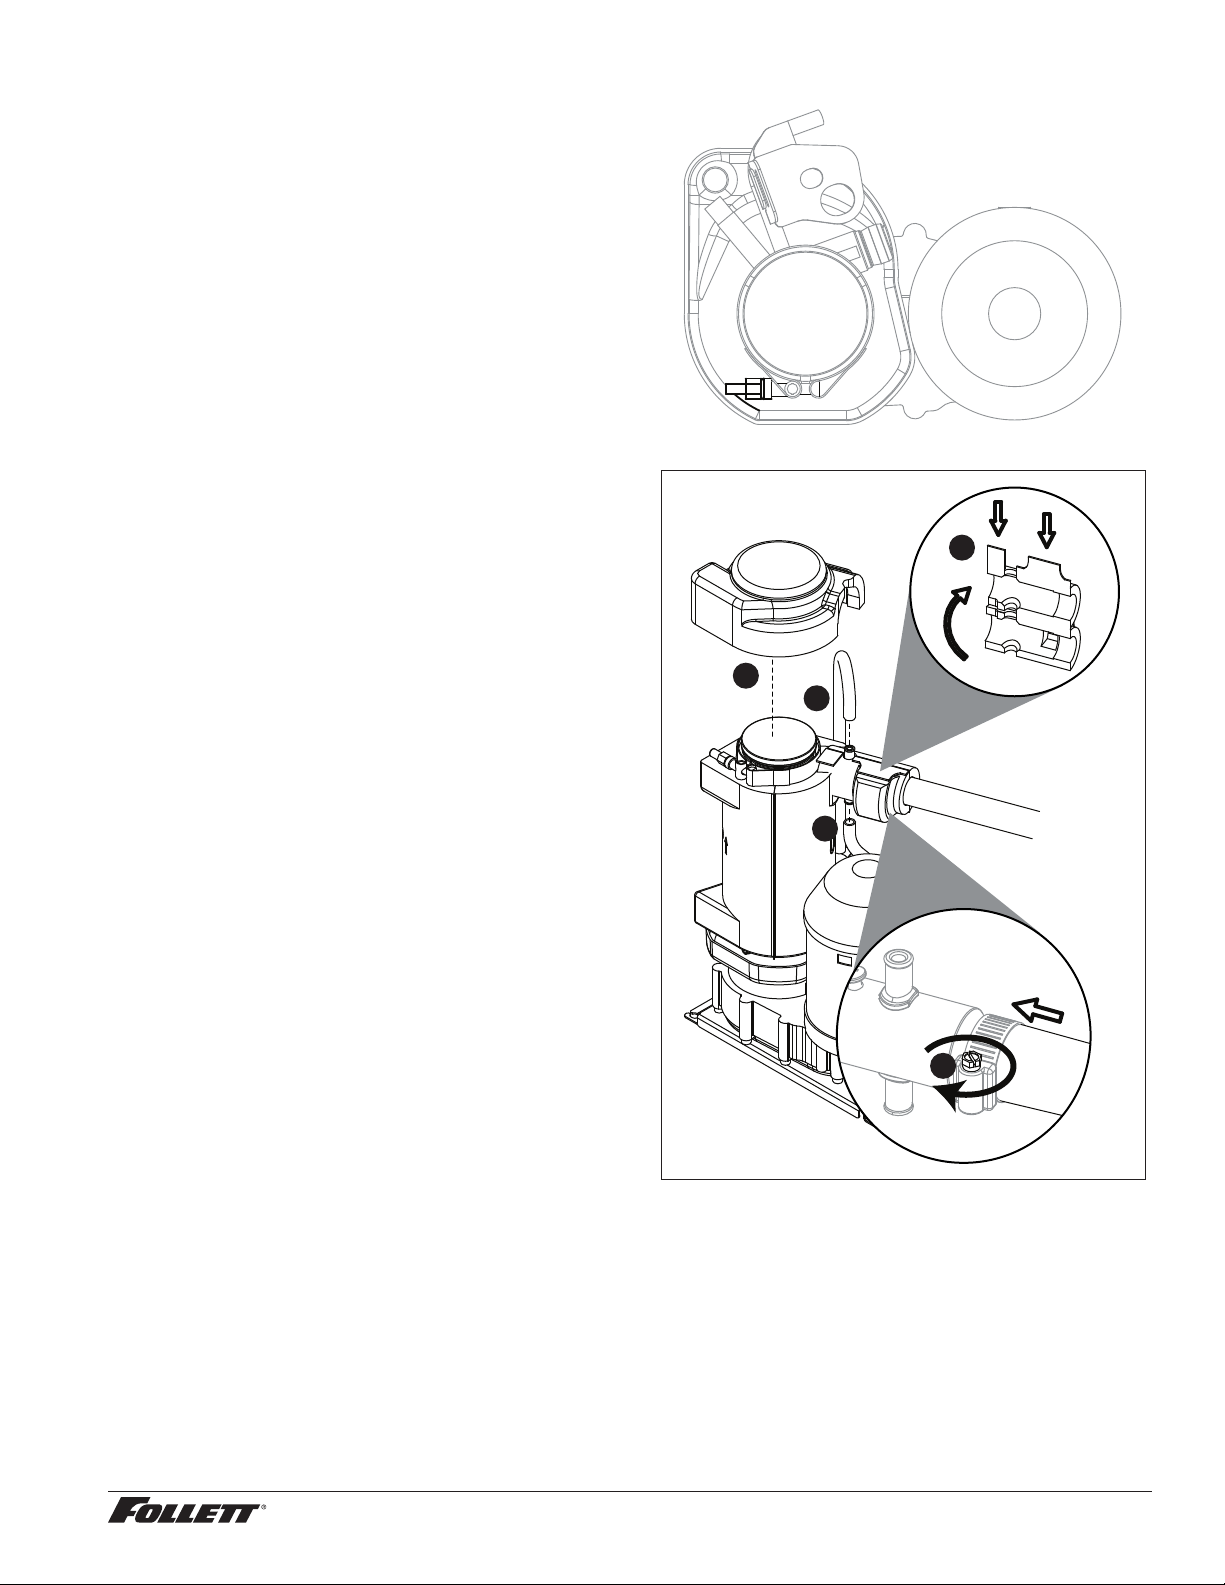
16. Secure ice transport tube with clamp
(Fig.6.1).
Note: Clamp must be oriented as shown
in order for the insulation to be placed
properly.
1 7. Install compression nozzle insulation
(Fig.6.2).
18. Install vent and drain tube (Fig.6.3).
19. Install top bearing insulation (Fig.6.4).
Gearmotor replacement
1. Disassemble evaporator.
2. Disconnect the wire connectors.
3. Remove 4 screws holding gear motor
mounting plate to base of ice machine and
lift gearbox and motor clear of ice machine.
4. Remove machine screws holding mounting
plate to motor.
5. Install new motor in reverse order.
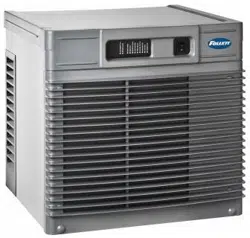
Fig. 5
Fig. 6
4
3
3
1
2
Loading ...
Loading ...
Loading ...