Loading ...
Loading ...
Loading ...
General Care & Cleaning
FEATURE OVERVIEW
Cleaning Recommendations for Ceramic Glass Cooktops (cont'd.)
Care & Cleaning of Stainless Steel / Removing & Replacing Oven Door
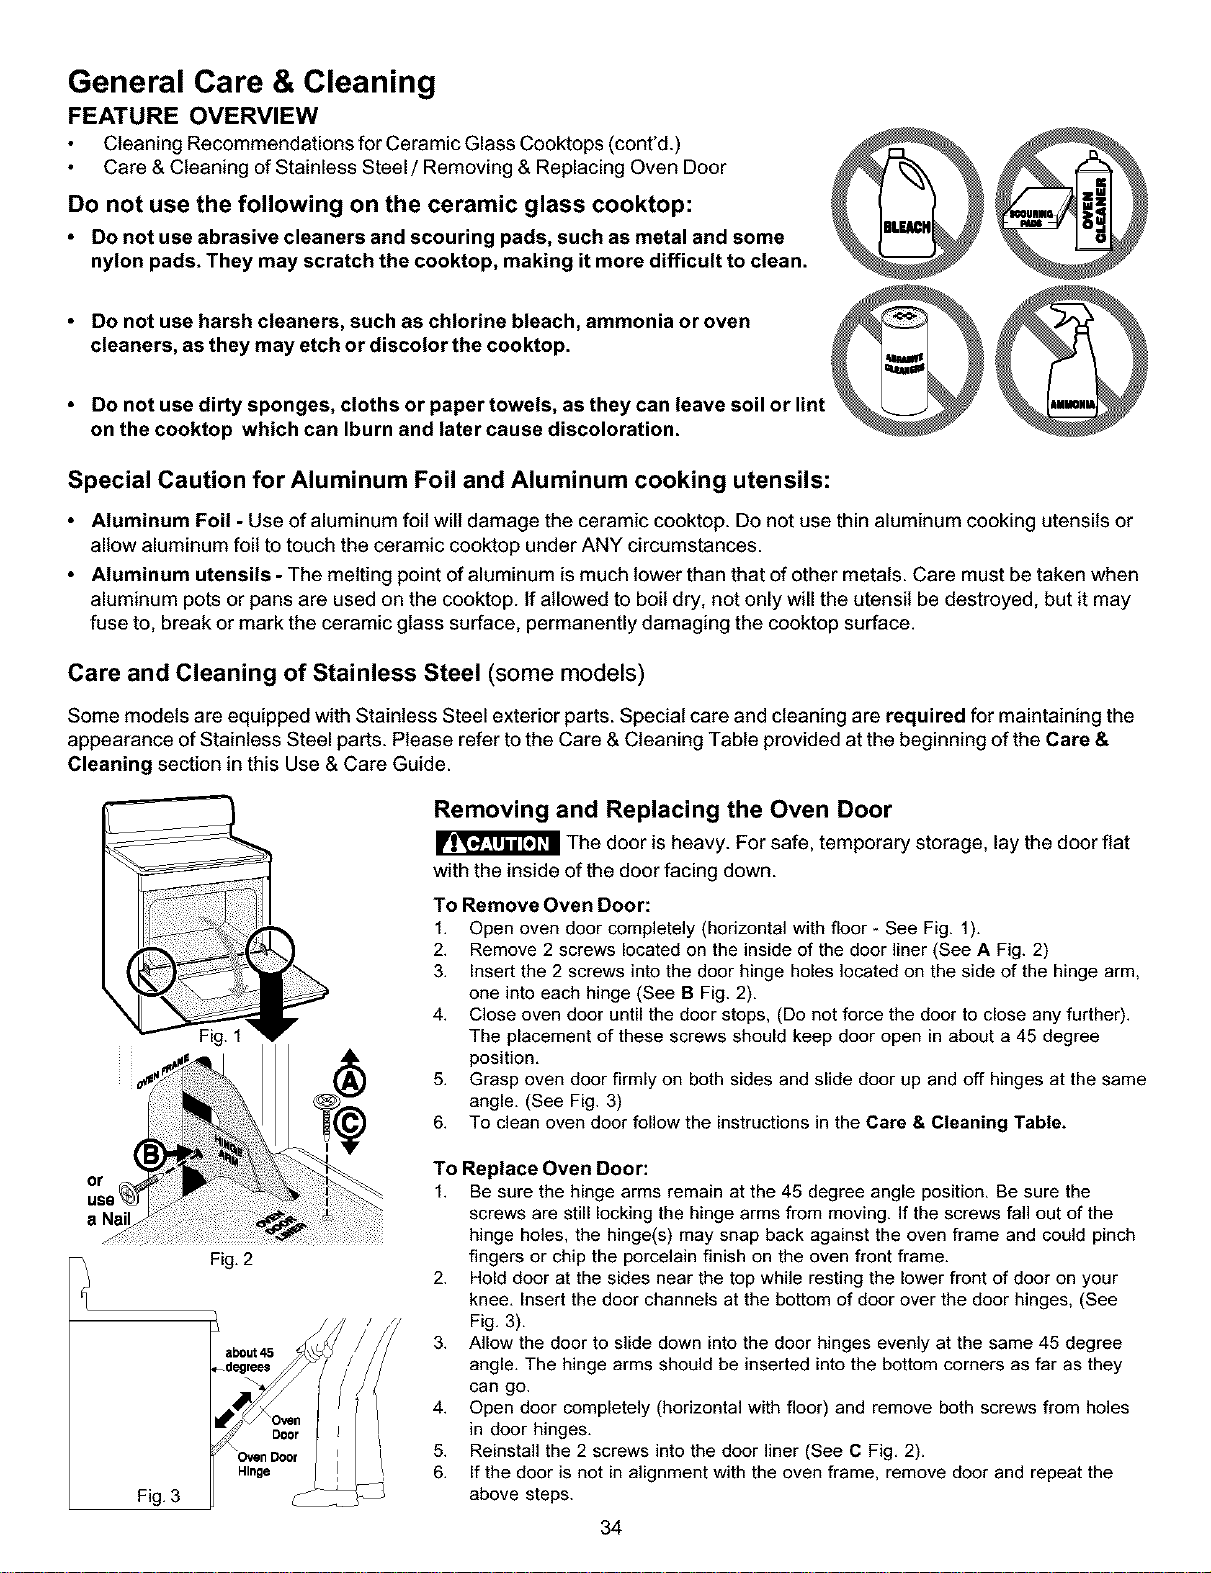
Do not use the following on the ceramic glass cooktop:
Do not use abrasive cleaners and scouring pads, such as metal and some
nylon pads. They may scratch the cooktop, making it more difficult to clean.
Do not use harsh cleaners, such as chlorine bleach, ammonia or oven _
i cleaners' as they may etch °r disc°l°r the c°°kt°p" 1_=_I
Do thOtUoSed iorty s potgts n; IbOtrhSOnrtlaPeertOWseles_la:cth: Ya;aonn!eave soil or lint
Special Caution for Aluminum Foil and Aluminum cooking utensils:
• Aluminum Foil - Use of aluminum foil will damage the ceramic cooktop. Do not use thin aluminum cooking utensils or
allow aluminum foil to touch the ceramic cooktop under ANY circumstances.
• Aluminum utensils - The melting point of aluminum is much lower than that of other metals. Care must be taken when
aluminum pots or pans are used on the cooktop. If allowed to boil dry, not only will the utensil be destroyed, but it may
fuse to, break or mark the ceramic glass surface, permanently damaging the cooktop surface.
Care and Cleaning of Stainless Steel (some models)
Some models are equipped with Stainless Steel exterior parts. Special care and cleaning are required for maintaining the
appearance of Stainless Steel parts. Please refer to the Care & Cleaning Table provided at the beginning of the Care &
Cleaning section in this Use & Care Guide.
Fig. 2
Removing and Replacing the Oven Door
The door is heavy. For safe, temporary storage, lay the door flat
with the inside of the door facing down.
To Remove Oven Door:
1. Open oven door completely (horizontal with floor - See Fig. 1).
2. Remove 2 screws located on the inside of the door liner (See A Fig. 2)
3. Insert the 2 screws into the door hinge holes located on the side of the hinge arm,
one into each hinge (See B Fig. 2).
4. Close oven door until the door stops, (Do not force the door to close any further).
The placement of these screws should keep door open in about a 45 degree
position.
5. Grasp oven door firmly on both sides and slide door up and off hinges at the same
angle. (See Fig. 3)
6. To clean oven door follow the instructions in the Care & Cleaning Table.
or
us8
Fig. 3
about 45
Hinge
To Replace Oven Door:
1. Be sure the hinge arms remain at the 45 degree angle position. Be sure the
screws are still locking the hinge arms from moving. If the screws fall out of the
hinge holes, the hinge(s) may snap back against the oven frame and could pinch
fingers or chip the porcelain finish on the oven front frame.
2. Hold door at the sides near the top while resting the lower front of door on your
knee. Insert the door channels at the bottom of door over the door hinges, (See
Fig. 3).
3. Allow the door to slide down into the door hinges evenly at the same 45 degree
angle. The hinge arms should be inserted into the bottom corners as far as they
can go.
4. Open door completely (horizontal with floor) and remove both screws from holes
in door hinges.
5. Reinstall the 2 screws into the door liner (See C Fig. 2).
6. If the door is not in alignment with the oven frame, remove door and repeat the
above steps.
34
Loading ...
Loading ...
Loading ...