Loading ...
Loading ...
Loading ...
30
bromic.com/heat
OPERATING INSTRUCTIONS
WARNING: MUST ONLY BE SERVICED BY LICENSED &
AUTHORIZED TECHNICIAN.
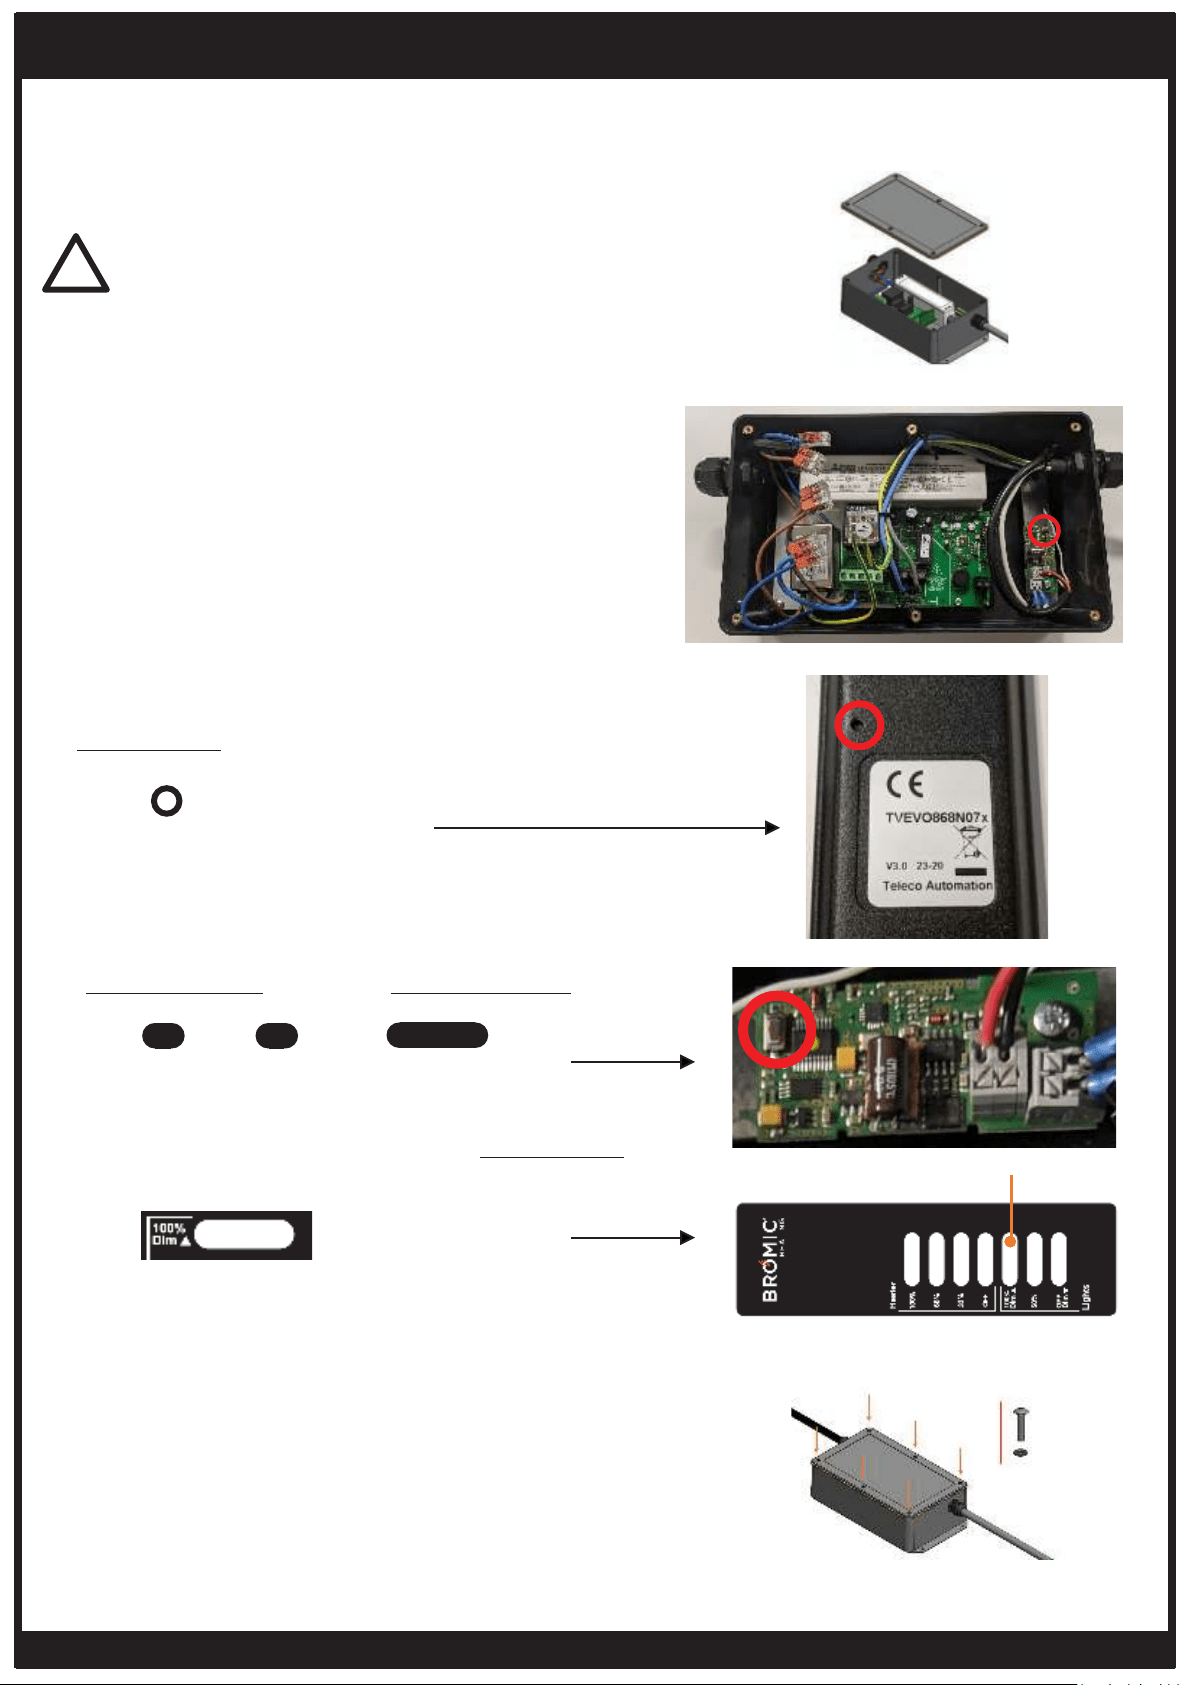
1. Open cover to the Pendant Control Box, by removing
6x Oval head screws (#4-40 - Length: 1/2”) from the
cover.
2. Locate the small black button on the small LED PCB
(shown in image on right), and the small button mid way
down the back face of the remote (for later steps).
3. Switch the power supply to the Eclipse Pendant
Control ON.
4. Using a thin item (e.g. paper clip/needle),
SHORT PRESS the small button on the rear of the
remote.
Within 5 seconds of pressing the small button on the rear
of the remote, press the small black button on the LED
PCB 3 times, holding the button down on the third press.
(2X SHORT PRESS followed by 1X PRESS & HOLD)
While the LED PCB button is held down, SHORT PRESS
the Lights 100% button on the remote control.
5. The LED on the Heater head will flash 3 times to
indicate the remote is paired.
6. Refit cover to the box, ensuring the 6 X M3 O-Rings
are present on the 6x Oval head screws (#4-40 - Length:
1/2”).
Lights 100% (DIM˄)
Lights OFF (DIM˅)
DANGER
ELECTRICAL SHOCK HAZARD! Serious injury or death
may occur. Do not touch any components other than
specified below. Protective equiment including insulated
gloves must be worn.
!
1 2 3(hold)
PAIRING REMOTE CONTROL TO LED PCB (BOTTOM 3 BUTTONS OF REMOTE).
1s (short)
Remote Reset button
1s (short)
Loading ...
Loading ...