Loading ...
Loading ...
Loading ...
Do not block any of these vents with food packages. If the vents
are blocked, airflow will be prevented and temperature and
moisture problems may occur.
IMPORTANT: Because air circulates between both sections, any
odors formed in one section will transfer to the other. You must
thoroughly clean both sections to eliminate odors. To prevent
odor transfer and drying out of food, wrap or cover foods tightly.
See the "Refrigerator Features" section for details.
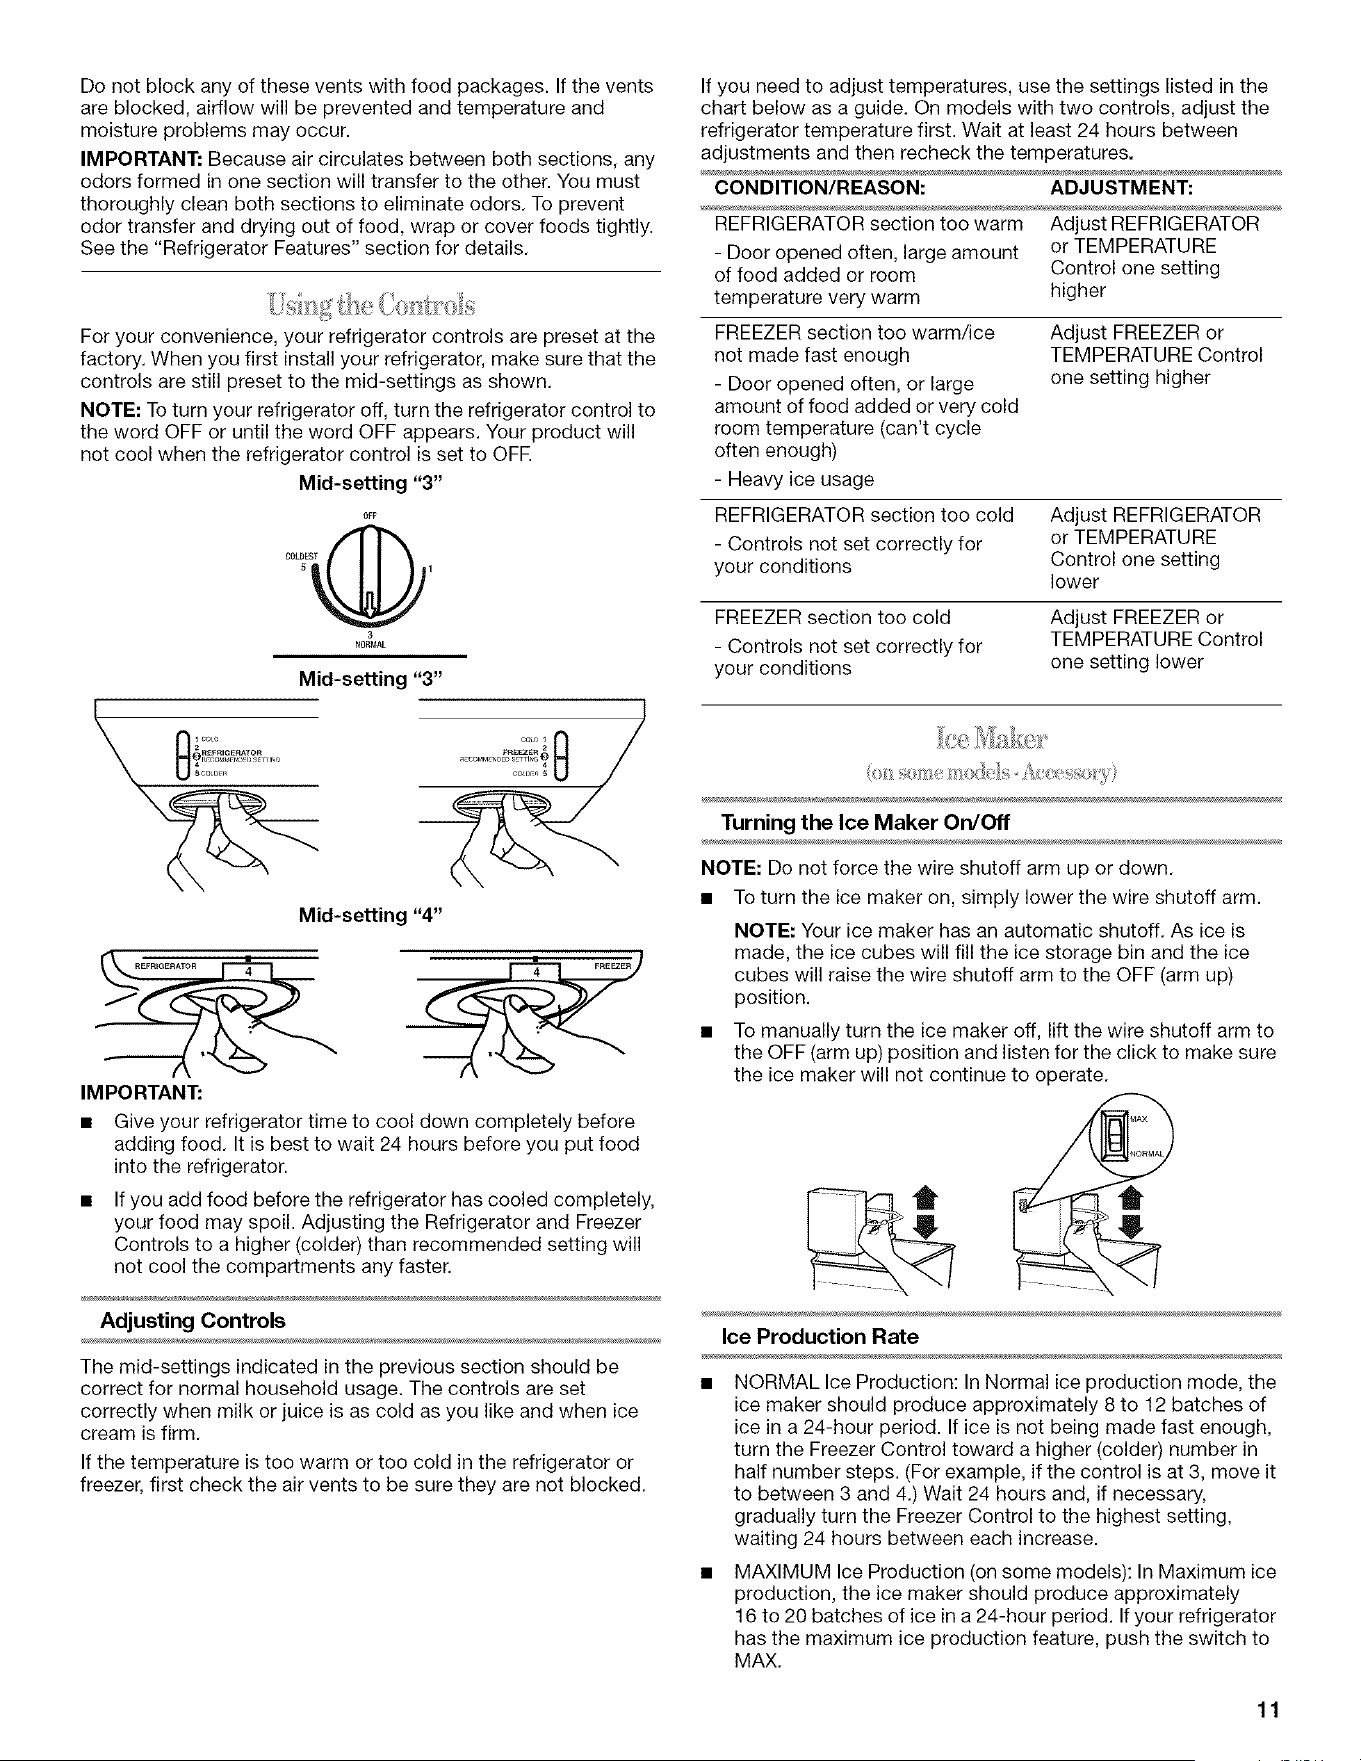
For your convenience, your refrigerator controls are preset at the
factory. When you first install your refrigerator, make sure that the
controls are still preset to the mid-settings as shown.
NOTE: To turn your refrigerator off, turn the refrigerator control to
the word OFF or until the word OFF appears. Your product will
not cool when the refrigerator control is set to OFR
Mid-setting "3"
OFF
COLDES0
5 1
3
NORMAL
IMPORTANT:
Give your refrigerator time to cool down completely before
adding food. It is best to wait 24 hours before you put food
into the refrigerator.
If you add food before the refrigerator has cooled completely,
your food may spoil. Adjusting the Refrigerator and Freezer
Controls to a higher (colder) than recommended setting will
not cool the compartments any faster.
Adjusting Controls
The mid-settings indicated in the previous section should be
correct for normal household usage. The controls are set
correctly when milk or juice is as cold as you like and when ice
cream is firm.
If the temperature is too warm or too cold in the refrigerator or
freezer, first check the air vents to be sure they are not blocked.
If you need to adjust temperatures, use the settings listed in the
chart below as a guide. On models with two controls, adjust the
refrigerator temperature first. Wait at least 24 hours between
adjustments and then recheck the temperatures.
CONDITION/REASON: ADJUSTMENT:
REFRIGERATOR section too warm Adjust REFRIGERATOR
- Door opened often, large amount or TEMPERATURE
of food added or room Control one setting
temperature very warm higher
FREEZER section too warm/ice
not made fast enough
- Door opened often, or large
amount of food added or very cold
room temperature (can't cycle
often enough)
- Heavy ice usage
Adjust FREEZER or
TEMPERATURE Control
one setting higher
REFRIGERATOR section too cold
- Controls not set correctly for
your conditions
Adjust REFRIGERATOR
or TEMPERATURE
Control one setting
lower
FREEZER section too cold
- Controls not set correctly for
your conditions
Adjust FREEZER or
TEMPERATURE Control
one setting lower
Turning the Ice Maker On/Off
NOTE: Do not force the wire shutoff arm up or down.
• To turn the ice maker on, simply lower the wire shutoff arm.
NOTE: Your ice maker has an automatic shutoff. As ice is
made, the ice cubes will fill the ice storage bin and the ice
cubes will raise the wire shutoff arm to the OFF (arm up)
position.
To manually turn the ice maker off, lift the wire shutoff arm to
the OFF (arm up) position and listen for the click to make sure
the ice maker will not continue to operate.
Ice Production Rate
NORMAL Ice Production: In Normal ice production mode, the
ice maker should produce approximately 8 to 12 batches of
ice in a 24-hour period. If ice is not being made fast enough,
turn the Freezer Control toward a higher (colder) number in
half number steps. (For example, if the control is at 3, move it
to between 3 and 4.) Wait 24 hours and, if necessary,
gradually turn the Freezer Control to the highest setting,
waiting 24 hours between each increase.
MAXIMUM Ice Production (on some models): In Maximum ice
production, the ice maker should produce approximately
16 to 20 batches of ice in a 24-hour period. If your refrigerator
has the maximum ice production feature, push the switch to
MAX.
11
Loading ...
Loading ...
Loading ...