Loading ...
Loading ...
Loading ...
9001040675 Rev B English 3
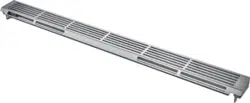
Island Trim Installation
Island Trim Installation
Recommendations
The Island Trim is intended for slide-in range installations in
a kitchen island or peninsula, not for installations against a
wall.
To help prevent inadvertant contact with a hot Island Trim, it
is suggested that a minimum 6” (152.4 mm) clearance be
maintained between the rear and sides of the slide-in range
cut out and the outside of the island. Figure 1: Minimum
recommended range cut out clearance. See the Slide-In
Range Installation Manual for other clearance information.
Figure 1: Minimum recommended range cut out clearance
Procedure for a Gas Slide-In
Range (HGI8054, HGIP054
ranges only)
Tools Needed
• Torx T20 screwdriver
•gloves
Preparation
IMPORTANT!
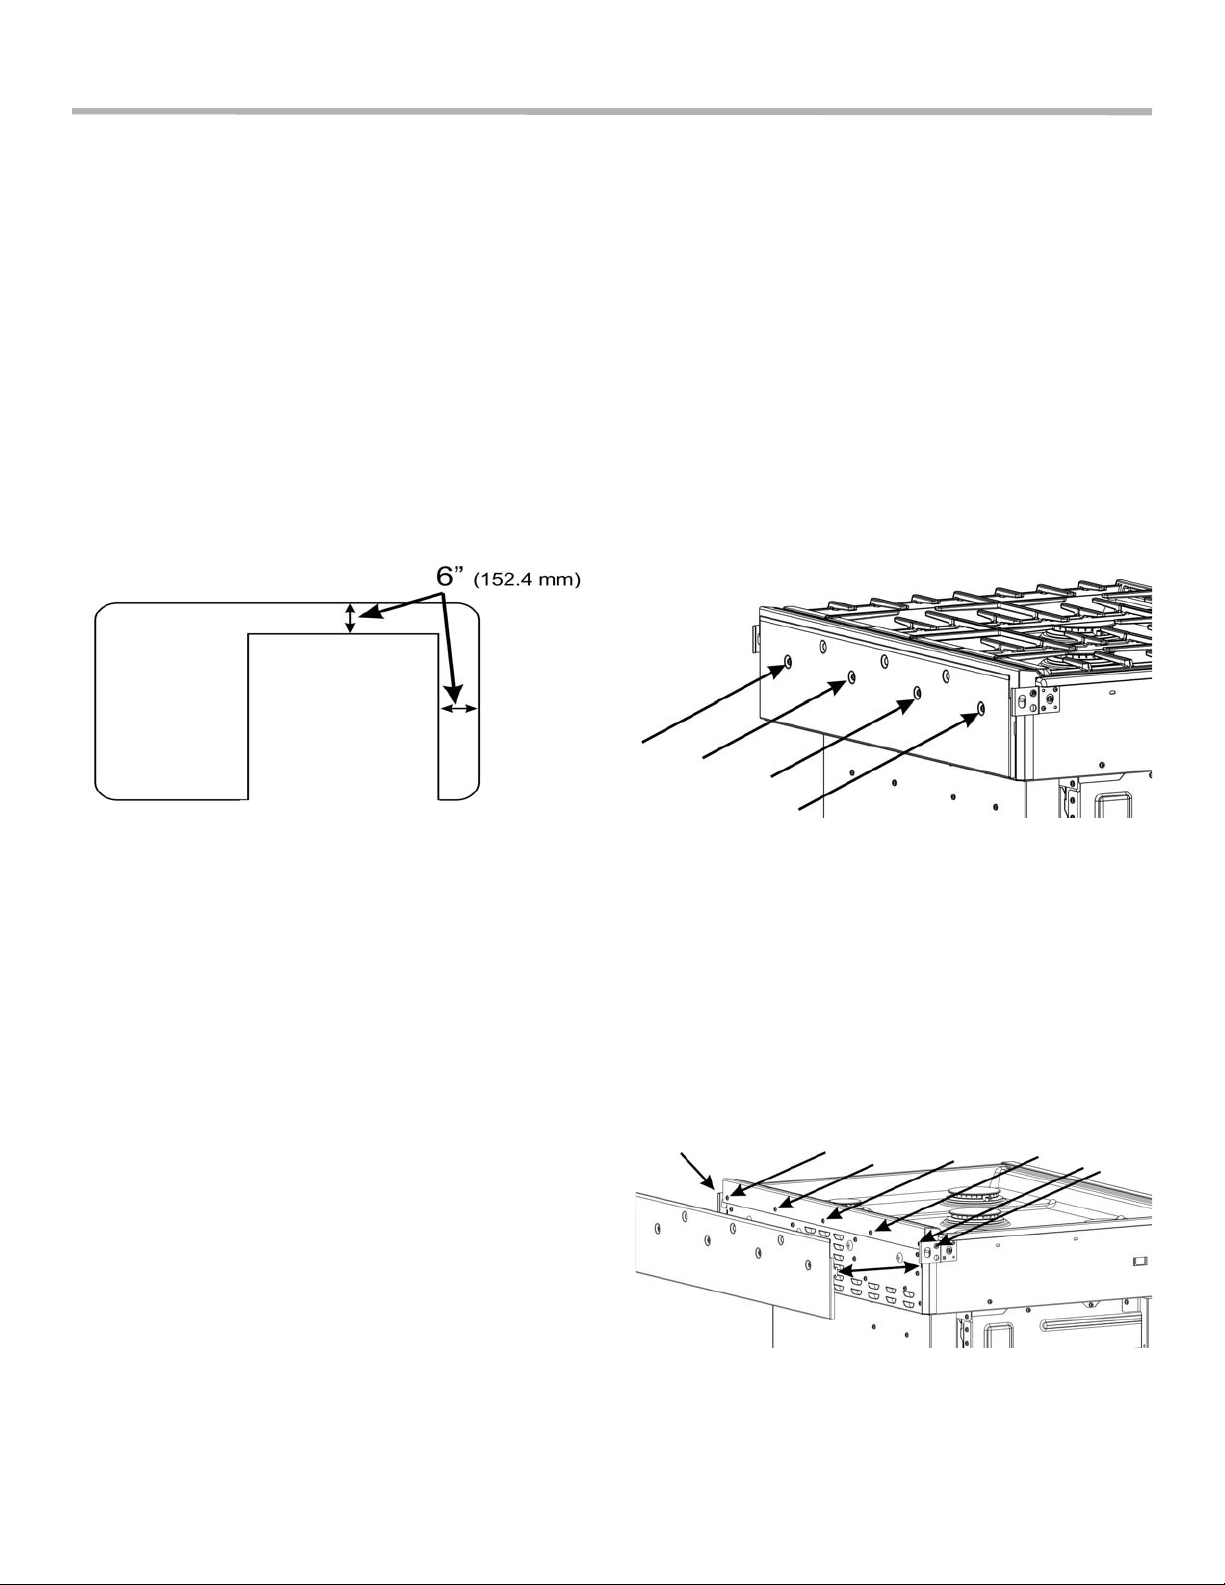
Can the range slide out enough to give access to the rear
and side screws of the rear louver cover and rear vent trim?
See Figure 2: Rear louver cover screw locations and Figure
3: Trim screw locations (louver cover removed).
• If the range can slide out, continue to the Procedure.
• If the range cannot slide out, contact a qualified service
person to disconnect the gas or electrical connections
that prevent the range from being pulled out before
continuing to the Procedure.
• Read the Tip Over Warning in the Safety section of this
manual. Be aware of this when the range has been
pulled out of the anti-tip bracket for this installation.
Procedure
1. Confirm that the range surfaces and cooktop grates are
cool enough to be comfortably touched.
2. Slide the range out enough to access the rear louver
cover mounting screws. Read the Proper Handling
Technique Notice in the Safety Section of this manual.
3. Remove the four screws holding the rear louver cover.
Save these screws to reattach the louver cover. See
Figure 2: Rear louver cover screw locations.
Figure 2: Rear louver cover screw locations
4. Lift the louver cover out of the slots holding it in place.
Note the slot locations for later. See Figure 3: Trim
screw locations (louver cover removed).
5. Remove the cooktop grates.
6. Remove the screws holding the trim (five screws on the
back and one screw on each end). Save two of these
screws for installation of Island Trim. See Figure 3:
Trim screw locations (louver cover removed).
Figure 3: Trim screw locations (louver cover removed)
7. Rotate the trim forward and lift it off.
Loading ...
Loading ...
Loading ...