Loading ...
Loading ...
Loading ...
22
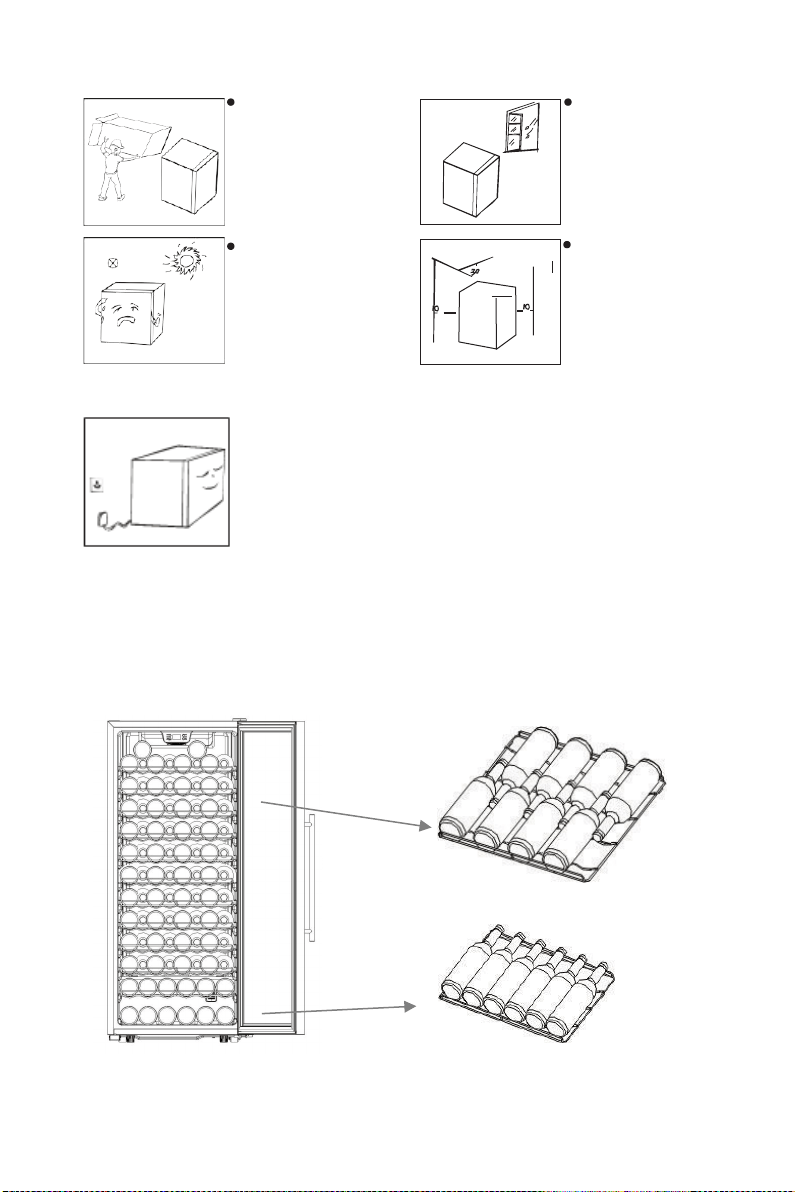
2.3 Placement
2.4 Start to use
Before using the cooler,
remove all packing materials
including bottom cushions
and foam and tapes inside
the cooler, tear off the
protective film on the door
and the cooler body.
.
Avoid direct sunlight and heat
sources such as stove, heating
radiator, etc.
.
The cooler is placed in a
well-ventilated indoor
place; the ground shall
be flat, and sturdy
(rotate left or right to
adjust the feet for
leveling if unstable).
.
The top space of the
cooler shall be greater
than 30cm, and the
distances from both sides
and backside shall be
more than 10cm to
facilitate heat dissipation.
The cooler shall stay for 2 hours before connecting power when it is initially
started.
Clean up the inner chamber before putting into use the first time.
Do not connect the cooler to an electronic energy saving plug and converter
that can convert DC into AC (E.g.: solar energy system, ship grid).
Water drop or frost will be generated on the back side of cooler when the
compressor is running. Wiping out frost or water drop is not needed as the
back will wipe them out automatically. The defrosted water will be collected
into a drain tank, then inflow into the water disposal pan above the
compressor and vaporized.
2.5 Bottle arrangement
Do not let bottles touch the back side of cooler in order to maintain good air circulation in the cooler.
The bottle number shown here may be different from bottles in different shape and size.
The capacity for bottle storage in the wine cabinet is based on the following marked bottle size. Oversize
bottles may have impact on the cooler capacity.
(The picture above is only for reference. The actual configuration will depend on the
physical product or statement by the distributor.)
Loading ...
Loading ...
Loading ...