Loading ...
Loading ...
Loading ...

©2019 NEC Display Solutions, Ltd. Page 35 of 74
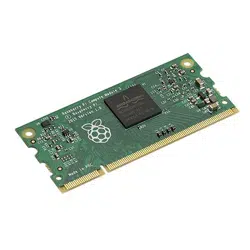
• EXPAND - Use EXPAND if the Compute Module is configured to output “limited” video in the
range 16-235. The display will expand the video from the range 16-235 to 0-255 internally.
The video range used by the Compute Module depends on the Operating System. By default and
depending on the OS, many distributions will automatically output a video signal to the display that uses
video levels 16 to 235. A configuration file or menu setting is used to configure the video level. See “Table
5-1: Operating System Distro” for details about each OS.
For Raspbian and many other OS distros, the current video settings can be confirmed by typing the
following into a terminal window:
tvservice –s
The output should show something similar to the following:
“HDMI CEA (16) RGB lim 16:9, 1920x1080 @ 60.00 Hz, progressive”
If “lim” is shown, it means that limited 16 – 235 video is being output to the display.
To change this setting, a configuration file must be edited. If changing the setting from the Compute
Module itself, use the built in text editor “Nano” to edit the config.txt file:
sudo nano /boot/config.txt
Scroll to the end of the file and enter the following line:
hdmi_pixel_encoding=2
Save the file by pressing CONTROL + o then ENTER
Exit Nano by pressing CONTROL + x
Restart the Compute Module by typing:
sudo reboot
When rebooted, confirm the video levels are correct by using the following command again:
tvservice –s
The output should now show “full”
“HDMI CEA (16) RGB full 16:9, 1920x1080 @ 60.00 Hz, progressive”
8.2 To disable overscan (if black bars are visible on the sides of the
screen)
Either
• Run the Raspberry Pi Config utility
sudo raspi-config
Select: 9 Advanced Options
Loading ...
Loading ...
Loading ...
