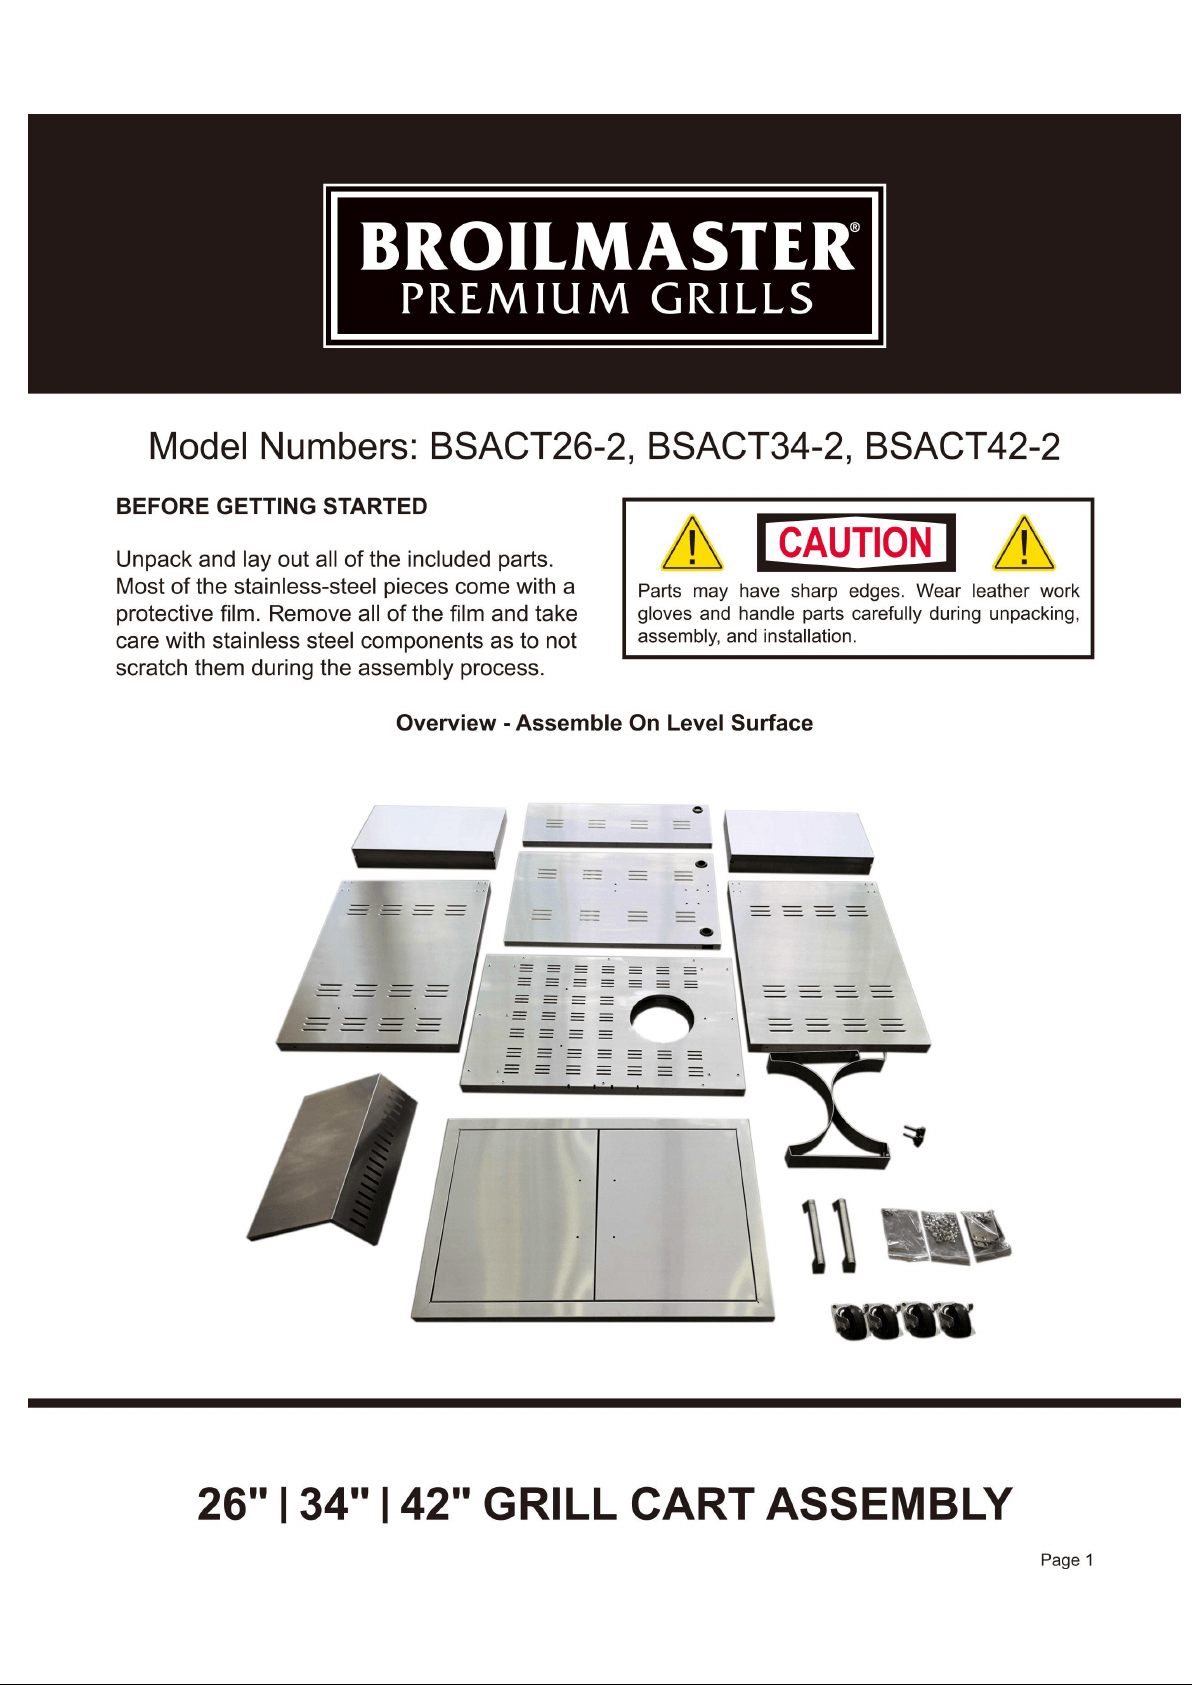


Follow Steps 1 Through 5.
STEP-1:Remove all parts from the carton and
please use an assistant to help in this cart
assembly.
STEP-3 :Attach the Right & Left Side Panel (#3
& 4)to the Bottom Panel(#2)by using 6 sets
M5x12 screw with captive washer(The tank hole
of Bottom Panel#2 is on the right side.)
STEP-4:Attach Bottom Back Panel(#5)to the
Side Panels(#3 & 4)by using 6 sets M5x12
screw with captive washer and then to the
Bottom Panel(#2)by using 3 sets M5x12 screw
with captive washer.
STEP-5:Attach Upper Back Panel(#6)to the
Side Panels(#3 & 4)by using 4 sets M5x12
screw with captive washer, and then to use 3
sets M5x12 screw with captive washer to attach
with the Bottom Back Panel (#5).
3
STEP-2:With the Bottom Panel ( #2 ) positioned
upside down on a protective surface,attach all of
the Locking Casters(#1)using 4 sets M5x12 screw
with captive washer on each castor.

Follow Steps 6 Through 8.
STEP-7:Attach the Tank Securing Bracket With
Ring(#8)by using 2pcs plum screw, and then
to use 4 sets M5x12 screw with captive washer
to attach with Bottom Back Panel (#5).
STEP-8:Attach the Assembled Door Unit(#10)to
the Right & Left Side Panel(#3 & 4)by using 8 sets
M5x12 screw with captive washer,and then use
another 3 sets M5x12 screw with captive washer to
attach it to Bottom Panel(#2).
STEP-6:Attach Tank Interference Step(#7)to
the Bottom Panel(#2)by using 2 sets M5x12
screw with captive washer, and then to use 2
sets M5x12 screw with captive washer to be
attached with Left Side Panel(#3).

Follow Steps 9 Through 10.
STEP-9:Attach two Door Handles(#9)to the
Assembled Door Unit(#10)by using 4 sets M4x8
screw with captive washer.
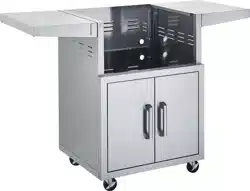
STEP-10:Assemble 1 set Left & Right Side
Shelf Brackets(#11)to the Left & Right Side
Shelves' slots(#3 & 4), then attach a Side
Shelf(#12)to each Side Panel by using
16pcs M5x12 Countersunk Head Screw.

Follow Steps 11.
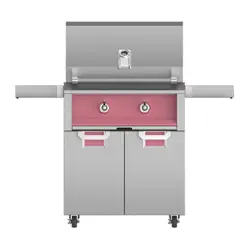
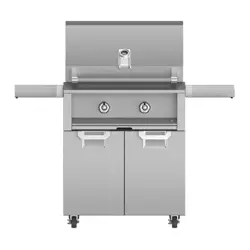
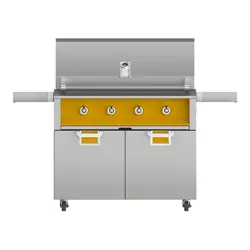
STEP-11:Finally,the barbecue is ready to be
installed into the cart. Once installed, secure
the barbecue head with 2pcs M5x12 screw
through the holes that are on each side,
towards the front, on the inside of the grill.
DRAW YOUR ATTENTION:
Note1:Mounting holes in the Bottom Back
Panel#5:①&② is for Tank Securing Strap
With Ring(#8). ③ There is also four holes
that are for mounting the transformer(These
holes are only for BBQ HEAD WITH LIGHTS).
Note2:Large Round holes in the Upper and
Bottom Back Panel
(#5 & #6):④ is for LP
Hose; ⑤&⑥ are for transformer wire.
Note3
:Some adjustments may be needed to
obtain proper placement or level positioning
with the cart . Make sure to tighten all
screws with screwdriver.

Installation Is Complete.