INSTRUCTION MANUAL
2-SLICE PRESS GRILL
MODEL NO.: ABC192
220-240V~50/60Hz 1000W
Please read the instruction carefully before use

Read all instructions before operating and save for future reference
1. This appliance is for household use only. Do not use this appliance for other
than its intended use .Do not use outdoors.
2. Do not leave the appliance unattended when in use .Young children or infirm
persons should be supervised to ensure that they do not play with or misuse
the appliance.
3. Do not touch hot surfaces, use the handle to lift the top plate.
4. Always use the Grill on a dry level surface.
5. Do not place this appliance on or near a hot gas or electric burner, or where it
could touch a heated oven.
6. When using this appliance, provide adequate air space above and on all sides
for circulation.
7. On surfaces where heat may cause a problem, an insulating mat is
recommended.
8. Do not let the cord hang over the edge of a table or counter, touch hot
surfaces or become knotted.
9. Do not immerse cord, plug or appliance in water or any other liquid.
10. Always turn the power off at the power outlet and then remove the plug
before attempting to move the appliance is not in use and before cleaning or
storing.
11. Do not use harsh abrasives, caustic cleaners or oven cleaners when cleaning
this appliance.
12. Regularly inspect the supply cord, plug and actual appliance for any damage.
If found damaged in any way, immediately cease use of the appliance and
return the entire appliance to the nearest authorized service centre for
examination, replacement or repair.
13. The installation of a residual current device (safety switch) is recommended
to provide additional safety protection when using electrical appliances. It is
advisable that a safely switch with a rated residual operating current not
exceeding 30mA be installed in the electrical circuit supplying the appliance.
See your electrician for professional advice.
Remove any promotional materials and packaging materials before use. Check that the cooking
plates are clean and free of dust. If necessary, wipe over with a damp cloth.
TO use as a Grill
1. Insert the plug into a 230/240V or 120V/110V power outlet and switch ON. The Red
power “On” light will illuminate.
2. Allow the Grill & Sandwich press to preheat until the green “Ready” light illuminates.
3. Place meat or foods to be cooked on the bottom cooking plate. Refer to Grilling recipes
or guide for cooking times.
4. Close the top cooking plate which has a floating hinge that is designed to evenly press
down on the food. The top plate must be fully lowered to achieve Grill marks on the
selected foods.
5. When the selected foods are grilled, open the lid. Remove the food with the help of a
plastic spatula
To use as a Sandwich Press
1. Insert the plug into a 230/240V or 120V/110V power outlet and turn the power on.
The red &green light will illuminate
2. Allow the Grill & Sandwich Press to preheat until the green lights off.
3. During this time, prepare the sandwich and place it onto the bottom cooking plate.
Always place sandwiches towards the rear of the bottom cooking plate.
4. Close the top cooking plate which has a floating hinge that is designed to evenly press
down on the sandwich. The top plate must be fully lowered to cook sandwiches.
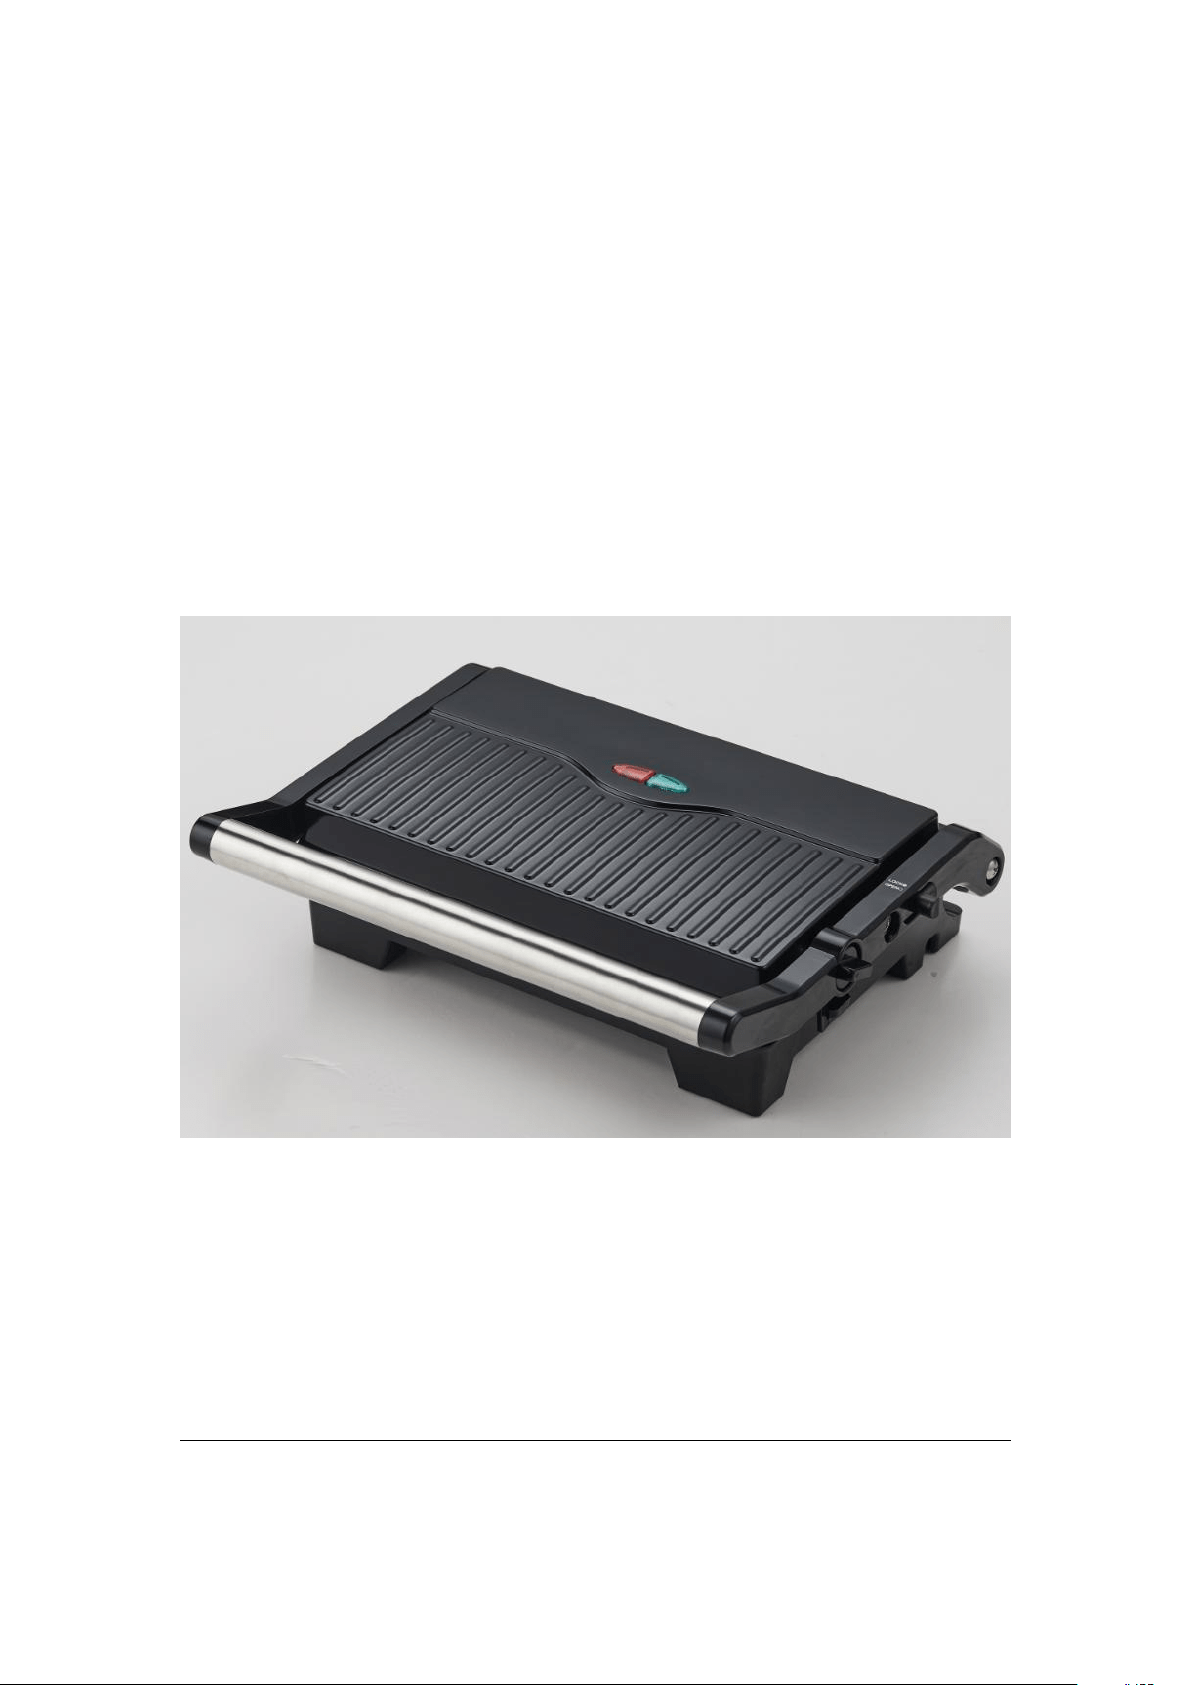
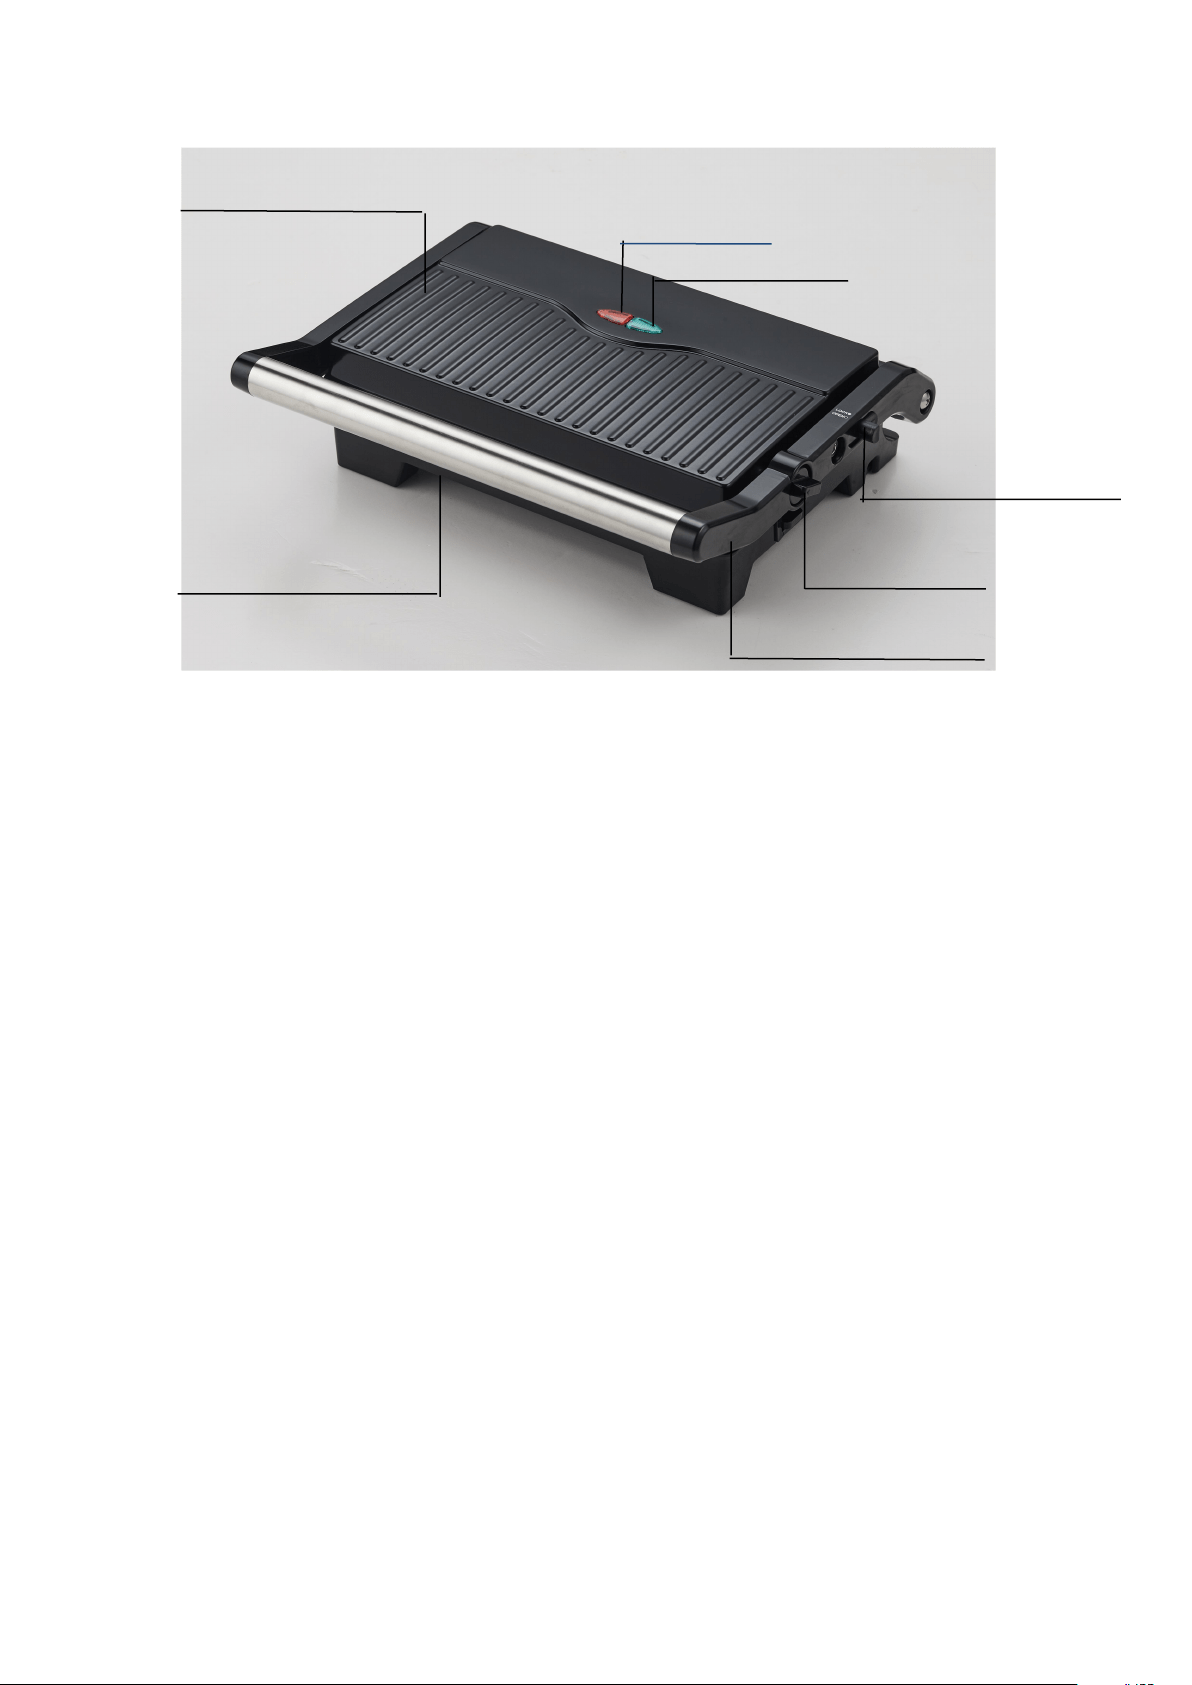
Bakelite cover
Red light
Green light
Open to 180 degree button
Hand lock clip
Cool stainless steel handle
Non-stick cooking plate
5. Toasting should take approximately 4-5minutes. Exact toasting time will be a matter
of taste. It will also depend on the type of bread and filling used.
6. When the sandwich is cooked use the handle to open the lid. Remove the sandwich
with the help of a plastic spatula. Never use metal tongs or a knife as these can cause
damage to the non-stick coating of the cook plates.
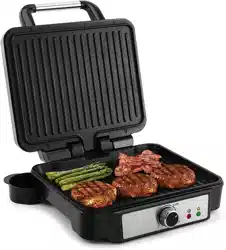
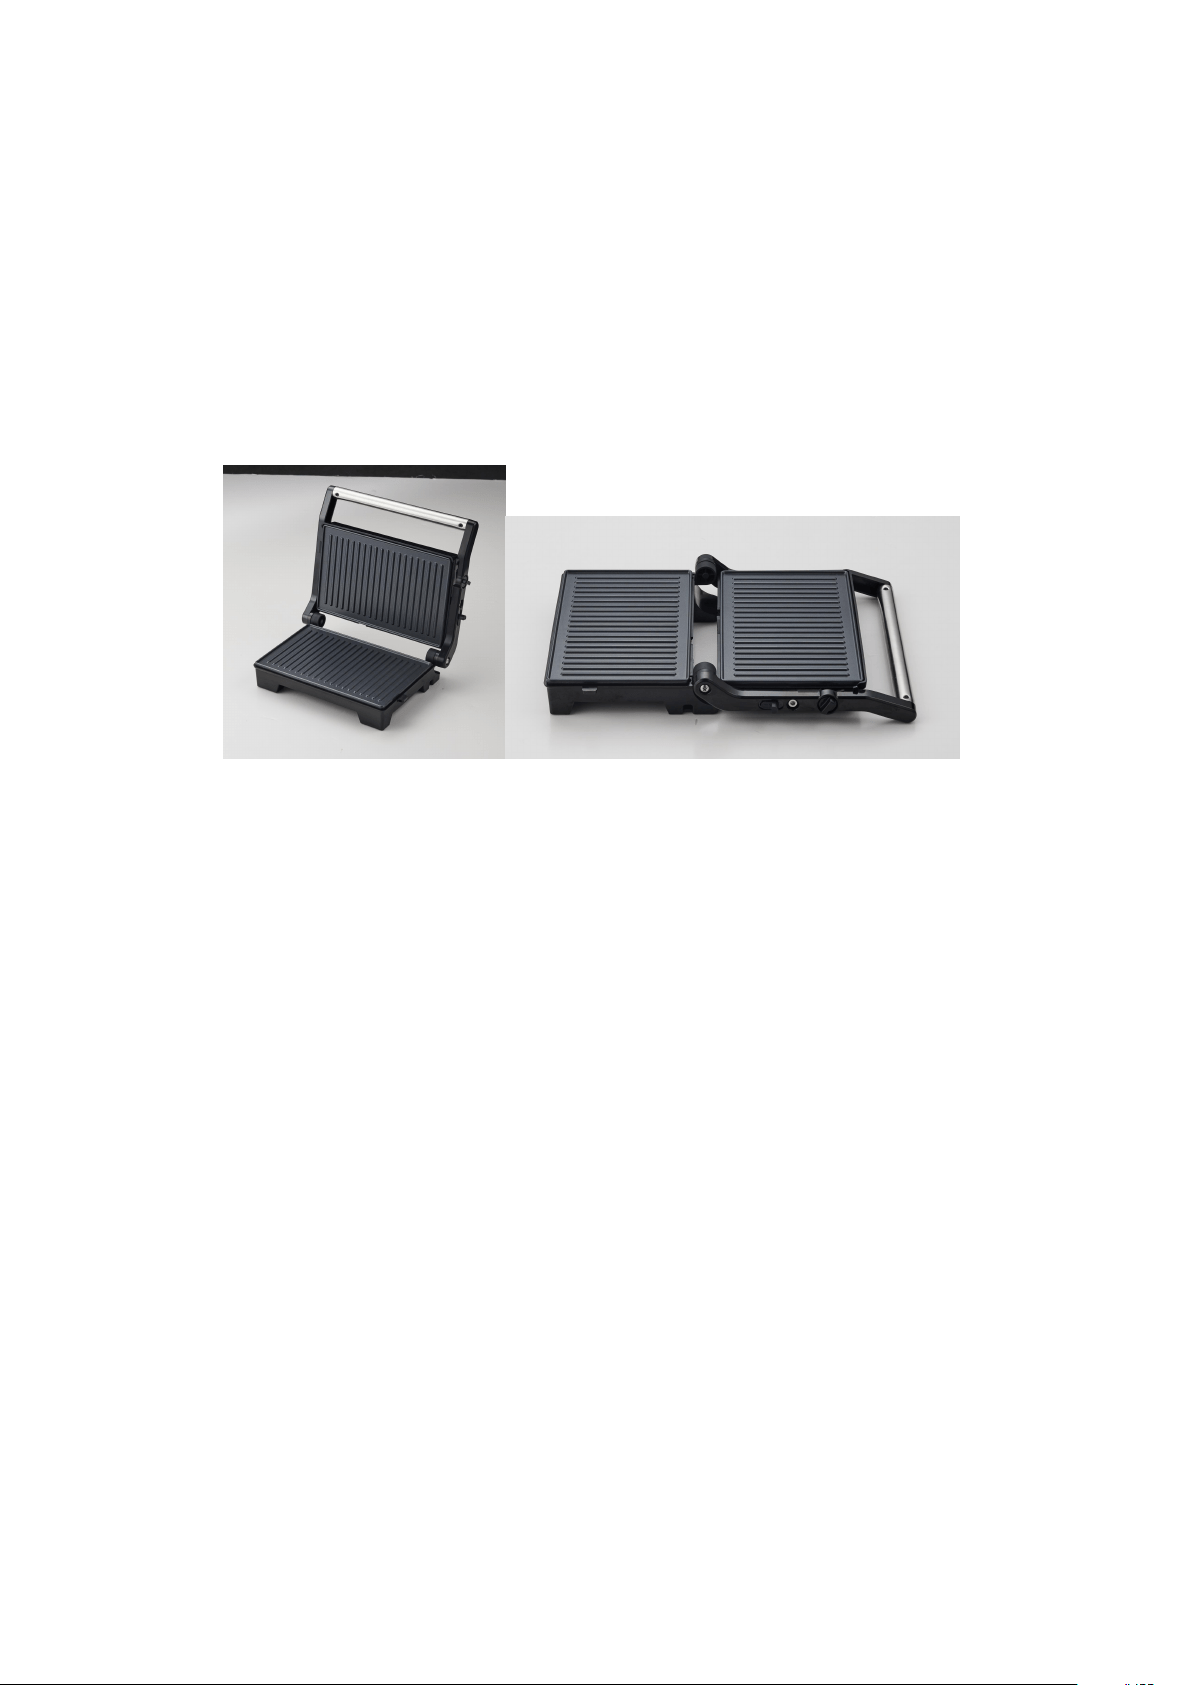
USE AS OPEN GRILL
1. Place Grill Toaster on a clean flat surface where you intend to cook. The Grill Toaster can be
positioned in flat position. If you want to open the upper cover to flat ,you need pull the button
first. • Upper plate/cover is level with lower plate/base. The upper and lower plates line up to
create one large cooking surface. The Grill Toaster to this position, locate the hinge release lever
on the right arm.
2. With you left hand on the handle, use your right hand to slide the lever toward you. Push the
handle back until the cover rests flat on the counter. The unit will stay in this position until you lift
the handle and cover to return it to the closed position.
3. Use the Grill Toaster as an open grill to cook burgers, (we do not recommend cooking bone-in
chicken & meat, since it does not cook evenly on an open grill), fish and vegetables.
4. Cooking on the open grill is the most versatile method of using the Grill Toaster. In the open
position, you have double the surface area for grill.
5. You have the option of cooking different types of foods on separates without combining their
flavors, or cooking large amounts of the same type of food. The open position also accommodates
different cuts of meat with varying thicknesses, allowing you to cook each piece to you liking.
Care and cleaning
Before cleaning, turn the power off at the power outlet and then remove the plug. Allow your grill
& sandwich press to cool before cleaning. The unit is easier to clean when slightly warm. Always
clean when your grill & sandwich press after each use to prevent a build up of baked-on foods.
Wipe cooking plates with a soft to remove food residue. For baked on food residue squeeze some
warm water mixed with detergent over the food residue then clean with a non abrasive plastic
scouring pad or place wet kitchen paper over the grill to moisten the food residue.

Cleaning the drip tray
Remove and empty the drip tray after each use and wash the tray in warm, soapy water. Avoid the
use of scouring pads or harsh detergents as they may damage the surface.
Rinse and dry thoroughly with a clean, soft cloth and replace.
Storage
To store your grill & sandwich press
1. Switch off the appliance and unplug from the power outlet.
2. Allow the grill to fully cool.
3. Slide the storage clip towards the front handle to the LOCK position so that the top and
bottom cooking plates are locked together.
4. Click the removable drip tray into place.
5. wrap the cord in the cord storage area below the unit
6. Store on a flat, dry level surface.