Loading ...
Loading ...
Loading ...
3.Ifthebatterypackdoesnotchargeproperly:
a.Checkcurrentatreceptacleq3ypluggingina lamporotherappliance
b.Checktoseeif receptacleisconnectedtoalightswitchwhichturnspoweroff
whenyouturnoutthelights.
c.Movechargerandbatterypacktoa locationwherethesurroundingair
temperatureisapproximately65 F-75F(18-24C).
d.Ifchargingproblemspersisttakethetoolbatterypackandchargertoyourlocal
servcecenter.
4.Thebatterypackshouldberechargedwhenitfailstoproducesufficientpoweronjobswhich
wereeasilydone previously. DO NOT CONTINUE to use under these conditions. Follow the
charging procedure. You may also charge a partially used pack whenever you desire with no
adverse affect on the batterypack.
5. Foreign materials of a conductive nature such as, but not limited to, steel wool, aluminum
foil or any buildup of metallic particles should be kept away from charger cavities. Always
unplug the charger from the power supply when there is no battery pack in the cavity. Unplug
charger before attempting to clean.
6. Do not freeze or immerse charger in water or any other liquid.
z_WARNING: Shock hazard. Do not allow any liquid to get inside charger. Never attempt to
open the battery pack for any reason. If the plastic housing of the battery pack breaks or
cracks, return to a service center for recycling.
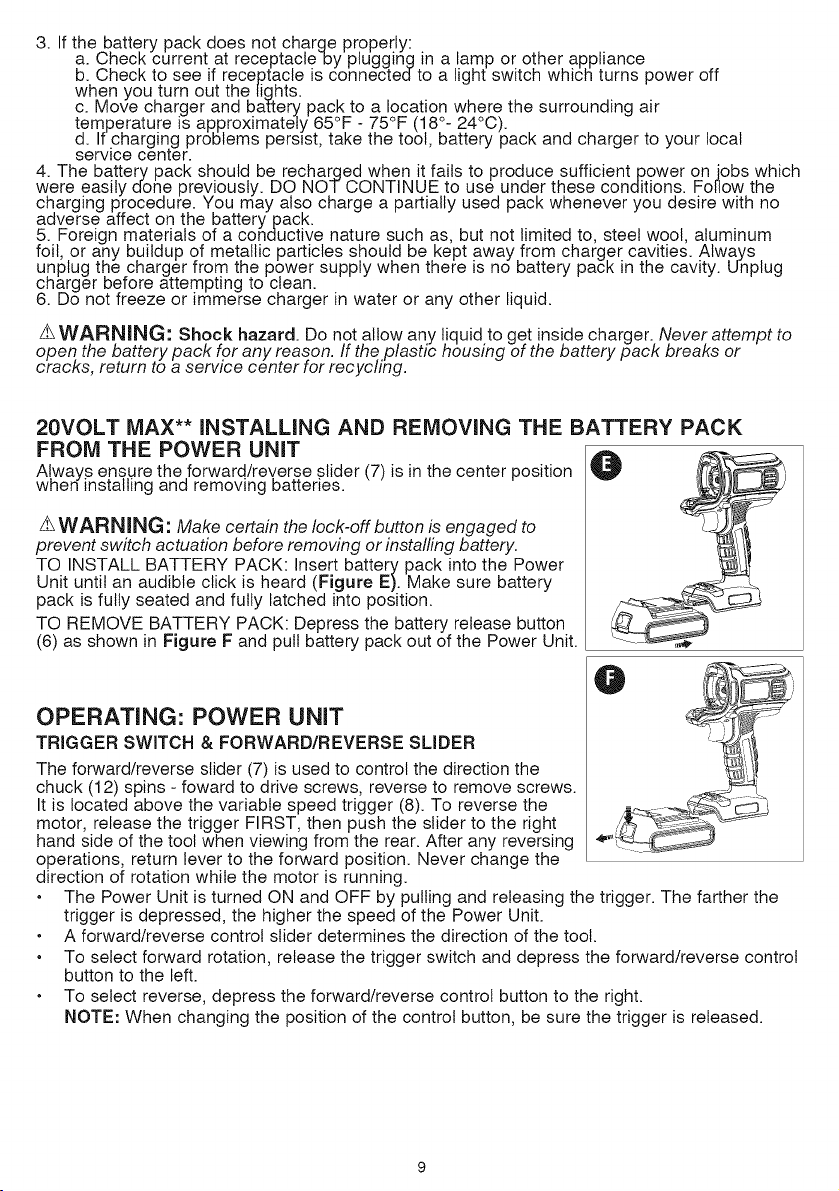
20VOLT MAX** INSTALLING AND REMOVING THE BATTERY PACK
FROM THE POWER UNIT
A!ways ensure the,forward/reverse slider (7) is in the center position
wnen instaning ana removing batteries.
z_WARNING: Make certain the lock-off button is engaged to
prevent switch actuation before removing or installing battery.
TO INSTALL BATTERY PACK: Insert battery pack into the Power
Unit until an audible click is heard (Figure E). Make sure battery
pack is fully seated and fully latched into position.
TO REMOVE BATTERY PACK: Depress the battery release button
(6) as shown in Figure F and pull battery pack out of the Power Unit.
O
OPERATING: POWER UNIT
TRIGGER SWITCH & FORWARD/REVERSE SLIDER
The forward/reverse slider (7) is used to control the direction the
chuck (12) spins - foward to drive screws, reverse to remove screws.
It is located above the variable speed trigger (8). To reverse the
motor, release the trigger FIRST, then push the slider to the right
hand side of the tool when viewing from the rear. After any reversing
operations, return lever to the forward position. Never change the
direction of rotation while the motor is running.
The Power Unit is turned ON and OFF by pulling and releasing the trigger. The farther the
trigger is depressed, the higher the speed of the Power Unit.
A forward/reverse control slider determines the direction of the toot.
To select forward rotation, release the trigger switch and depress the forward/reverse control
button to the left.
To select reverse, depress the forward/reverse control button to the right.
NOTE: When changing the position of the control button, be sure the trigger is released.
Loading ...
Loading ...
Loading ...