Loading ...
Loading ...
Loading ...
7
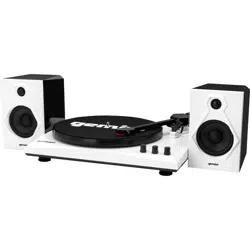
TT-900
MODERN BLUETOOTH TURNTABLE SYSTEM
Después del emparejamiento y la conexión, el
indicador se volverá de color azul sin parpadear,
y podrá reproducir la música de su teléfono
móvil o tableta PC en este reproductor giratorio.
• Turn the VOLUME CONTROL KNOB to
adjust the volume.
·Gire la perilla de control de volumen para
ajustar el volumen.
Line Out Connection
• You can connect this unit to an external
Hi-Fi / AMPLIFIER system by connecting
the RCA LINE OUT JACKS to the auxiliary
input jacks on your Hi-Fi / AMPLIFIER
system with RCA cable (not included).
Please disconnect the audio cable on the
external speaker jacks[13].
· Puede conectar esta unidad a un sistema Hi-Fi
/ AMPLIFICADOR externo conectando los
ENTRADAS DE SALIDA DE LÍNEA RCA a
las tomas de entrada auxiliar de su sistema de
AMPLIFICADOR / Hi-Fi con cable RCA (no
incluido). Desconecte el cable de audio en las
tomas de los altavoces externos [13].
• Once connected, make sure that the
volume on your external device is turned
up. Device audio will come out of the built-
in speaker, and can be controlled with the
Volume Control Knob.
· Una vez conectado, asegúrese de que el
El volumen de su dispositivo externo está alto.
El audio del dispositivo saldrá por el altavoz
incorporado y se puede controlar con la perilla de
control de volumen.
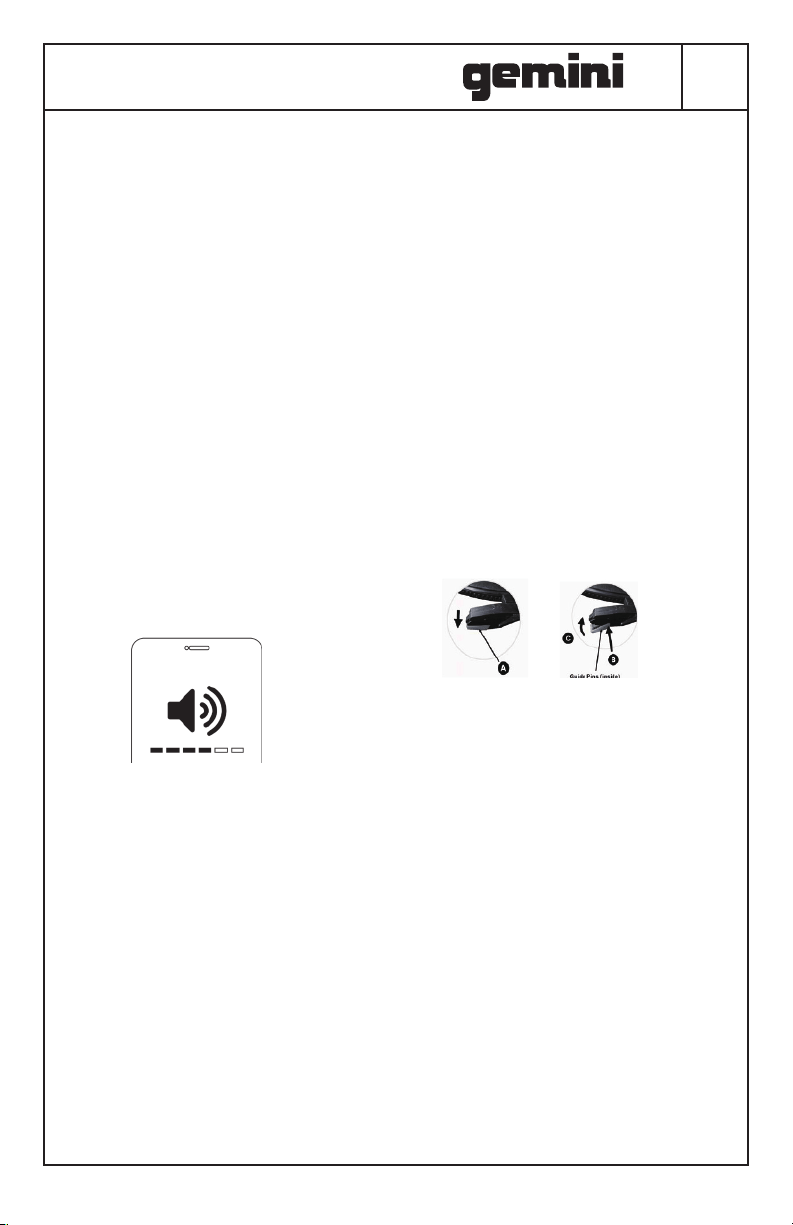
How to Replace the Needle
To replace the needle, please refer to the
instructions below.
Removing the needle from the cartridge
Para reemplazar la aguja, consulte las
instrucciones a continuación.
Retirar la aguja del cartucho.
1. Place a screwdriver at the tip of the
stylus and push downward as shown in
direction “A”.
1. Coloque un destornillador en la punta del
estilete y empuje hacia abajo como se muestra en
la imagen “A”.
2. Remove the stylus by pulling the stylus
forward and pushing downward.
Installing the Stylus
2. Retire la aguja tirando de él hacia adelante y
empujándolo hacia abajo.
Installing the Stylus
Instalación de la aguja
1. Hold the tip of the stylus and insert the
stylus by pressing as shown in direction “B”.
Sostenga la punta del lápiz óptico e inserte
el lápiz pulsando como se muestra en la
dirección “B”.
2. Push the stylus upward as in direction
“C” until the stylus locks into the tip
position.
Empuje el lápiz hacia arriba como en la
dirección “C” hasta que el lápiz quede en la
posición de la punta.
Notes: We advise you to clean your records
with an anti-static cloth to gain maximum
enjoyment from them.
We would also point out that for the same
reason your stylus should be replaced
periodically (approximately every 250
playback hours).
Notas: Le recomendamos que limpie sus registros
con un paño antiestático para disfrutar al
máximo de ellos.
También señalamos que, por el mismo motivo,
su lápiz debe reemplazarse periódicamente
(aproximadamente cada 250 horas de
reproducción).
Loading ...
Loading ...
Loading ...