Loading ...
Loading ...
Loading ...
Dispenser Installation
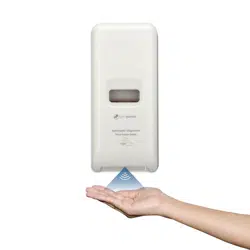
The automatic soap dispenser must be installed at least 8” away from other furniture.
1. Insert the anti-theft key in the keyhole at the top of the dispenser, grip the top of the
back of the dispenser while holding the top of the cover by hand, and open it gently
downward. The cover will be on the bottom of the dispenser (see figure 1).
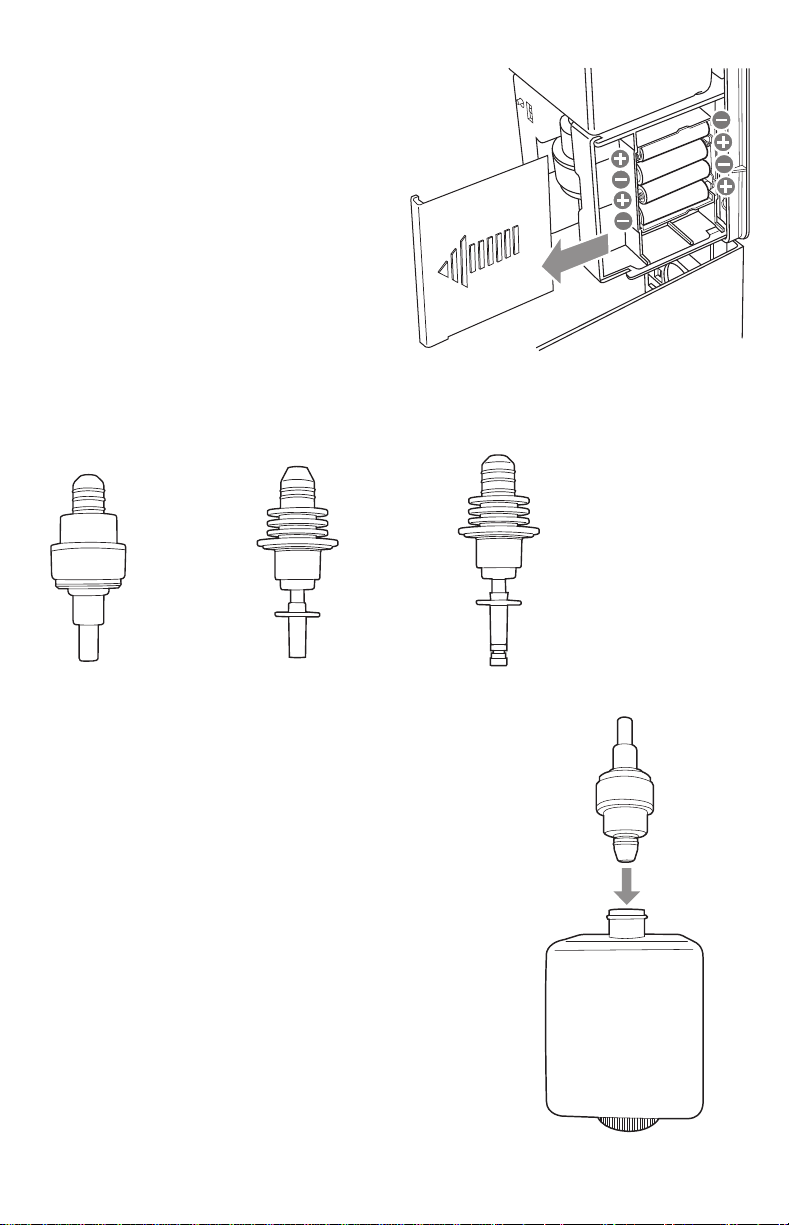
2. Remove the liner refill bottle and pump head by sliding it out. Remove the battery
compartment by pressing the two tabs above the compartment and slide the whole
assembly upward to release (see figure 2).
3. There are 2 options for installing wall anchors (see figure 3). After choosing wall anchor
installation, place the dispenser on the wall where you want to install dispenser.
4. Mark the wall anchor locations and drill a hole for each wall anchor (4-6 mm). Insert the
anchor into the wall. Align the dispenser (check to make sure it is facing the right
direction and open cover is at the bottom of the dispenser) and secure with screws
(see figure 4).
5. Replace the liner refill bottle, pump head and battery compartment.
Adding Soap or Sanitizer
1. Remove the soap dispenser refill bottle and pump from the dispenser.
2. Select the proper pump for the type of soap or sanitizer being added.
See chart below:
E-4
E-5
3. First install selected pump by sliding it into refill bottle
opening at the bottom of the bottle. It will be a snug fit
(see figure 6).
4. After the correct pump is installed, open the cap of the
refill bottle and pour in the soap or sanitizer. The bottle
will hold up to 1000ml. Return and secure cap.
5. Use the window to see when it’s time to refill the liquid
in the bottle.
Note: Clean the nozzle periodically to remove soap or
sanitizer build up, especially if a gel solution is used. This
will prevent the nozzle head from blocked and not working.
Note: if switching the type of soap/sanitizer, be sure the refill bottle is completely empty.
Foam
Dispenser
(Yellow)
Gel
Dispenser
(Green)
Liquid
Dispenser
(Blue)
1
2
3
5
6
Battery Installation
Open the soap dispenser. The battery holder is on the
right side facing the soap dispenser. Note the arrow on
the cover and slide the cover forward to remove.
Insert four (4) AA batteries as shown (see figure 5).
Return the battery cover by sliding it back
over the side of the compartment.
Loading ...
Loading ...
Loading ...