Loading ...
Loading ...
Loading ...
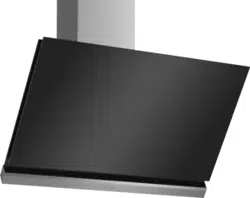
Installation instructions en
19
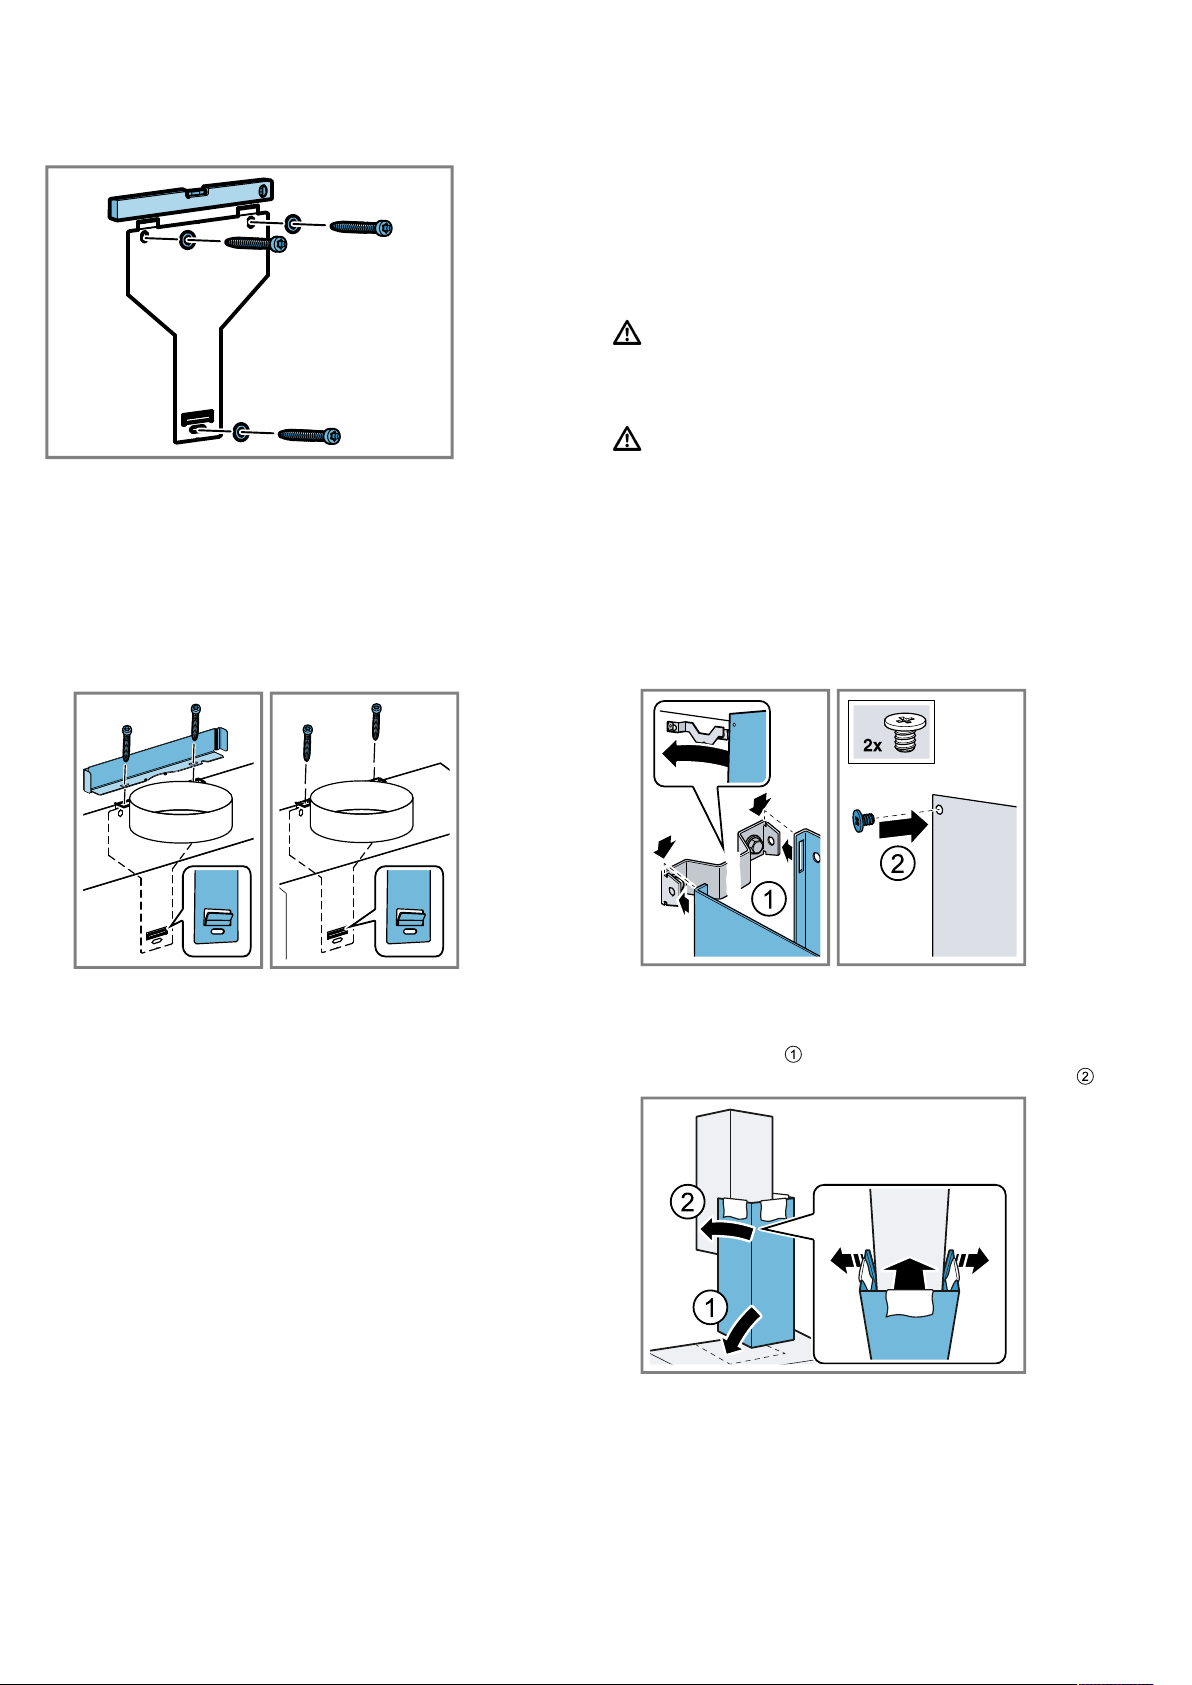
2.
Use a spirit level to align the appliance bracket hori-
zontally and screw it firmly in place.
Installing the appliance
1.
Remove the protective film from the rear.
‒ Once the appliance is installed, fully remove the
protective film.
2.
Hook the appliance into the appliance bracket in
such a way that it clicks firmly into place.
3.
To align the appliance, slide the appliance to the
right or to the left as required.
4.
Tighten the safety screws.
When you install a flue cover, install the bracket and
hold it in place while screwing it in tight.
Piping
Air extraction mode
¡ If you operate the appliance in air extraction mode,
a flue cover must be installed.
Circulating-air mode
¡ If you are operating the appliance in circulating-air
mode, an optional accessory must be fitted. To do
this, refer to the installation instructions provided.
¡ For operation in circulating-air mode, the installation
of the flue cover is optional.
Note:If you are using an aluminium pipe, smooth the
connection area beforehand.
We recommend the piping with an exhaust air pipe dia-
meter of 150mm.
Establishing the exhaust air connection (exhaust
pipe, 150mm diameter)
1.
Secure the exhaust pipe to the air pipe connector.
2.
Establish the connection to the exhaust air opening.
3.
Seal the joints.
Establishing the exhaust air connection (exhaust
pipe, 120mm diameter)
1.
Secure the reducing connector to the air-pipe con-
nector.
2.
Secure the exhaust pipe to the air pipe connector.
3.
Establish the connection to the exhaust air opening.
4.
Seal the joints.
Installing the flue duct
WARNING‒Risk of injury!
Components inside the appliance may have sharp
edges.
▶ Wear protective gloves.
WARNING‒Risk of electric shock!
Sharp-edged components inside the appliance may
damage the connecting cable.
▶ Do not kink or trap the connecting cable.
1.
Screw the retaining bracket for the flue duct to the
wall.
2.
To separate the flue ducts, remove the adhesive
tape or the flue duct from the protective packaging.
3.
Remove any protective foil from both flue ducts.
4.
Use the 2screws to screw the upper flue duct to
the sides of the retaining bracket.
5.
Note:To prevent scratches, lay soft towels over the
edges of the outer flue duct to protect the surface.
Place the lower flue duct on the appliance and pull
it slightly apart.
6.
Put the lower flue duct over the upper flue duct.
7.
Clip the lower flue duct onto the lower retaining
bracket.
Ensure that the connecting cable is not trapped.
8.
Carefully remove the towels.
Loading ...