Loading ...
Loading ...
Loading ...
– 6
Illustrations on fold-out page!
Illustration
Snap the suction hose hub into the suction open-
ing.
For removal, compress the latch and pull off the
suction hose hub.
Illustration
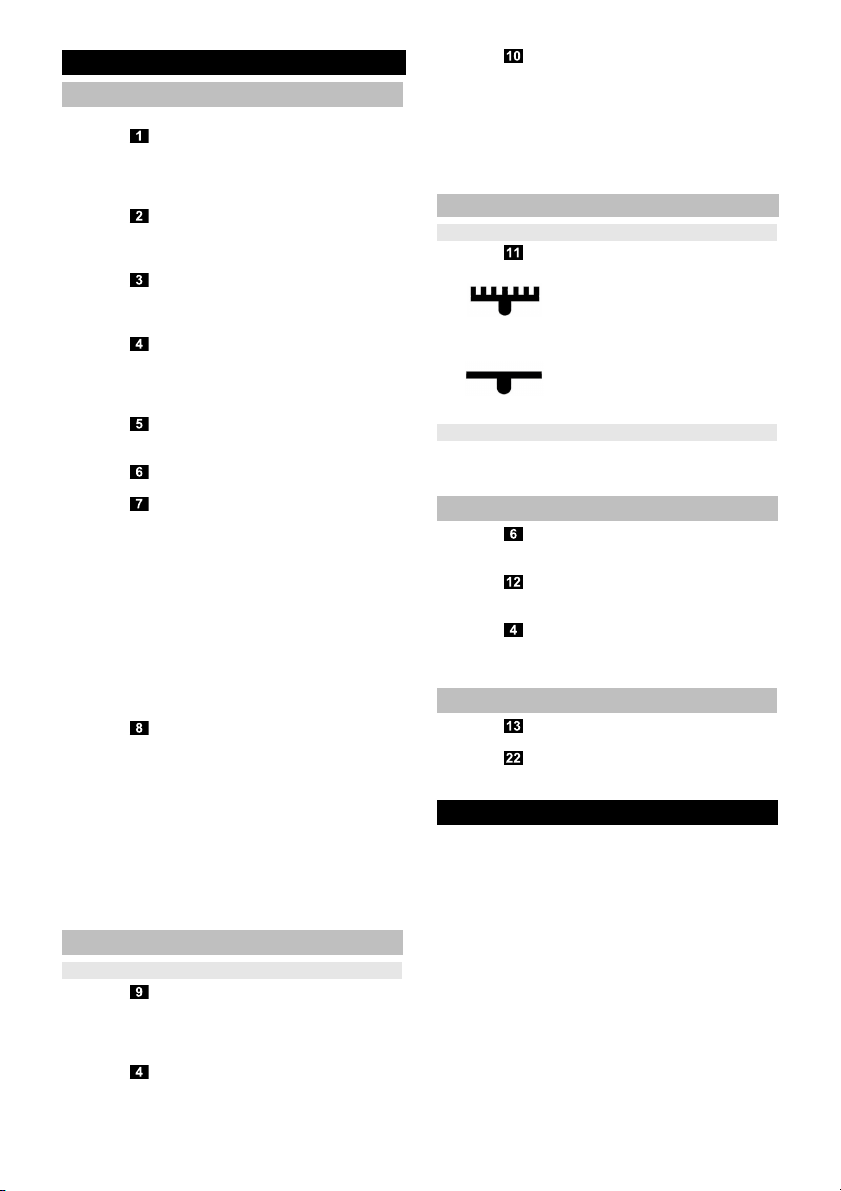
Connect handle and suction tube and insert.
Connect the floor nozzle and telescopic suction
pipe and insert.
Illustration
Use the adjustment of the telescopic suction pipe
and adjust the telescopic suction pipe to the de-
sired length.
Illustration
Suspend the floor nozzle into the park bracket on
the rear of the unit for parking.
Another park bracket is located on the bottom of
the unit.
Illustration
Hold the mains cable on the plug and pull it out. In-
sert the mains plug into a socket.
Illustration
Turn on the machine.
Illustration
The power suction adjustment is at the power suc-
tion control:
Adjust the suction power to suit the suction require-
ment:
Low suction power – for laced curtains, textiles,
upholstered furniture, cushions
Medium suction power – for slightly dirty carpets/
carpeted floors, precious carpets.
Highest suction power – for hard floors, very dirty
carpets and carpeted floors
Replace filter bag, at the latest when the filter
change indicator lights up.
See Chapter "Replacing the filter bag".
Illustration
The suction power can be additionally regulated with
the false air slide.
False air slide open, reduced suction force.
False air slide closed, normal suction power.
Important notice!The appliance will shutdown auto-
matically, if there is danger of overheating. Turn the ap-
pliance off and pull the power plug. Ensure that the floor
nozzle, the telescopic suction pipe or the suction hose
is not clogged or check if the filter must be changed. Af-
ter the elimination of the disturbance, allow the appli-
ance to cool down for a at least 1 hour; then the appli-
ance is ready for operation again.
Illustration
Furniture brush: for cleaning furniture and deli-
cate objects with care, dusting books, air vents in
the car, etc.
Crevice nozzle: for edges, joints and heaters
Illustration
Suspend the floor nozzle into the park bracket on
the rear of the unit and push it into the latched po-
sition.
Illustration
Push the unlocking mechanism of the accessory
compartment.
Open accessories flap.
Remove accessories.
Insert the handle in the desired accessory until the
stop.
Note: The accessories can also be used when the tele-
scopic suction pipe is attached.
Illustration
Hard surfaces:
Carpets and carpeted floors:
* depending on model
Used
to vacuum sensitive and smooth floors (par-
quet, marble, terracotta etc.).
Illustration
Turn off the appliance and disconnect the mains
plug.
Illustration
Push the take-up cable button. The cable will pull it-
self automatically into the appliance.
Illustration
Hang the floor nozzle on the backside of the appli-
ance into the parking holder, and push into t
he
pa
use position.
Illustration
Lift appliance by the carrying handle and carry it.
Illustration
Store the appliance in a dry room.
Hook the floor nozzle into the parking position.
ATTENTION
Before working on the appliance, switch it off and
pull out the plug of the vacuum cleaner!
Before working on the appliance, switch it off and
pull out the plug of the vacuum cleaner!
Use the device only when all filters and the filter
bag are installed.
Otherwise the motor can get damaged.
Defective filters and filters that can no longer be
cleaned must be replaced.
Operation
Start up
Suction using accessories
Using accessories
Floor nozzle
Reversible floor nozzle
Parquet nozzle
Finish operation
Transport, storage
Cleaning and care
9EN
Loading ...
Loading ...
Loading ...