Loading ...
Loading ...
Loading ...
Installation Instructions
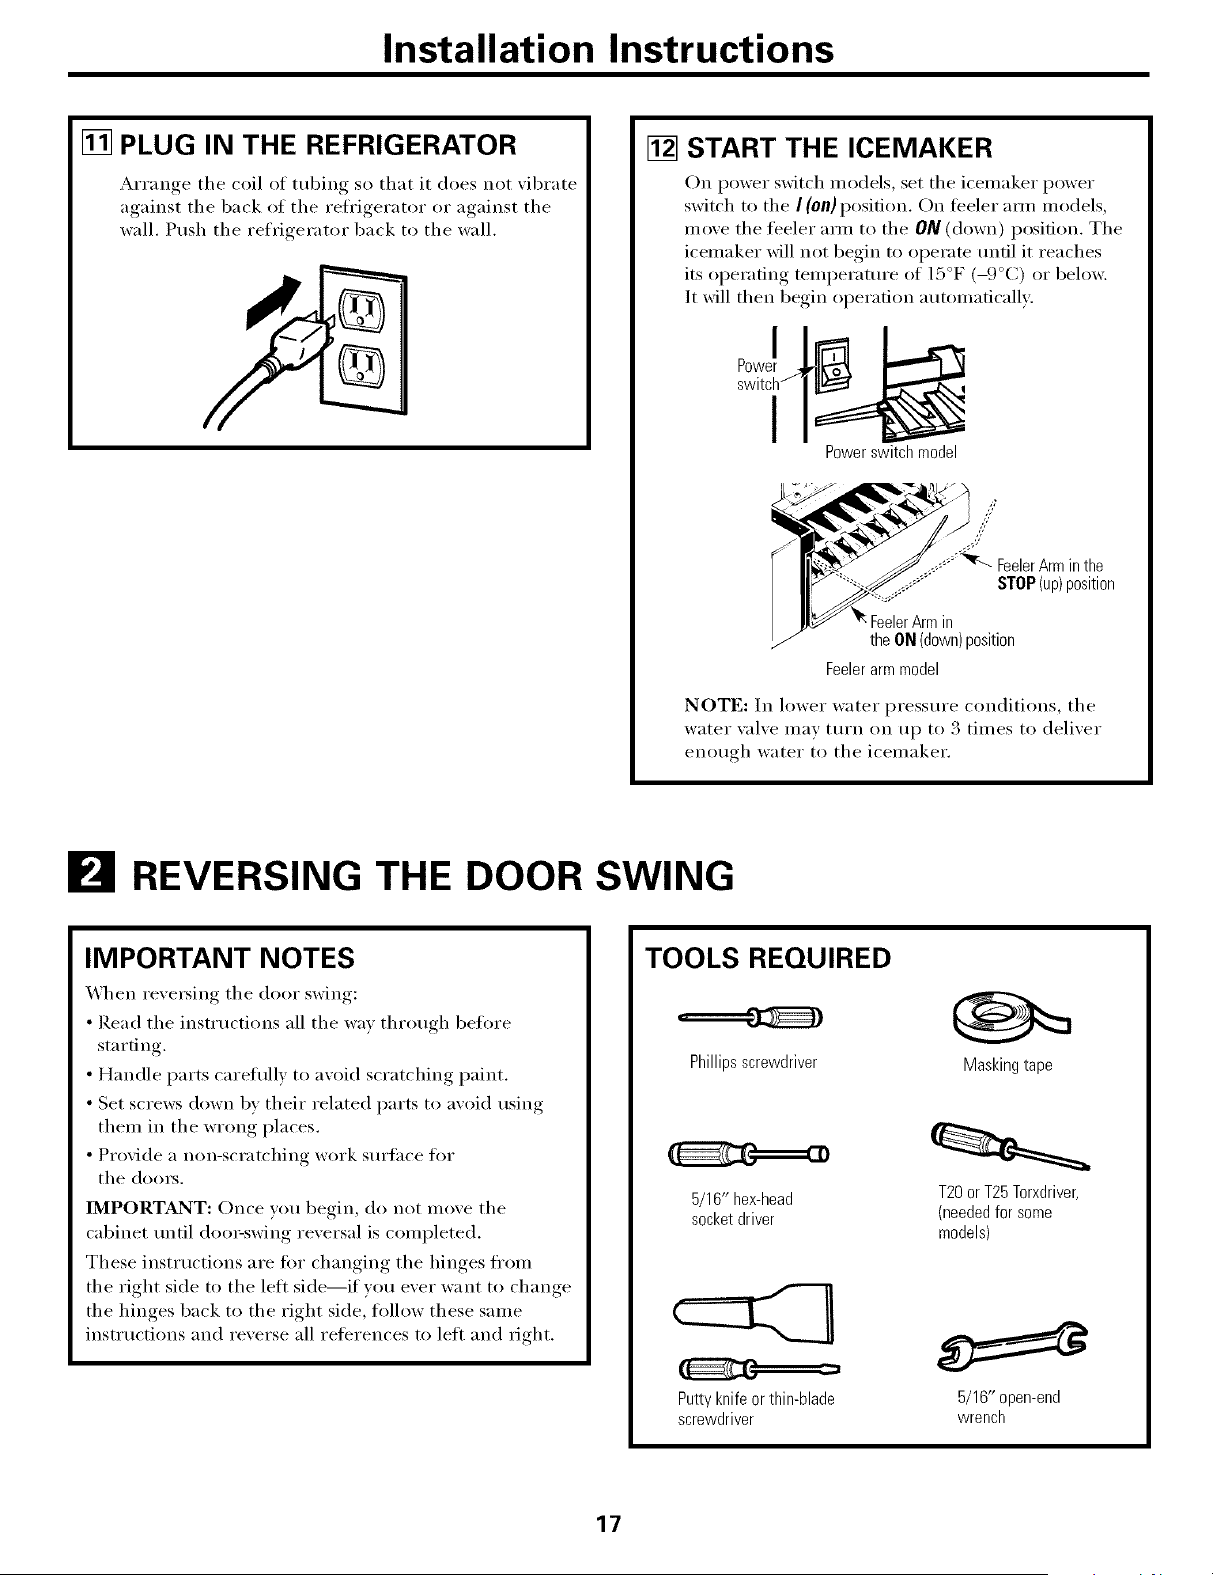
[] PLUG IN THE REFRIGERATOR
__rram,e the coil of tubing so that it does not _ibrate
a
against the back of the refrigerator or against the
wall. Push the refrigerator back to the wall.
[] START THE ICEMAKER
On power sMtch models, set the icemaker power
switch to the I(0/1) position. On feeler am/models,
move the feeler ann to the ON (down) position. The
icemaker will not begin to operate until it reaches
its operating temperature of 15°F (-9°C) or below.
It will then begin operation automaticall>
IPower switch model
FeelerArmin
the ON(down)position
Feelerarmmodel
NOTE: In lower water pressure conditions, the
water xalxe may turn on up to 3 times to delixer
enough water to the icemaker.
B REVERSING THE DOOR SWING
IMPORTANT NOTES
_]_en re\'e_ing the door swing:
•Read the instructions all the way through befin'e
starting.
• Handle parts carefiflly to awfid scratching paint.
•Set screws down by their related parts to avoid using
them in the wrong places.
• Provide a non-scratching work surtace fin.
the doo_.
IMPORTANT: Once you begin, do not move the
cabinet until doo>swing reversal is completed.
These instructions are fin" changing the hinges fl'om
the right side to the lett side--if you ever want to change
the hinges back to the right side, fi)llow these same
instructions and reverse all reterences to lett and fight.
TOOLS REQUIRED
Phillipsscrewdriver
5/16" he>head
socketdriver
Putty knife or thin-blade
screwdriver
Masking tape
T20 or T25 Torxdriver,
(needed for some
models)
5/16" open-end
wrench
17
Loading ...
Loading ...
Loading ...