Loading ...
Loading ...
Loading ...
7
INITIAL PREPARATION
Each meter is supplied complete with a 9V battery. Remove the
battery compartment cover on the back of the meter and install the
battery while observing its polarity.
Connect the probe to the DIN socket on the top of the meter by
aligning the pins with the socket and pushing in the plug.
Always remove the probe protective cap before taking
any measurements, and make sure the meter has
been calibrated.
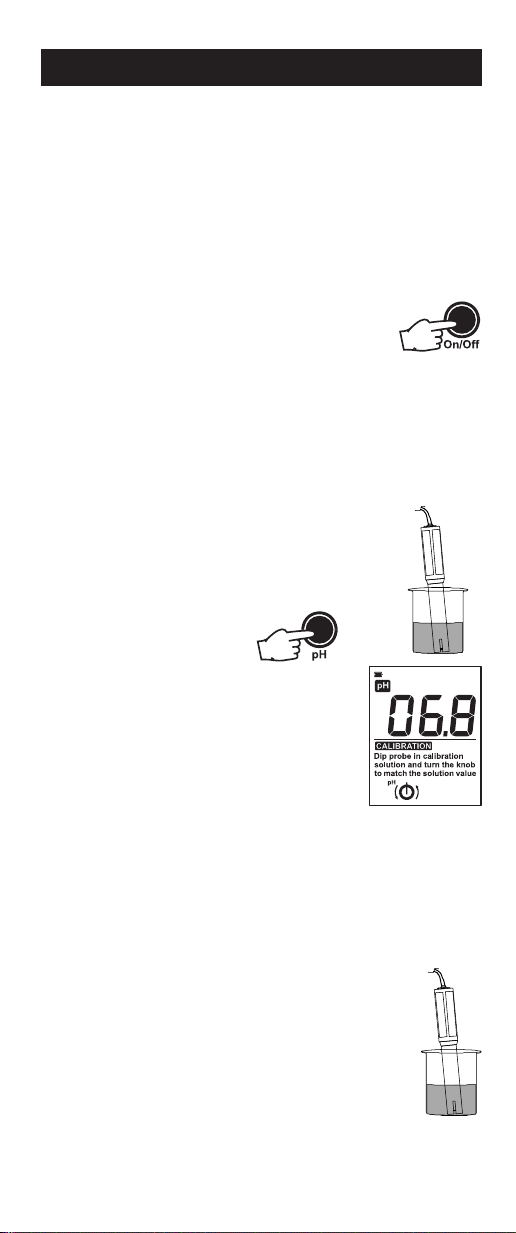
Turn the meter on by pressing the On/Off key.
TAKING pH MEASUREMENTS
If the probe has been left dry, soak the tip in HI 70300 storage solution
for 30 minutes to reactivate it.
• To take a pH measurement simply
submerge the tip (4cm/1½") of the
probe into the sample to be tested.
• Select the pH mode.
• Stir briefly and wait a couple of
minutes for the reading to adjust
and stabilize. The display shows
the pH value.
• If measurements are taken in different samples successively, it is
recommended to rinse (clean) the probe thoroughly to eliminate
cross-contamination. After cleaning, it is recommended to rinse the
probe with some of the next sample to be measured.
TAKING EC/TDS MEASUREMENTS
• Immerse the tip of the probe (4cm/1½") into the
sample to be tested. If possible, use plastic beakers
or containers to minimize any EMC interference.
• Tap the probe lightly on the bottom of the beaker
to remove any air bubbles which may be trapped
inside the tip.
OPERATIONAL GUIDEOPERATIONAL GUIDE
OPERATIONAL GUIDEOPERATIONAL GUIDE
OPERATIONAL GUIDE
Loading ...
Loading ...
Loading ...