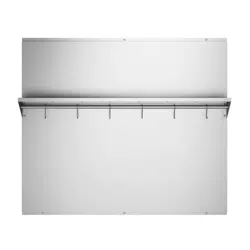

Backsplash with Shelf
30” and 36”
User Manual
&
Installation Instructions
IMPORTANT SAFETY INSTRUCTIONS
Carefully read the important information
regarding installation, safety and maintenance.
Keep these instructions for future reference.
MAPBS1230-05
2021-04-05
— 2 —
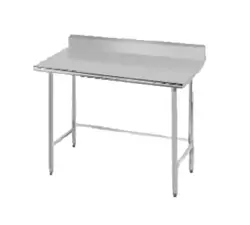
Included Parts
Hardware Note: For safety reasons, backsplash mounting screws and anchors will not be
included due to the variation of cabinetry constructions and wall material. Please consult your
installation specialist regarding the optimal type of mounting screws and wall anchors to suit your
home’s construction.
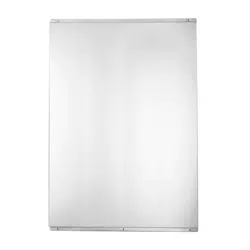
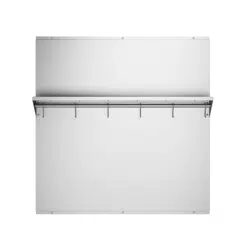
1 × Backsplash
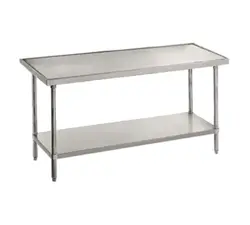
1 × Shelf
6 Hooks 11 + 1 Screws ST4×8
— 3 —
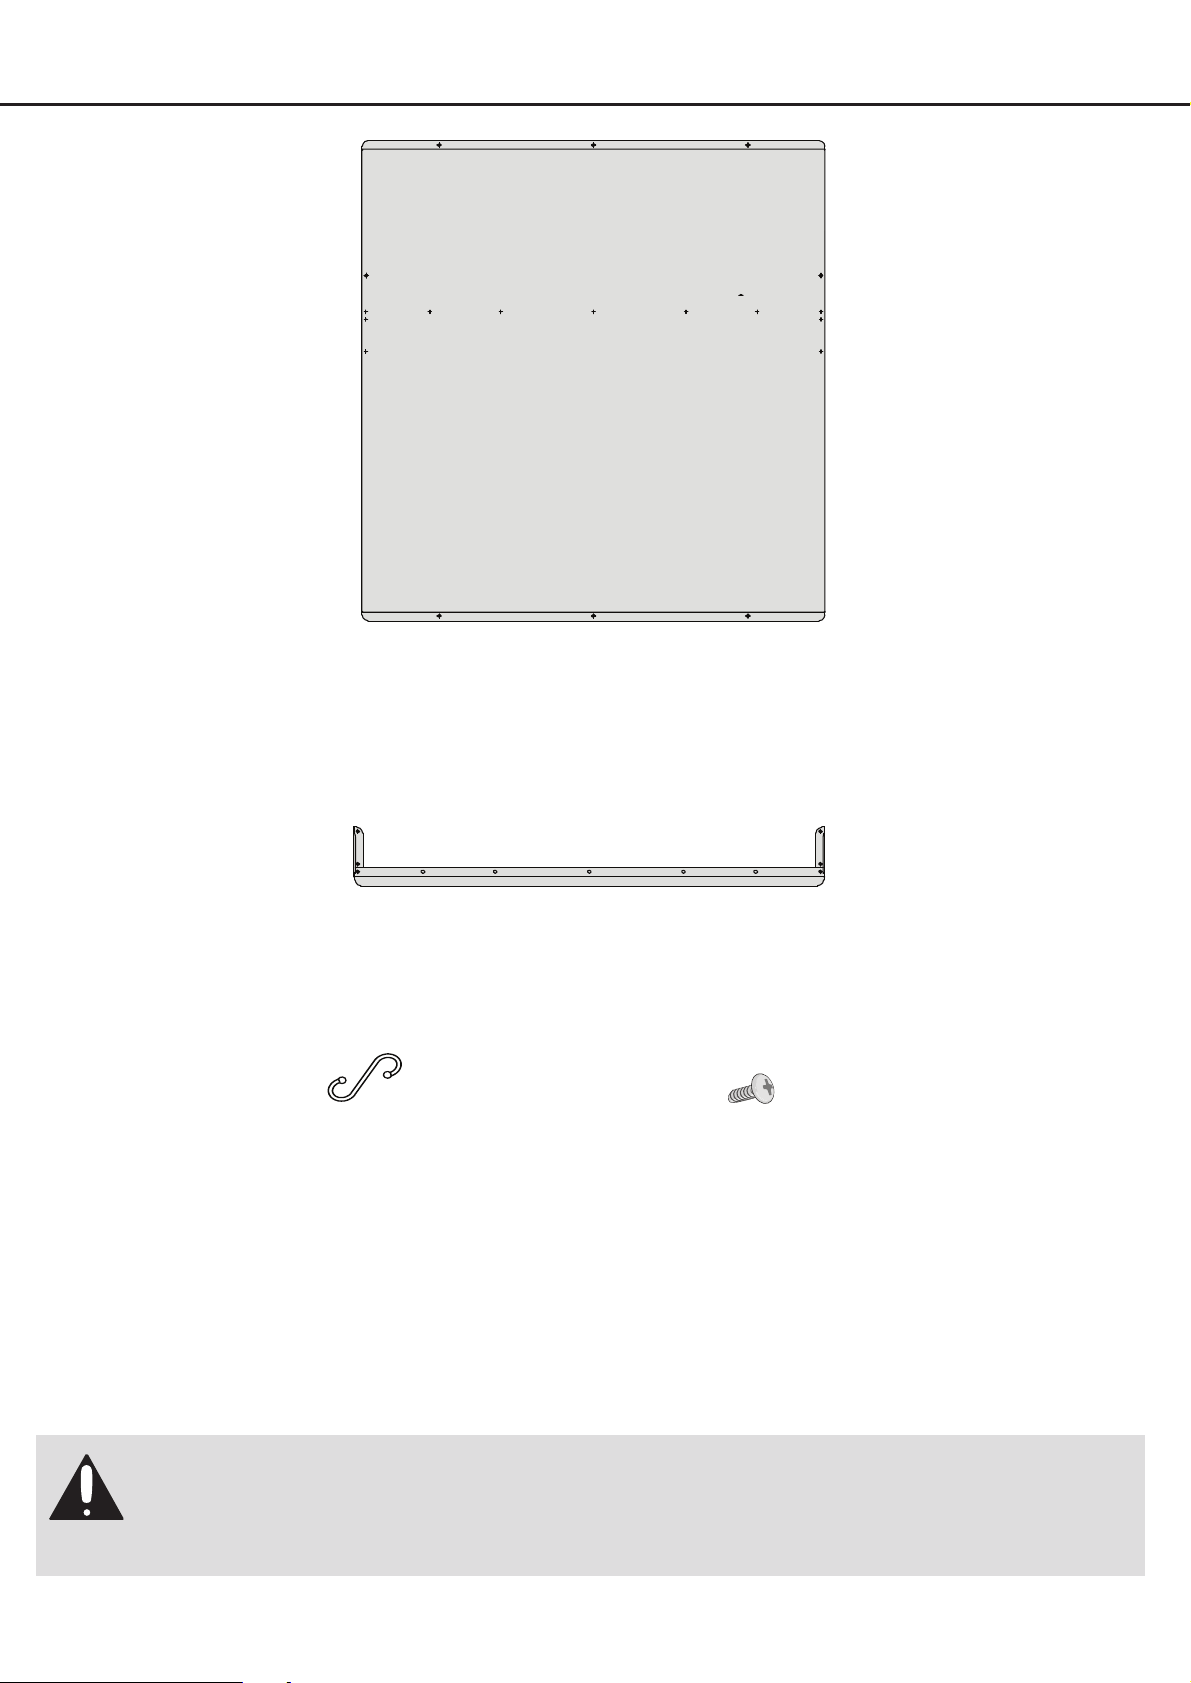
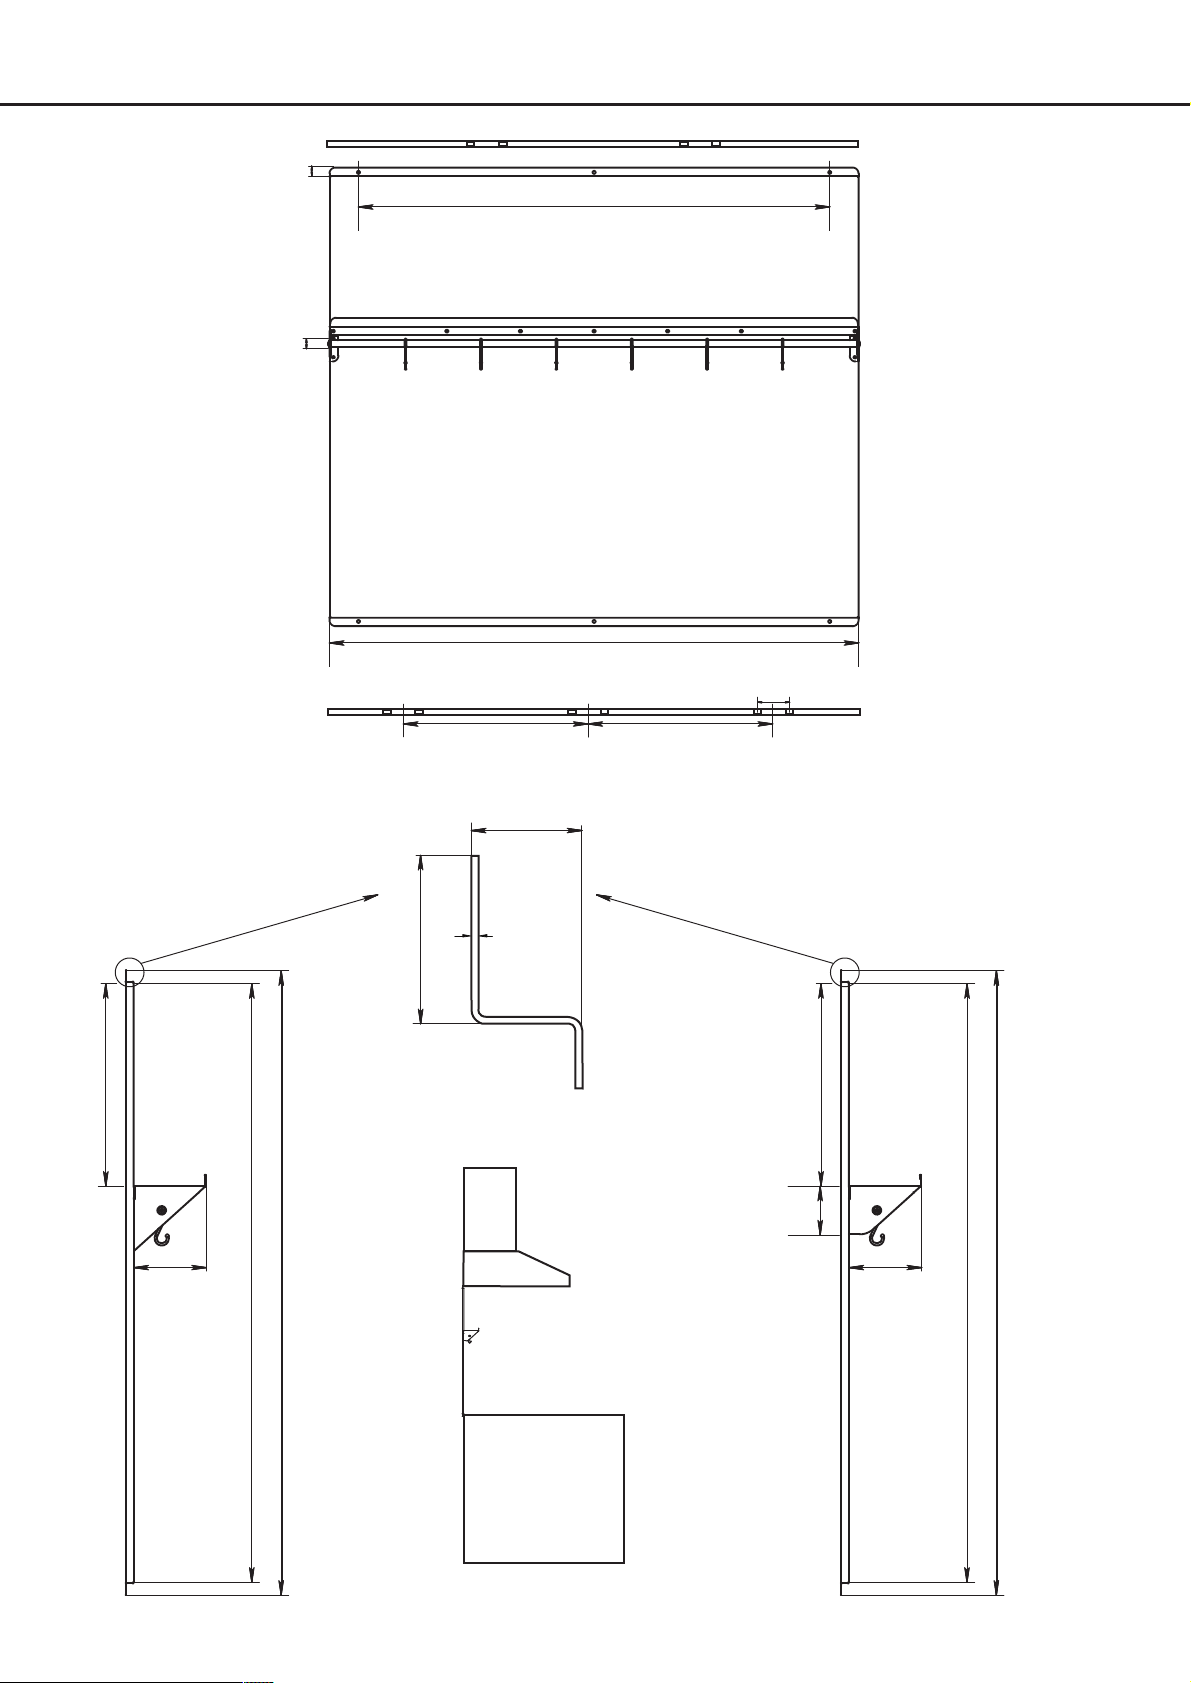
Measurements and Diagrams
10 1/16" (25.5 cm)
SIDE VIEW 30”
30 3/4” (77.8 cm)
30" - 19 11/16" (50 cm)
36" - 31 1/2" (80 cm)
30" - 9 7/8" (25 cm)
36" - 15 3/4" (40 cm)
30" - 9 7/8" (25 cm)
36" - 15 3/4" (40 cm)
FRONT VIEW
29 1/2” (75 cm) OR 35 3/8” (89.8 cm)
5/8" (1.5 cm)
Ø1/2" (1.2 cm)
2" (5 cm)
0.02”
(0.06 cm)
3.5”
(9 cm)
Cooktop or
countertop
Cabinet
Hood
Backsplash
Cabinet,
Range Hood or
Ceramic Tiles
3/8” (1 cm)
5/8” (1.5 cm)
29 1/2” (75 cm)
10 1/16" (25.5 cm)
SIDE VIEW 36”
30 3/4” (77.8 cm)
2.3”
(6 cm)
3.5”
(9 cm)
29 1/2” (75 cm)
— 4 —
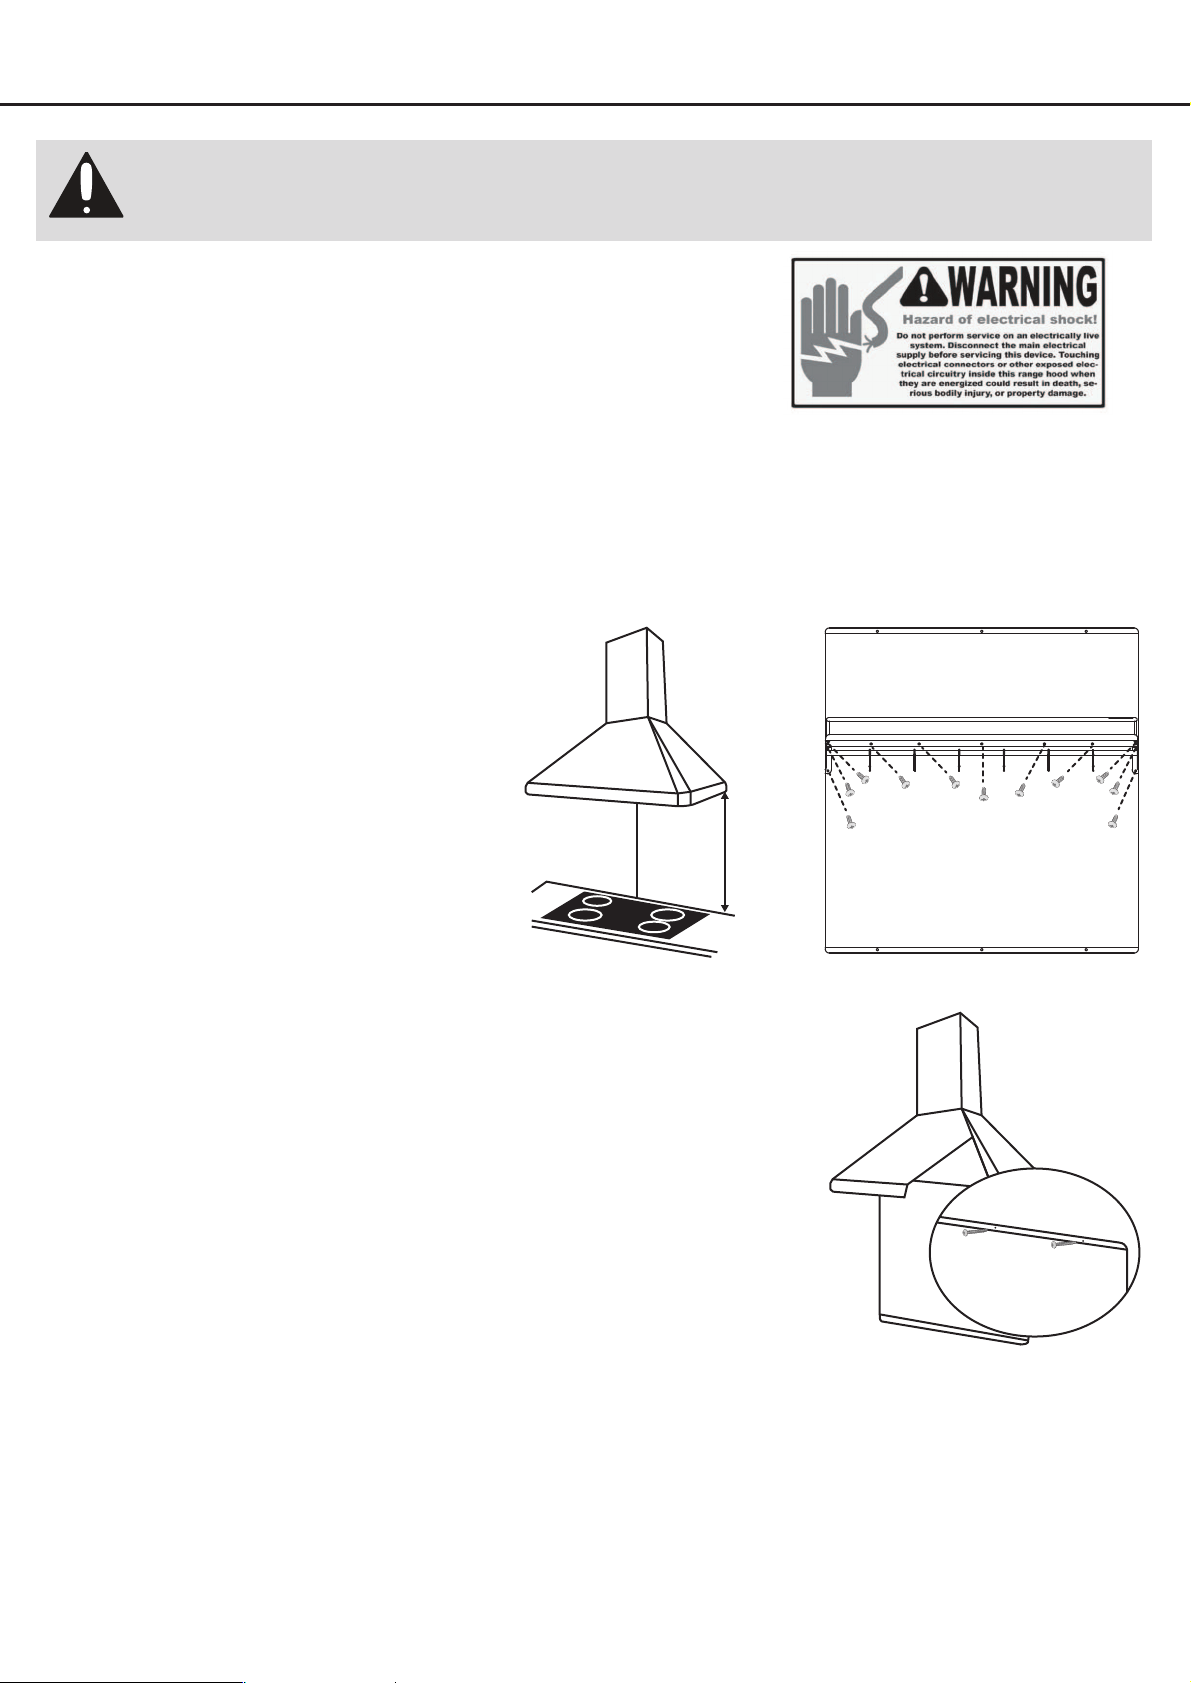
Installation
IMPORTANT SAFETY INFORMATION
READ ALL INSTRUCTIONS BEFORE INSTALLING
Note: Use threaded drywall anchors only
when mounting the backspash on sheetrock.
The backsplash installs to cover the wall space from the bottom of the hood to the cooktop/counter.
It can be installed during the installation of the hood or after.
If the hood is already installed, remove the hood lters, grease trays and lights and put in a safe
place. Then if necessary, remove the hood to allow installation of the backsplash.
Locate the midpoint of the hood at
the wall. Draw a vertical centerline
from this midpoint to the cooktop
(see Figure 1).
Open the packaging carefully to
avoid damaging the backsplash.
Position the backsplash on the wall,
centered on the marked centerline
and with lower edge ush with the
cooktop/counter.
1.
2.
3.
Mark where the screw holes are on the bottom and the top, drill
the holes and screw in the wall anchors.
Attach the shelf to the backsplash using the 11 supplied screws
ST4×8 (see Figure 2).
Fix the backsplash to the wall with screws on the bottom and
the top (see Figure 3).
Remove the plastic cover from backsplash once it’s xed to the
wall.
If necessary, replace the hood, with grease trays, lters and
lights.
4.
5.
6.
7.
8.
Figure 1 Figure 2
Figure 3

— 5 —
Use and Care Information
Cleaning Exterior Surfaces
Clean periodically with hot soapy water and clean cotton cloth. DO NOT use corrosive or abrasive detergent (e.g. Comet
Power Scrub®, EZ-Off® oven cleaner), or steel wool/scoring pads, which will scratch and damage the stainless steel
surface. For heavier soil use liquid degrease such as “Formula 409®” or “Fantastic®” brand cleaner.
If backsplash looks splotchy (stainless steel), use a stainless steel cleaner to clean the surface of the backsplash.
Follow directions of the stainless steel cleaner.
Use a soft towel to wipe off the cleaning solution, gently rub off any stubborn spots. Use a dry soft towel to dry the
backsplash.
After cleaning, you may use non abrasive stainless steel polish such as 3M® or ZEP®, to polish and buff out the
stainless luster and grain. Always scrub lightly, with clean cotton cloth, and with the grain.
DO NOT allow deposits to accumulate or remain on the backsplash.
DO NOT use ordinary steel wool or steel brushes. Small bits of steel may adhere to the surface and cause rusting.
DO NOT allow salt solutions, disinfectants, bleaches, or cleaning compounds to remain in contact with stainless steel
for extended periods. Many of these compounds contain chemicals, which may be harmful.
Rinse with water after exposure to these compounds and wipe dry with a clean cloth.
CAUTION: DO NOT leave on too long as this may cause damage to the backsplash finish.

© 2021 Copyright of Ancona Home. All rights reserved. This material may not be reproduced, displayed, modied or distributed.
Canada & USA
Phone: 1-800-350-4562
Fax: 800-350-8563
Email: [email protected]
Website: www.anconahome.com
MAPBS1230-05
— 6 —
Please register your product warranty by visiting the Ancona Home website.