Loading ...
Loading ...
Loading ...
Aboutthe automatic icemaker.
It is nomml tor several cubes to be joined togethex:
If ice is not used fl'equenfly, old ice cubes will
becon_e cloudy, taste stale, and shrink.
NOTE."In h )rues with lower-than-average water pressure,
you may hear the icemakercycle mul@/e times when
making onebatch of ice.
Icemaker Accessory Kit
If your refligerator did not come ah'eady
e(iuipped with an automatic icemakei; an
icemaker accessoi y kit is a\zfilable at extra cost.
Check tile back ot the refligerator for tile specific
icemaker kit needed for your model.
About the ice and water dispenser.(onsomemoao¢s)
(-. {:,,
2) {2) (L"
SpillShelf
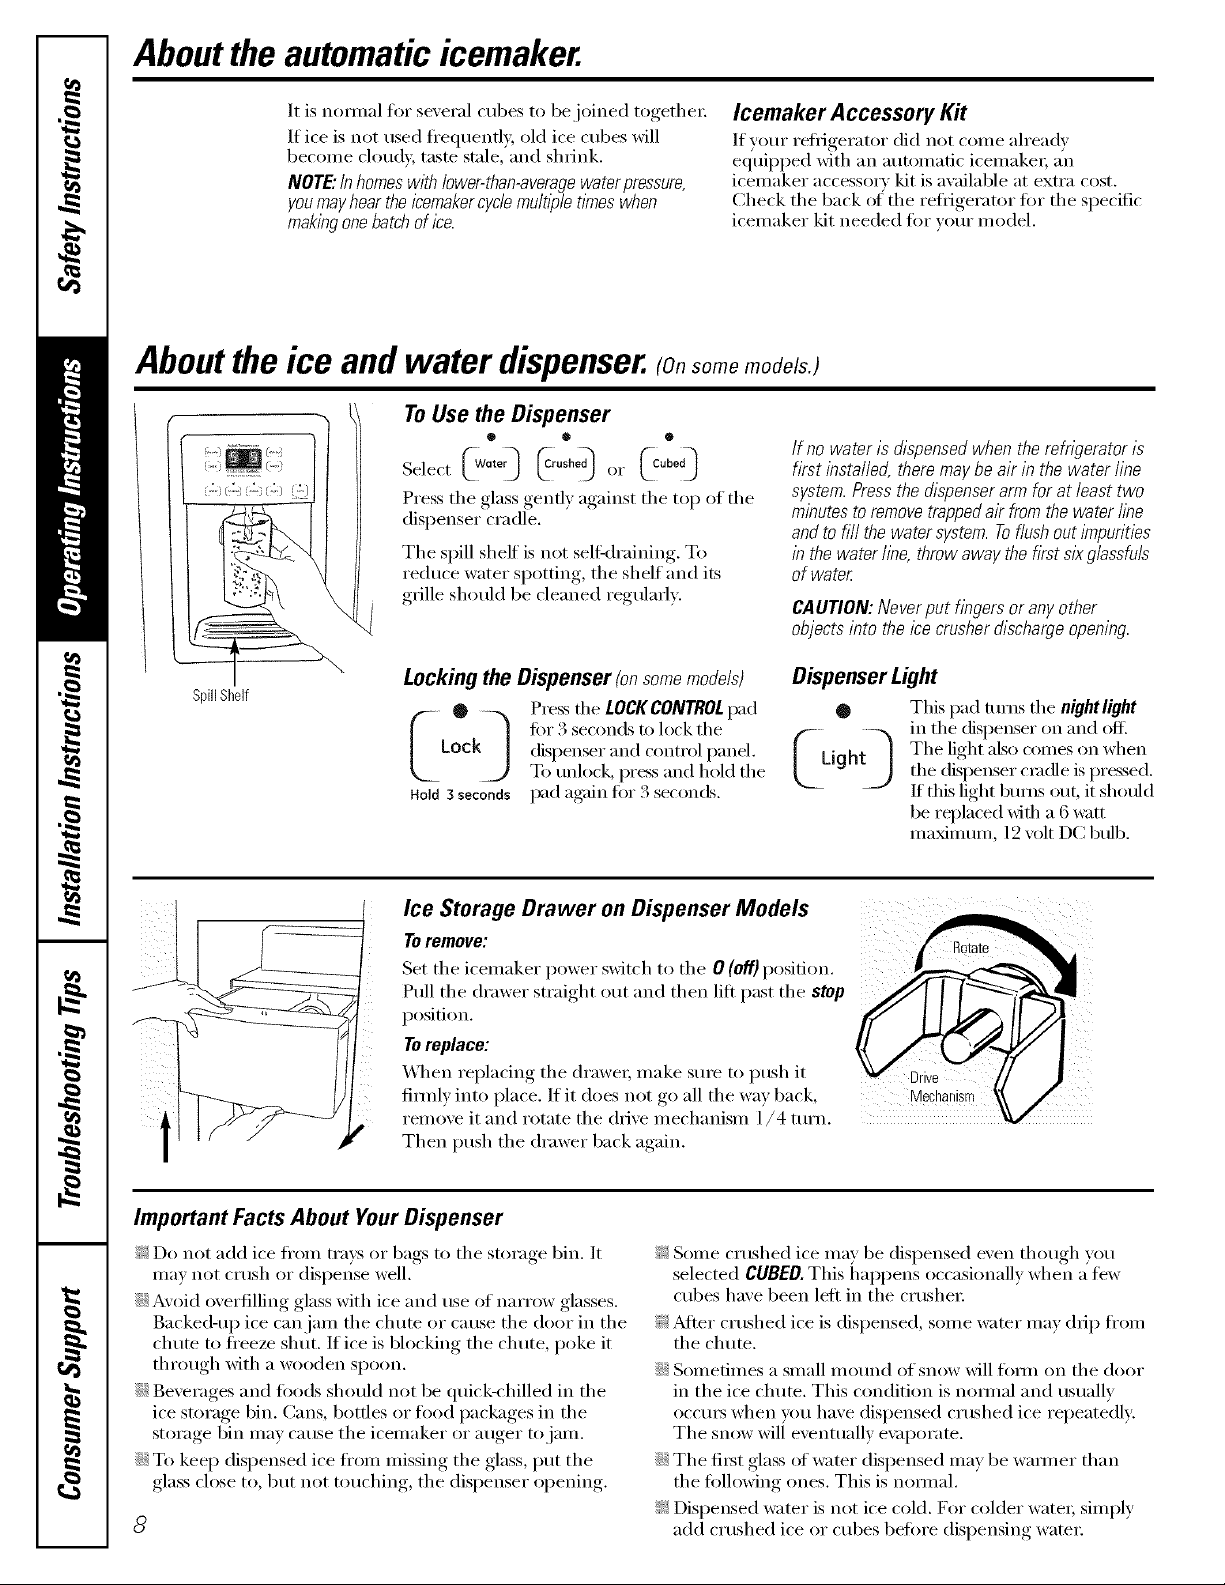
To Use the Dispenser
® @ •
Select _WQ,e_ _rushed_ (1I" _Cubed_
Press tile _(*lass_(*enflx.against, tile top of tile
dispenser cradle.
Tile spill sheff is not self-draining. To
reduce water si)otting,, tile shelf and its
grille should be cleaned regularly.
Locking the Dispenser(onsome models)
0Press the LOCKCONTROLpad
k_ tOr 3 sec°nds t° l°ck the
LOC dispenser and control panel.
To unlock, press and hold the
Hold3seconds pad again for3 seconds.
If no water is dispensed when the refrigerator is
first installed, there may be air in the water line
system. Press the dispenser arm for at least two
minutes to remove trapped air from the water l/be
and to fill the water system. Toflush out/_npurities
in the waterline, throwaway the first six glassfuls
of water
CAUTION: Never put fingers or any other
objects into the ice crusher discharge opening.
Dispenser Light
Q This pad rams tile nightlight
_v__L -'x in tile (fispenser on and (/fl_
ightJ Tile light also comes (m whenthe dispenser cradle is pr_sed.
If this light bums out, it sho/fld
be rq)laced _ith a 6 _tt
ma_mum, 12 volt D(: b/fib.
Ice Storage Drawer on Dispenser Models
Toremove:
Set the icemaker power switch to tile 0 (Off)position.
Pull the drawer straight out and then lift past the stop
p()sifion.
Toreplace:
\_]wn replacing the (h'awel, make sure to push it
fimdv into place./f it does not go all the way back,
1"el/lOVeit and rotate the Olive mechanism 1/4 turn.
Then push the drawer back again.
Mechanism
Important Facts About Your Dispenser
_: Do not add ice fl'om trays oi" bags to tile storage bin. It
may not crush or (lispeI{se well.
iJi::Avoid overfilling glass with ice and use of narrow glasses.
Backed-up ice canjanl tile chum or cause tile door in tile
chute to freeze shut. If ice is blocking the chute, poke it
through with a wooden spoon.
iJi::Beverages and toods should not be quick-chilled in the
ice storage bin. Cans, bottles or toed packages in the
storage bin may cause the icemaker or auger to jam.
iJi::To kee I) dispensed ice fl'om missing tile glass, put tile
glass close to, but not touching, tile dispenser opening.
8
!i_:Some crushed ice may be dispensed even though you
selected CUBED. This hal)pens occasionally when a few
cubes haxe been left in the crushei:
!i_:_Mier crushed ice is dispensed, some water may (hi l) fl'om
the chute,
iJi::Sometimes a small mound of snow will titan on tile door
in the ice chute. This condition is nomml and usually
occurs when you have dispensed crushed ice repeatedly:
Tile snow will eventually e\:q)oram.
iJi::Tile first glass of water dispensed may be wam/er than
the tollowing ones. This is nomml.
_: Dispensed water is not ice cold. For colder watei; simply
add crushed ice or cubes before dispensing ware1:
Loading ...
Loading ...
Loading ...