Loading ...
Loading ...
Loading ...
6. Release the starter rope from the notch.
7. Remove your thumb to release the starter pulley (A)
and let the starter rope (B) wind up on the pulley.
B
A
8. Pull out the starter rope fully to do a check that the
recoil spring is not at its end position. Make sure that
the starter pulley can be turned half a turn or more
before the recoil spring stops the movements.
To remove the spring assembly
WARNING:
Always use eye protection
when you remove the spring assembly.
There is a risk for eye injury, especially if a
spring is broken.
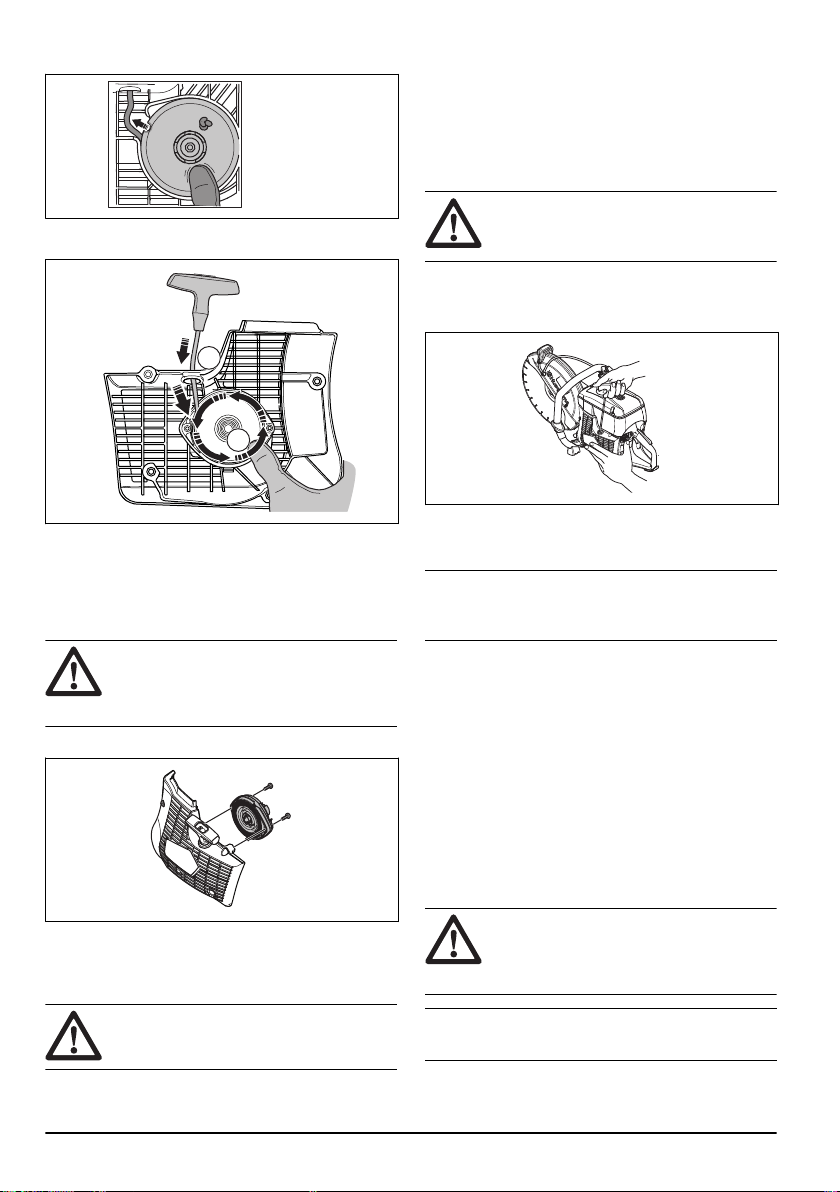
1. Remove the 2 screws on the spring assembly.
2. Push the 2 brackets on the snap locks with a
screwdriver.
To clean the spring assembly
CAUTION: Do not remove the spring
from the assembly.
1. Blow the spring with compressed air until it is clean.
2. Apply a light oil to the spring.
To attach the spring assembly
• Assemble in the opposite sequence of
To remove
the spring assembly on page 30
.
To install the starter housing
CAUTION: The starter pawls must
come into the correct position against the
starter pulley sleeve.
1. Put the starter housing against the product.
2. Pull out and release the starter rope slowly until the
starter pulley engages with the starter pawls.
3. Tighten the 4 screws on the starter housing.
To examine the carburetor
Note: The carburetor has rigid needles to make sure
that the product always receives the correct mixture of
fuel and air.
1. Examine the air filter. Refer to
To examine the air
filter on page 31
2. If it is necessary, replace the air filter.
3. If the engine continues to decrease in power or
speed, speak to your HUSQVARNA servicing dealer.
To examine the fuel system
1. Make sure that the fuel tank cap and its seal are not
damaged.
2. Examine the fuel hose. Replace the fuel hose if it is
damaged.
To adjust the idle speed
WARNING:
If the cutting blade rotates
at idle speed, speak to your servicing dealer.
Do not use the product until the idle speed is
correctly adjusted or repaired.
Note: For recommended idle speed refer to
Technical
data on page 34
.
1. Start the engine.
30
1447 - 004 - 04.05.2021
Loading ...
Loading ...
Loading ...