
1. Slowly press and release the remote button of your choice two
times. The opener LEDs will ash and go o, indicating you
have successfully programmed your remote.
2. Press and release the same button a third time and door will
open or close.
NOTE: It is possible to press the remote button too quickly or lightly. If
the LEDs do not go OFF, press the remote button several more times to
achieve conrmation.
1
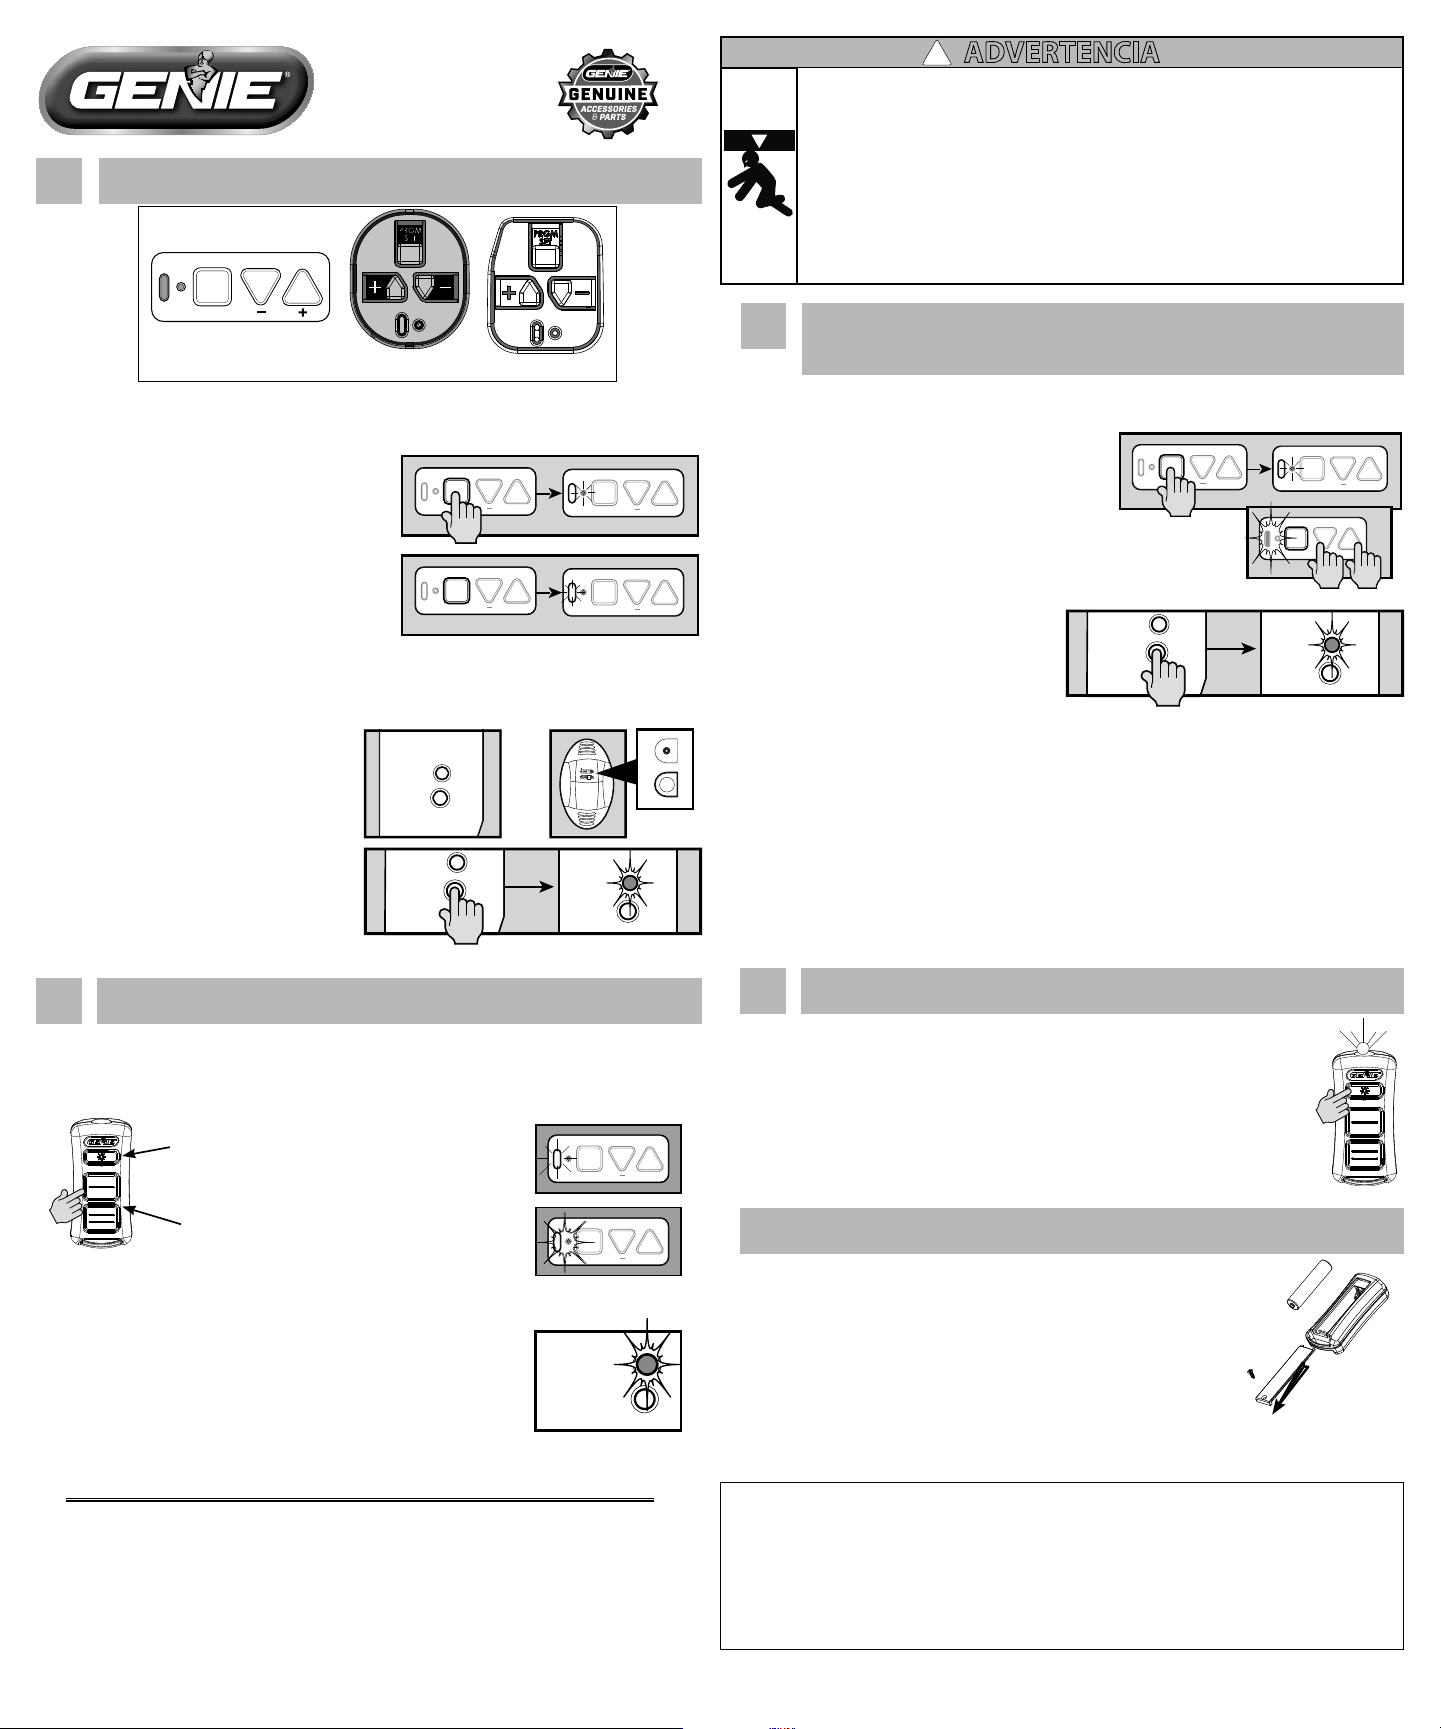
Putting Opener into Programming Mode
New Genie® Openers
1. Press and hold the program button until the
round LED turns blue, then release.
PROGRAM
SET
+
PROGRAM
SET
+
PROGRAM
SET
+
PROGRAM
SET
+
2. The round LED will go out and the long LED
will begin ashing purple.
Proceed to step 2
-OR-
Genie® openers and external receivers manufactured between
1995 to 2011
RADIO
SIGNAL
LEARN
CODE
CODE
LEARN
SET
SET
OPEN
FORCE
CLOSECODE
LEARN LIMITMANUAL
or
RADIO
SIGNAL
LEARN
CODE
RADIO
SIGNAL
LEARN
CODE
1. Press & release Learn Code button once.
The red LED will begin to ash.
Proceed to step 2
2
Programming a Remote to the Opener
NOTE: Once in programming mode, you will have approximately 30 seconds to perform this step.
Note: While programing remote buttons, stand at least 5 feet away from the opener. This ensures
you have proper communication between the remote and the opener.
PROGRAM
SET
+
PROGRAM
SET
+
39658503537, 06/2017
PRGM
SET
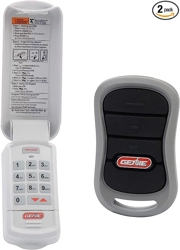
TYPE 1
TYPE 2 TYPE 3
There are 3 types of programming button pads. Type 1 is shown in these steps. All buttons
perform the same function and programming is the same for all types shown above.
Place operator into programming mode:
TYPE 1-2-3
RADIO
SIGNAL
LEARN
CODE
- OR -
Place operator into programming mode:
WARNING
!
MOVING DOOR CAN CAUSE SERIOUS INJURY OR DEATH.
•DO NOT install transmitter unless the door operator’s safety device works as required by the door
operator’s manual.
•Wall Console must be mounted in sight of door, at least 5 feet above oor and clear of moving door
parts.
•Keep people clear of opening while door is moving.
•DO NOT allow children to play with the transmitter or door operator.
If safety reverse does not work properly:
•Close door then disconnect opener using the manual release handle.
•DO NOT use transmitter or door operator.
•Refer to Door and Door Opener Owner’s Manuals before attempting any repairs.
AVERTISSEMENT
!
UNE PORTE MOBILE PEUT ENTRAÎNER DES BLESSURES GRAVES VOIRE MORTELLES.
•NE PAS installer l’émetteur sans s’assurer d’abord que le dispositif de sécurité de la télécommande
fonctionne tel que requis dans le manuel de l’ouvre-porte.
•La console murale doit être installée en vue de la porte, à au moins 1,5 m au-dessus du sol et à l’écart des
pièces de la porte mobiles.
•Tenir toute personne à l’écart de l’ouverture de la porte pendant qu’elle est en mouvement.
•NE PAS laisser les enfants jouer avec l’émetteur ou la télécommande de l’ouvre-porte.
Si le système d’inversion de sécurité ne fonctionne pas correctement, procéder comme suit :
•Fermer la porte puis débrancher l’ouvre-porte en utilisant la poignée de déverrouillage manuel.
•NE PAS utiliser l’émetteur ni la télécommande de l’ouvre-porte.
•Se reporter aux manuels d’utilisateur de l’ouvre-porte et de la porte avant de procéder à une réparation.
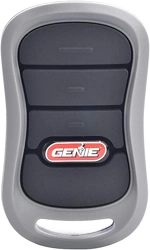
Remote
Buttons
Flashlight
Button
New Genie® Openers
1. Press and hold the program button until the
round LED turns blue, then release.
2. Press and hold the Up(+) Down (-) buttons at the
same time, until the both LEDs ash blue and go OFF.
Genie® openers and external receivers manufactured between
1995 to 2011.
•Toeraseallremotedevicesfromallother
types of Genie® openers,
Press and hold the Learn Code Button until
the LED stops blinking.
Start at step 1 to reprogram your remotes.
NOTE: Clearing remote control memory from the power head will clear ALL programmed remotes
and wireless keypads. Your opener will no longer recognize any signal from any remote device,
including a missing remote device.
3
Lost or Stolen Remote/Erasing all Remotes
PROGRAM
SET
+
PROGRAM
SET
+
PROGRAM
SET
+
FCC Part 15.21 Statement:
Changes or modications not expressly approved by the party responsible for compliance could void the user’s
authority to operate the equipment.
FCC / IC Statement:
This device complies with FCC Part 15 and Industry Canada licence-exempt RSS standard(s). Operation is subject
to the following two conditions: (1) this device may not cause harmful interference, and (2) this device must
accept any interference received, including interference that may cause undesired operation of the device.
Le présent appareil est conforme aux CNR d’Industrie Canada applicables aux appareils radio exempts de
licence. L’exploitation est autorisée aux deux conditions suivantes : (1) l’appareil ne doit pas produire de
brouillage, et (2) l’utilisateur de l’appareil doit accepter tout brouillage radioélectrique subi, même si le
brouillage est susceptible d’en compromettre le fonctionnement.
For additional help or information, please visit our website at
www.GenieCompany.com, contact our Customer Care group at
1-800-35-Genie, or write to us directly at:
The Genie Company
One Door Drive, PO Box 67
Mount Hope, Ohio 44660
Replace the Battery
Replace remote battery with 1-AAA battery.
1. Remove screw and press down on top of battery door and slide
back o of remote.
2. Match battery polarity symbols inside battery housing and
replace battery.
3. Align cover, snap case closed, install screw.
NOTE: Transmitter will not require reprogramming for battery change.
AAA
Press the LED Flashlight button once.
LED Flashlight will operate until button is pressed again or when 4 minutes have
passed.
After 4 minutes the LED will ash indicating that light will turn o automatically.
4
Using the LED Flashlight
RADIO
SIGNAL
LEARN
CODE
RADIO
SIGNAL
LEARN
CODE
©2017 GMI Holdings, Inc. DBA The Genie Company. Pat: www.GenieCompany.com/patent
-OR-
Instruction pertains to all button pad TYPES shown in section 1
1. Oprima despacio y suelte el botón del control remoto de su
elección dos veces. Las luces LEDs del abridor parpadearán y
se apagarán, indicando que ha programado exitosamente su
control remoto.
2. Oprima y suelte el mismo botón una tercera vez y la puerta se
abrirá o cerrará.
NOTA: Es posible oprimir el botón del control remoto demasiado
rápida o suavemente. Si las luces LED no se APAGAN, oprima el botón
del control remoto varias veces más para lograr la conrmación.
1
Poner el abridor en el Modo de Programación
Nuevos abridores Genie®
1. Oprima y sostenga el botón de rogramación
hasta que la luz LED redonda se vuelva azul,
después suéltelo.
PROGRAM
SET
+
PROGRAM
SET
+
PROGRAM
SET
+
PROGRAM
SET
+
2. La luz LED redonda se apagará y la luz
LED larga empezará a parpadear en color
morado.
Proceda al paso 2
-O-
Abridores Genie® y receptores externos fabricados entre 1995 y
2011
RADIO
SIGNAL
LEARN
CODE
CODE
LEARN
SET
SET
OPEN
FORCE
CLOSECODE
LEARN LIMITMANUAL
or
RADIO
SIGNAL
LEARN
CODE
RADIO
SIGNAL
LEARN
CODE
1. Oprima y suelte una vez el botón del
Código de Aprendizaje. La luz LED roja
empezará a parpadear.
2
Programar un control remoto para el abridor
PROGRAM
SET
+
PROGRAM
SET
+
39658503537, 06/2017
PRGM
SET
TIPO 1
TIPO 2 TIPO 3
Existen 3 tipos de teclados de programación. El tipo 1es el que se muestra en estos pasos.
Todos los botones cumplen la misma función y la programación es la misma para todos
los tipos mostrados arriba.
Poner el operador en el modo de
programación: TIPO 1-2-3
RADIO
SIGNAL
LEARN
CODE
- OR -
Ponga el operador en el modo de
programación:
ADVERTENCIA
!
LA PUERTA EN MOVIMIENTO PUEDE OCASIONAR LESIONES
GRAVES O LA MUERTE.
•NO instale el transmisor a menos que el dispositivo de seguridad del operador de la puerta funcione
como es requerido por el manual del operador de la puerta.
•La Consola de Pared debe ser montada a la vista de la puerta, por lo menos 5 pies arriba del piso y
alejada de las partes en movimiento de la puerta.
•Evite que las personas de acerquen mientras la puerta esté en movimiento.
•NO permita que los niños jueguen con el transmisor o el operador de la puerta.
•Si la función inversa de seguridad no funciona correctamente:
•Cierre la puerta y después desconecte el abridor usando la manija de liberación manual.
•NO use el transmisor o el operador de la puerta.
•Consulte los Manuales del Propietario de la Puerta y del Abridor antes de intentar cualquier reparación.
Botones del control
remoto
Botón de
la linterna
Nuevos abridores Genie®
1. Oprima y sostenga el botón de programación
hasta que la luz LED redonda se vuelva azul,
después suéltelo.
2. Oprima y sostenga los botones Arriba (+) Abajo (-) al mismo
tiempo, hasta que ambas luces LEDs parpadeen en azul y
se APAGUEN.
Abridores Genie® y receptores externos
fabricados entre 1995 y 2011.
•Para borrar todos los controles remotos
de todos los otros tipos de abridores Genie®, Oprima y sostenga el Botón del Código de
Aprendizaje hasta que la luz LED deje de parpadear.
Comience en el paso 1 para reprogramar sus controles remotos.
NOTA: El borrar la memoria del control remoto del cabezal eléctrico borrará TODOS los controles
remotos programados y teclados inalámbricos. Su abridor dejará de reconocer cualquier señal de
cualquier control remoto, inclusive un control remoto faltante.
3
Control remoto perdido o robado/Borrar todos los controles
remotos
PROGRAM
SET
+
PROGRAM
SET
+
PROGRAM
SET
+
Declaración de la Parte 15.21 de la FCC:
Los cambios o modicaciones que no estén aprobados expresamente por la parte responsable del
cumplimiento podrían anular la autoridad del usuario para operar el equipo.
Declaración de la FCC/IC:
Este dispositivo cumple con la Parte 15 de la FCC y con las normas RSS de exención de licencia de Industry
Canada. La operación está sujeta a las dos condiciones siguientes: (1) este dispositivo no podrá ocasionar
interferencia perjudicial, y (2) este dispositivo debe aceptar cualquier interferencia recibida, incluyendo la
interferencia que podría ocasionar la operación no deseada del dispositivo.
Si desea ayuda o información adicional, visite
nuestra página de Internet www.GenieCompany.com, contacte
a nuestro grupo de Atención al Cliente llamando al
1-800-35-Genie,
o escríbanos directamente a:
The Genie Company
One Door Drive, PO Box 67, Mount Hope Ohio 44660
Reemplazar la pila
Reemplace la pila del control remoto con una pila AAA.
1. Remueva el tornillo y presione hacia abajo en la parte superior del
compartimiento de la pila y deslícelo hacia afuera.
2. Haga corresponder los símbolos de polaridad de la pila dentro del
compartimiento y reemplace la misma.
3. Alinee la tapa, cierre el compartimiento, y coloque el tornillo.
AAA
Oprima el botón de la linterna LED una vez.
La linterna LED operará hasta que el botón sea oprimido otra vez o cuando hayan
pasado 4 minutos.
Después de 4 minutos la luz LED parpadeará indicando
que la luz se apagará automáticamente.
4
Usar la linterna LED
RADIO
SIGNAL
LEARN
CODE
RADIO
SIGNAL
LEARN
CODE
©2017 GMI Holdings, Inc. DBA The Genie Company. Pat: www.GenieCompany.com/patent
-O-
Esto pertenece a todos los TIPOS de teclados indicados en la sección 1.
Proceda al paso 2
NOTA: Una vez que está en el modo de programación,tendrá aproximadamente 30
segundos para realizar este paso.
NOTA: Mientras programa los botones del control remoto, manténgase por lo menos a 5 pies del
abridor. Esto asegura que tenga una comunicación apropiada entre el control remoto y el abridor.