Loading ...
Loading ...
Loading ...
English
49
USING THE PROJECTOR
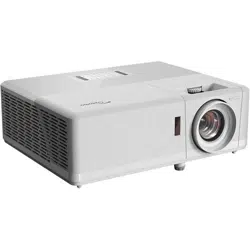
5. Click “Properties”.
6. Type in the IP address and Subnet mask, then press “OK”.
7. Press the “Menu” button on the projector.
8. Open on projector Network > LAN.
9. Enter the following connection parameters:
± DHCP: O
± IP Address: 192.168.0.100
± Subnet Mask: 255.255.255.0
± Gateway: 192.168.0.254
± DNS: 192.168.0.51
10. Press “Enter” to conrm settings.
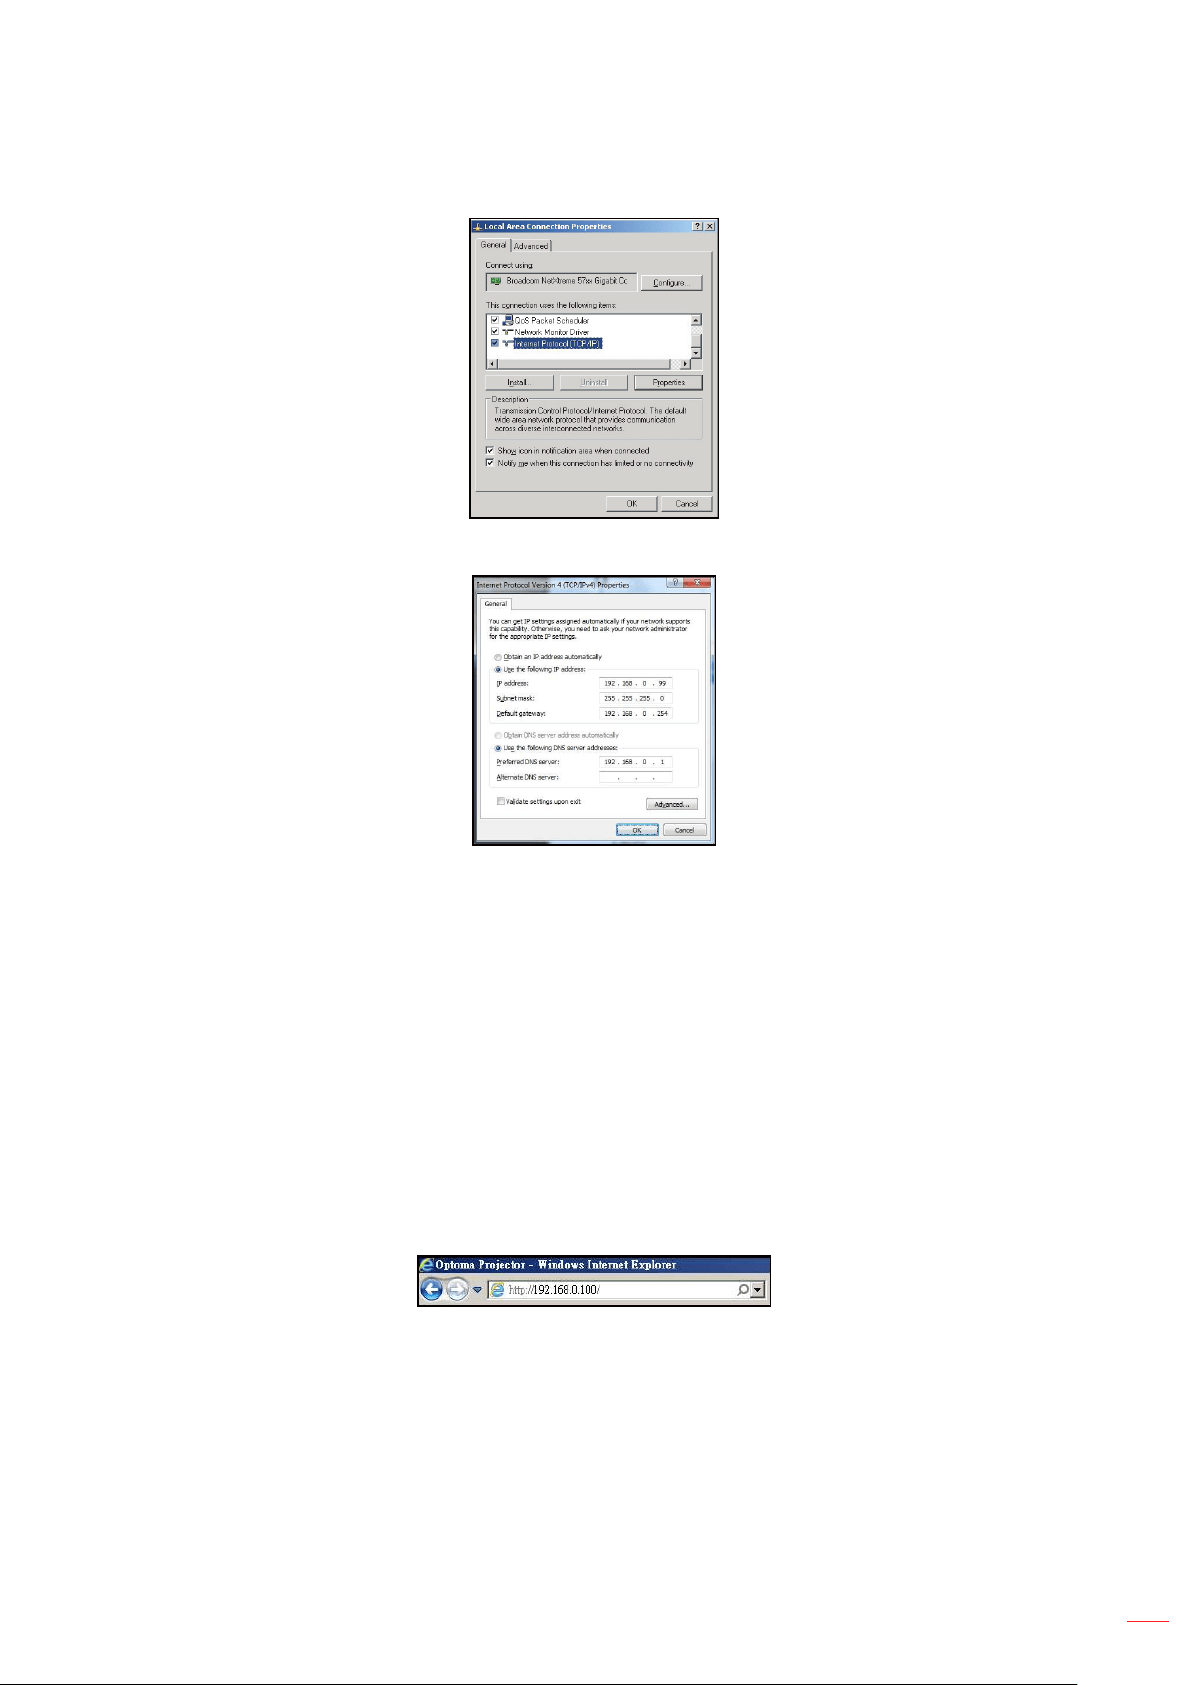
11. Open a web browser, for example Microsoft Internet Explorer or Google Chrome.
12. In the Address bar, input the projector’s IP address: 192.168.0.100.
13. Press “Enter”.
Loading ...
Loading ...
Loading ...