Loading ...
Loading ...
Loading ...
8
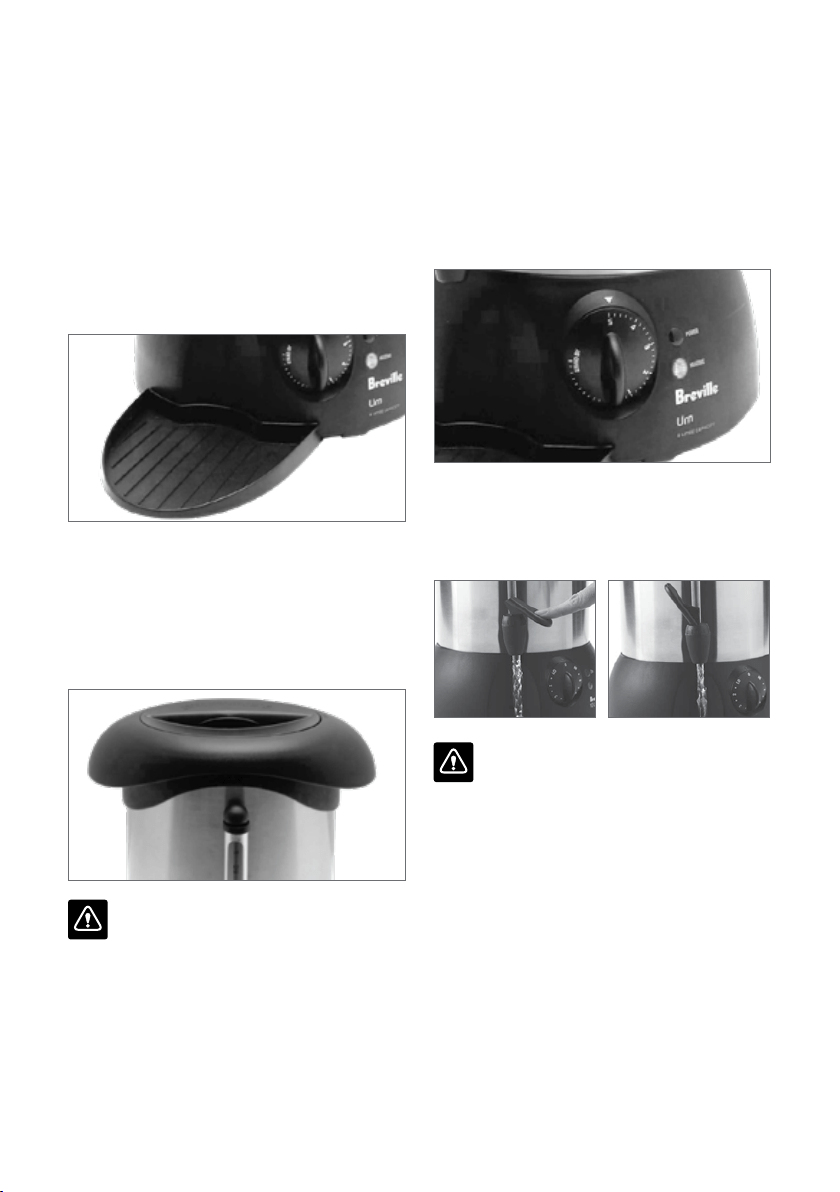
6. Turn the variable heat control to setting 5
(maximum) for fast boiling. The heating
light will remain on. When the unit has
boiled, select the desired setting between 1
(Minimum) to 4 to maintain temperature
(Breville recommends setting 2 or 3 for
tea or coffee). The heating light will cycle
on and off maintaining the temperature
selected.
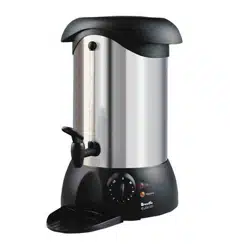
7. To pour hot water, place a cup in the drip
tray and push the non-drip tap down. For
continuous pouring, lift the tap in the
vertical position.
WARNING
The lid should always be fitted and locked into
position when in use.
Use caution when pouring water from your
Urn, as boiling water will scald.
Do not pour the water too quickly.
Do not open the lid when in operation as steam
may escape from the top.
Steam may escape from the steam holes on top
of the Urn. Exercise caution at all times.
Always empty the Urn before moving to a new
position.
Never carry the Urn when in operation.
Always use the handles to carry the Urn.
USING YOUR BREVILLE URN
BEFORE FIRST USE
It is recommended that before the first use, the
Urn is filled to the maximum level, boiled and
the water discarded.
1. Fully unwind power cord from base.
2. Place the Urn on a dry level surface and
position the drip tray at the front of the Urn
(tilt the Urn back slightly and slide the drip
tray under to secure in place).
3. To fill with water, turn the locking lid
anti-clockwise and remove. Use a smaller
container to fill the Urn between the
minimum and maximum marks. Too little
water will result in the Urn switching off
before the water has boiled.
WARNING
Do not fill above the maximum fill line on the
external water gauge as boiling water may
splash out from the Urn.
4. After filling the Urn, ensure that the lid is
replaced and locked into position.
5. Plug the power cord into a 230/240V
power outlet and switch the outlet on. The
red power 'on' light will illuminate.
Loading ...
Loading ...
Loading ...