Loading ...
Loading ...
Loading ...

I 18
ASTROPHOTOGRAPHY
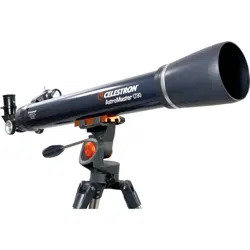
The AstroMaster series of telescopes was designed for visual observing. After looking at the night sky for a while you may
want to try your hand at photography of it. There are several forms of photography possible with your telescope for celes-
tial as well as terrestrial pursuits. Below is just a very brief discussion of some of the methods of photography available
and suggest you search out various books for detailed information on the subject matter.
As a minimum you will need a digital camera or a 35 mm SLR camera. Attach your camera to the telescope with:
• Digital camera – you will need the Universal Digital Camera Adapter (# 93626). The adapter allows the camera to be
mounted rigidly for terrestrial as well as prime focus astrophotography.
• 35 mm DSLR camera – you will need to remove your lens from the camera and attach a T-Ring for your specific camera
brand. Then, you will need a T-Adapter (# 93625) to attach on one end to the T-Ring and the other end to the telescope
focus tube. Your telescope is now the camera lens.
planetary & lunar photography with Special iMagerS
During the last few years a new technology has evolved which makes taking superb images of the planets and moon
relatively easy and the results are truly amazing. Celestron offers the NexImage 5 (# 93711) which is a special camera
and included is software for image processing. You can capture planetary images your first night out which rivals what
professionals were doing with large telescopes just a few short years ago.
terreStrial photography
Your telescope makes an excellent telephoto lens for terrestrial (land) photography. You can take images of various scenic
views, wildlife, nature, and just about anything. You will have to experiment with focusing, speeds, etc. to get the best
image desired. You can adapt your camera per the instructions at the top of this page.
Loading ...
Loading ...
Loading ...