Loading ...
Loading ...
Loading ...
8
Let’s get started!
Step 1: Testing
Before installing your AC, let’s test it to make sure it works properly and your outlet has the proper
power level. First, place it on a flat surface, plug it directly into a wall outlet (never use a power
strip or other device), and turn it on. Next, use the Mode button on your control panel to change
the AC to Cool Mode and press the down arrow to set the temperature to the lowest setting. After
3 minutes, the AC should be blowing cool air. If so, please continue to the next step. If not, see
detailed troubleshooting tips at support.tcl.com/us.
Step 2: Installation
A few quick notes before installing:
• This unit is made to fit inside a standard double-hung window.
• Check the size of your window before installing.
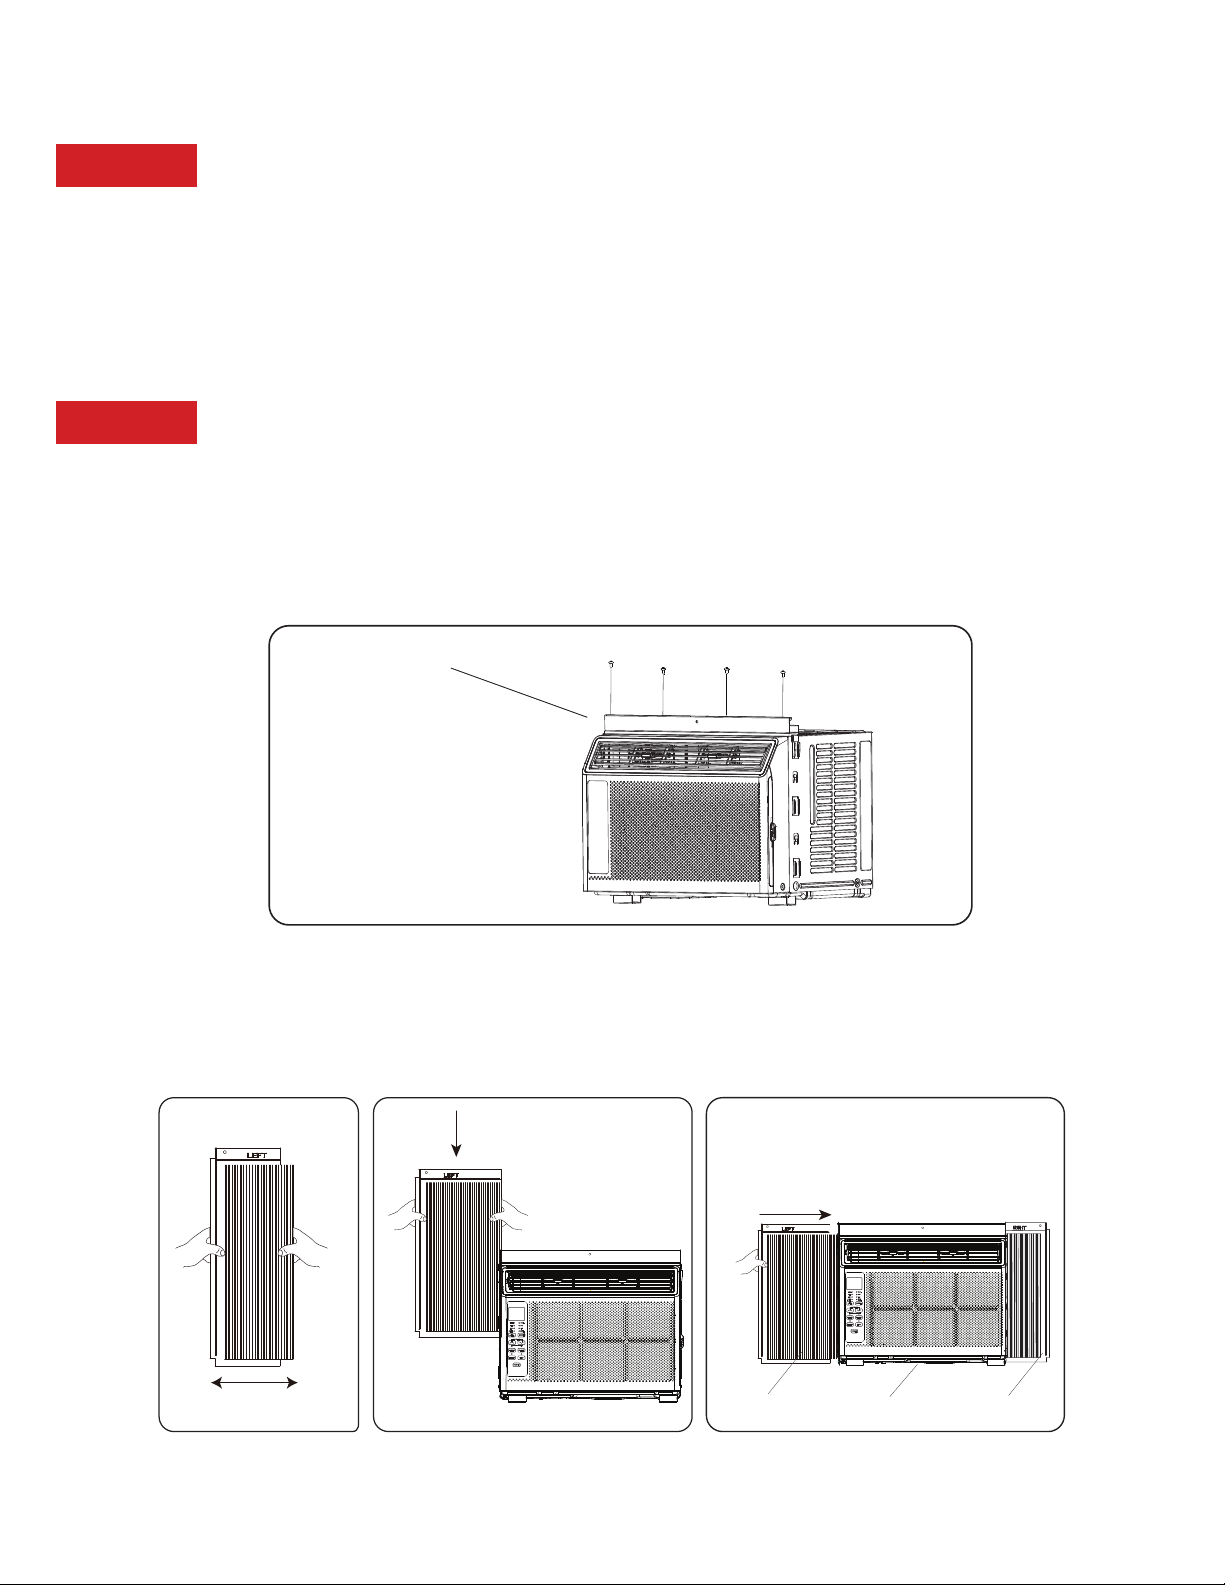
1. Use the (4) included 3/8” screws to fasten the top mounting rail to the unit.
1.
Top Mounting Rail
(4) 3/8” Screws
1/4”
2. Fasten the accordion styled window panel expander pieces to the unit (some models come
with the panel extenders already attached). They are marked “Right” and “Left”. Pull the
leading edge of them to its maximum width. Then slide the panel expanders into the grooved
notches on the sides of the unit, (slide downward) and make sure they are inserted into the
metal rails tightly.
2a. 2b. 2c.
Top Mounting Rail
Filler panel
Filler panel
Bottom Rail
1/4”
Loading ...
Loading ...
Loading ...