Loading ...
Loading ...

3
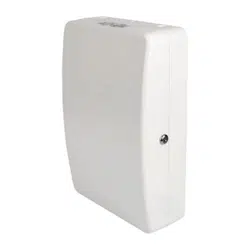
Installation
IMPORTANT!
Attach all data and power cables to the access point prior to attaching to the enclosure.
•
Installers are responsible for providing wall-mounting hardware. Use a minimum of two #10 x 2” or larger screws (not included) to secure the
enclosure in place.
• Make sure mounting screws are anchored into the center of the studs. Use of a stud finder is highly recommended.
• If there is no stud at the mounting location, it is recommended you use four anchors to secure the enclosure in place. Due to the
weight of the enclosure, plastic expansion wall anchors are not recommended for drywall installations. Suitable anchors include:
threaded drywall anchors, threaded drywall toggles, sleeve-type hollow wall anchors (a.k.a. molly bolts) or toggle bolts.
• If placing the enclosure over a telecommunications receptacle, remove the wall plate, then fasten the enclosure to the wall. Once
secured, fasten the wall plate over the receptacle.
•
If no telecommunications receptacle is available, a surface mount box (or biscuit jack) and equipment cord can be mounted inside the unit.
• Use an adhesive-backed surface mount box.
2. Run Data and Power Cable (If Required) Through the Rear Cutout or Side
Conduit Cutout
3. Using the Provided Screws, Attach the Access Point
3a. Cisco Low-Profile Bracket* Installation
AIR-AP-BRACKET-2
Security Tab
Access Point
Security Tab
Zip Tie
(Included)
* Cisco brackets not included.
Loading ...
Loading ...
Loading ...