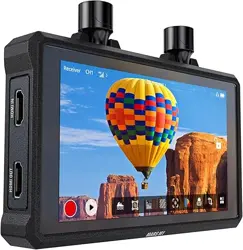

MARS 400S PRO
User Manual
V1.0.0


1
Thank you for purchasing Hollyland Mars 400S PRO Wireless HD Video Transmission
system. Please kindly read this manual carefully before using it. Hope you have a
pleasant experience.
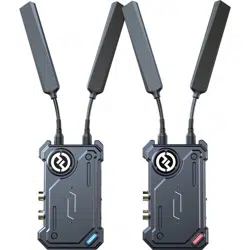
400ft Transmission Range between TX and RX(LOS)
300ft Transmission Range between TX and APP(LOS)
Integrated Cold Shoe for Quick Installation
Lowest Transmission Latency 0.08s
SDI Input & HDMI Input at TX
SDI Output & HDMI Output at RX
Supports DC Power Supply, USB Type-C Power Supply and Battery Power Supply
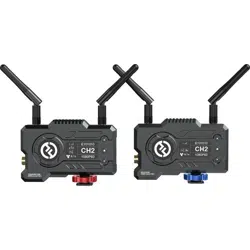
1 Transmitter Supports 2 Receivers(1 Transmitter Supports 1 Receiver and 2 APPs
Monitoring, or 1 Transmitter Supports up to 4 APPs Monitoring Without Receiver)
Supports Smart Channel Selection
Supports APP Firmware Upgrade
Direct Data Stream from RX for Live Streaming
FOREWORD
KEY FEATURES
2
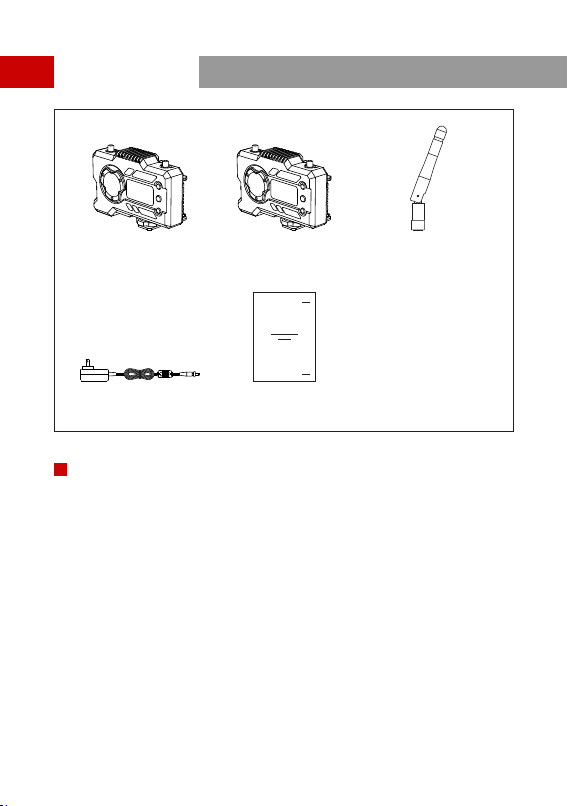
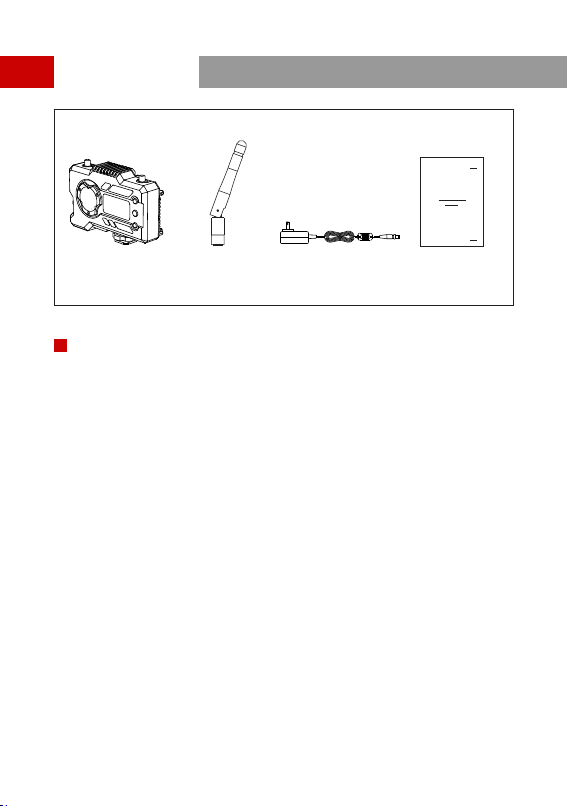
Transmitter
x1
①
Receiver
x1
②
Antenna
x5
③
x1
④
User Guide
⑤
DC Adapter
x1
⑤
① ② ③
④
PACKING LIST
1 TX WITH 1 RX PACKING
3
x1
①
Receiver
x3
②
Antenna
x1
③
x1
④
User Guide
DC Adapter
① ② ③ ④
PACKING LIST
SINGLE RECEIVER PACKING
4
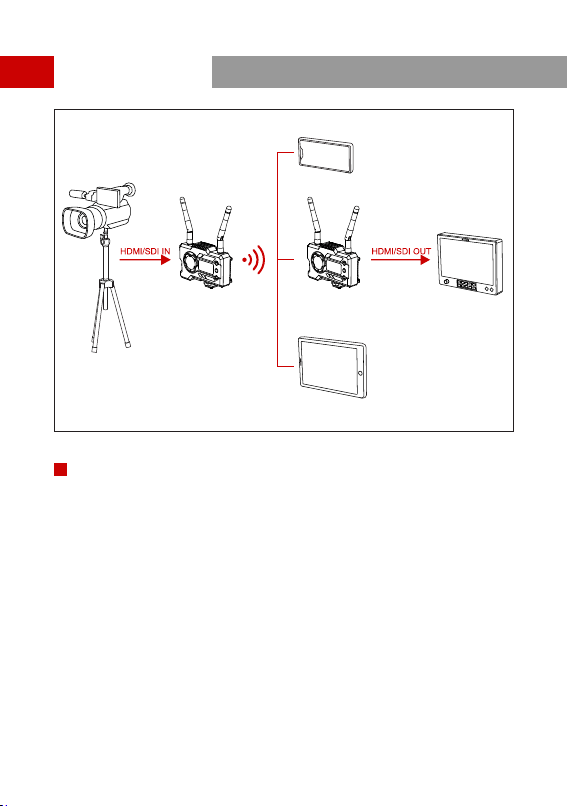
MONIT
OR
PAD
PHONE
TYPICAL SETUP
1 TX-1 RX SETUP
5
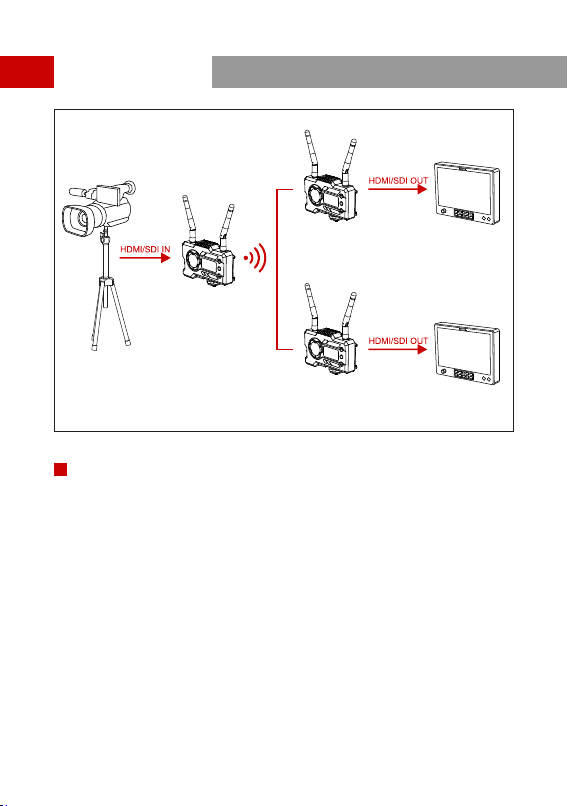
MONITOR
MONIT
OR
TYPICAL SETUP
1 TX-2 RX SETUP

6
①
②
③
④
⑤
⑥
⑦
⑧
⑨
⑩
⑪
⑫
A
①
②
③
④
⑤
⑥
⑦
⑧
⑨
⑩
⑪
⑫
B
PRODUCT INTERFACES

7
①
Antenna Interface
②
Fan Air Outlet
③
④
OLED Display Screen
SDI Input
A
⑤
UP
⑥
OK
⑦
DOWN
⑧
Cold Shoe
⑨
USB Type-C Interface
⑩
Power Switch
⑪
HDMI Input
⑫
DC Input
①
Antenna Interface
②
Fan Air Outlet
③
④
OLED Display Screen
SDI Output
B
⑤
UP
⑥
OK
⑦
DOWN
⑧
Cold Shoe
⑨
USB Type-C Interface
⑩
Power Switch
⑪
HDMI Output
⑫
DC Input
PRODUCT INTERFACES
TRANSMITTER RECEIVER
8
①
②
④
⑤
③
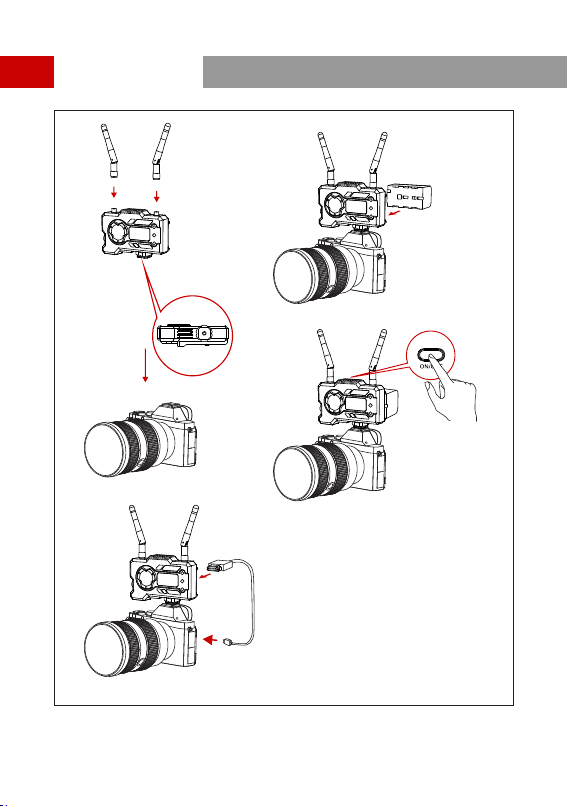
INSTALLATION

9
Install the antennas as demonstrated.
①
Secure the cold shoe with 1/4 screw hole at the bottom of the transmitter and mount
it to the camera.
②
Connect the HDMI input or SDI input of the transmitter with camera's by HDMI or SDI
cable.
③
④
Turn on the devices.
⑤
Connect to a power supply(compatible with NP-970 battery or the same series of the
batteries).
INSTALLATION
A
E101010
CH2
1080P60
8.1v
B
① ②
③
④
⑤
⑥
⑦
⑨⑧
③
④
⑤
⑥
⑦
① ②
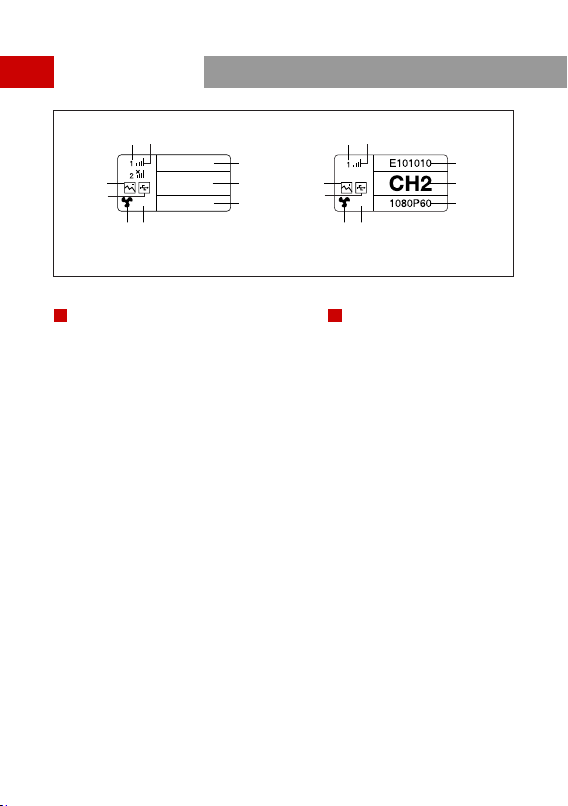
①
Device Number
②
WIFI Signal Strength
③
④
USB Flash Detection Indicator
Scene Mode
⑤
Device ID
⑥
Channel Display
⑦
Video Format
⑧
Fan Status
⑨
Battery Voltage Display
①
Device Number
②
WIFI Signal Strength
③
④
USB Flash Detection Indicator
Scene Mode
⑤
Device ID
⑥
Chanel Display
⑦
Video Format
⑧
10
OLED DISPLAY
A B
TRANSMITTER RECEIVER
8.1v
⑨⑧
⑨
Fan Status
Battery Voltage Display
11
E101010
CH2
1080P60
E101010
CH2
1080P60
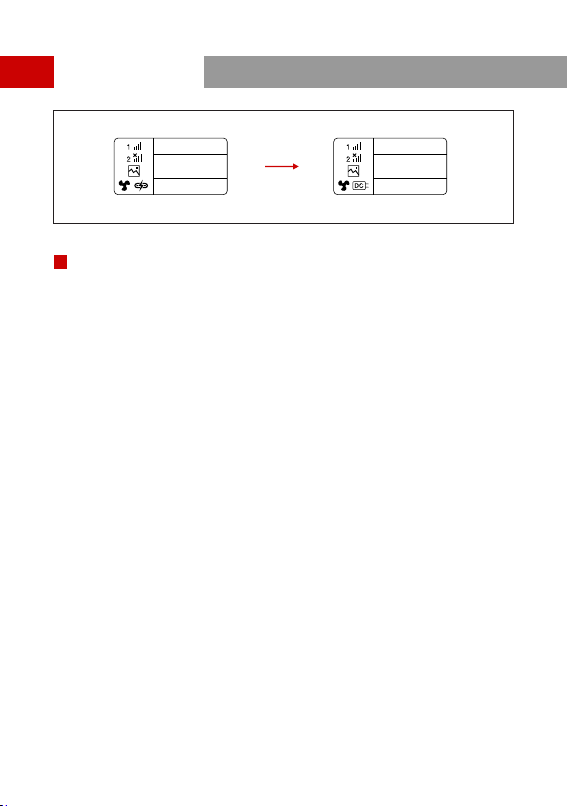
1.This device supports several power methods, and the device will be charged by the
method which has a higher voltage.
* The picture on the left shows the symbol of Type-C power supply, the picture on the
right shows the symbol of DC power supply.
OLED DISPLAY
CAUTION

12
Long press the “OK” button for 3 seconds to enter the root menu interface. Click “UP”
and “DOWN” button to switch menu options, click “OK” to confirm.
Press the button “ UP/DOWN” on the transmitter or the receiver to change the current
channel. Press “OK” to confirm the channel number, then the channel of the receiver and
the transmitter will be synchronously and automatically changed.
1.Confirm there is video format display on both transmitter and receiver. Use the Type-
C to Lan Connector to connect the laptop and RX.
2.Go to the network settings onthe laptop and set it to DHCP mode.
3.Go to your live stream software, such as VLC Player, OBS Studio, Vmix, etc., and
open the network video source via the RTSP URL: rtsp://192.168.218.25:5554.
ENTER MENU
CHANNEL CHANGE
PULL STREAM FROM RECEIVER
QUICK GUIDE
PC
QUICK GUIDE
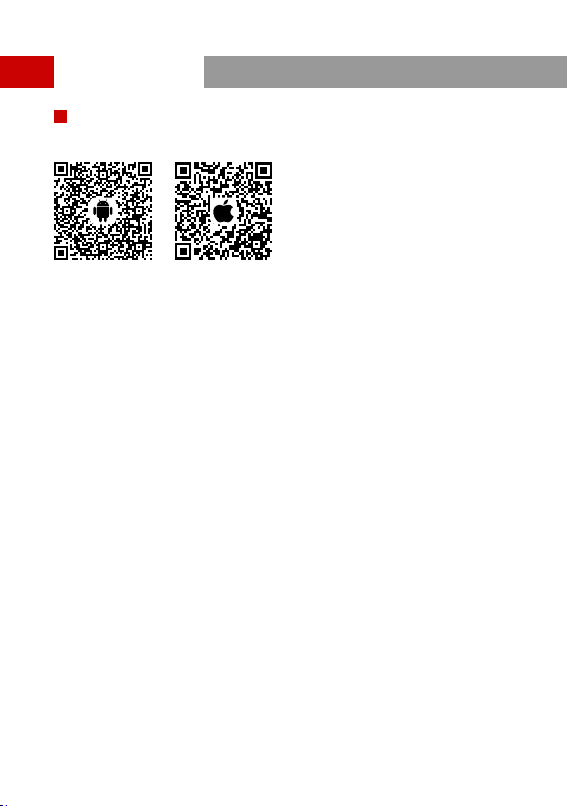
1.“HollyView” APP Download
2.Connecting Method:
Enter the WiFi connection interface of mobile phone and find out the WiFi named as
"HLD + DEVICE ID", and input the WiFi password to connect (Factory Defult Password
is: 12345678). After successful connection, you can have the APP monitoring.
APP DOWNLOAD AND CONNECTION
13

<11W
206g
(L*W*H): 110*72*33.5mm
(The Battery Plate Exclude)
Maximum 21dBm
/
5GHz
HDMI Input(Type A Female)
SDI Input
2* Antenna Interfaces (RP-SMA Male)
DC Input
USB Type-C
DC Power Input:6-16V
USB Type-C Power Supply:5V/2A
Battery Power Supply:6-16V DC
HDMI:
480p60
576p50
720p50/59.94/60
1080i50/59.94/60
1080p23.98/24/25/29.9/30
1080p50/59.94/60
SDI:
1080p60/59.94/50(Level A)
1080p60/59.94/50(Level B)
1080i60/59.94/50
1080p30/29.97/25/24/23.98
1080PsF25
720p60/59.94/50
1080PsF24/23.98
OFDM
14
20MHz
0.08s
<7W
206g
/
-80dBm
5GHz
HDMI:
480p60
576p50
720p50/60
1080i50/60
1080p24/25/30
1080p50/60
SDI:
1080p60/50(Level A)
1080i60/50
1080p30/25/24
720p60/50
1080i50(1080PsF25/24/23.98input)
1080i60(1080PsF30/29.97input)
OFDM
20MHz
0.08s
PRODUCT PARAMETERS
Transmitter Receiver
Supply Interfaces
Power Consumption
Weight
Dimension
Input / Output
Video Format
Frequency
Modulation Mode
Transmission Power
Receiver Sensitive
Transmission Latency
Bandwidth
HDMI Output(Type A Female)
SDI Output
2* Antenna Interfaces (RP-SMA Male)
DC Input
USB Type-C
DC Power Input:6-16V
USB Type-C Power Supply:5V/2A
Battery Power Supply:6-16V DC
(L*W*H): 110*72*33.5mm
(The Battery Plate Exclude)
Interfaces