Loading ...
Loading ...
Loading ...
13
GB
9. If you don’t use remote controller for a long period, remove the batteries to avoid possible leakage and damage.
10. If you cannot hear beep sound to each command you place through the remote controller or if characters are not clear
on the screen, then you should change the batteries.
11. Make sure that when you replace batteries both are new. Do not place new batteries with old or different kind of
batteries. This may damage the remote controller.
12. Properly dispose the discarded batteries.
Note:
This is a universal remote controller, which provides all the function buttons. Some of the buttons may not function,
depending on the specific air conditioner you purchased. For the functions that are not available to the product you
purchased, pressing the corresponding button will simply have no response.
BUTTON DESCRIPTION
1. BUTTON ON/OFF
Press this button to activate your air conditioner. Press it again to deactivate it.
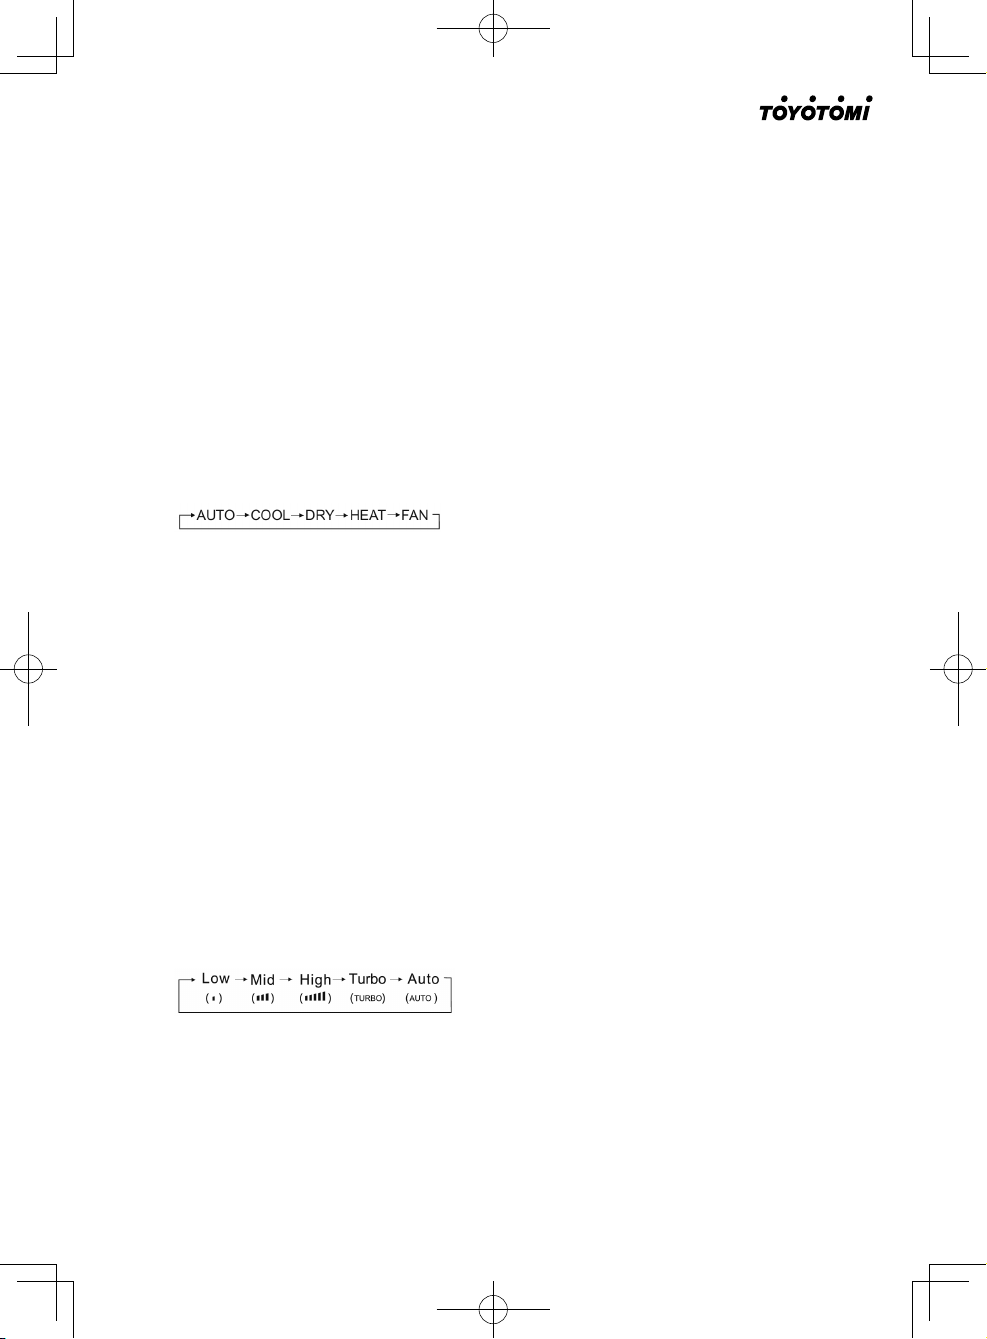
2. BUTTON MODE
Press this button to select the running mode as follows:
By pressing buttons “+” or “-” you can set temperature range between 16
o
C (60
o
F) ~ 32
o
C (90
o
F). Indication will
change every time you push the button.
Note: During AUTO mode, you cannot set the temperature.
Note: During FAN mode you cannot set the temperature.
Note: During DRY mode you cannot set Fan speed.
3. BUTTON ΤΙΜΕΡ
Press this button when air conditioner is ON, to activate TIMER OFF. Press this button when air conditioner is OFF,
to activate TIMER ON.
Press this button once and “ON(OFF)” will flash. Press buttons “+” or “-” to set the number of hours in which the unit
will be turned ON/OFF, with an interval of 0.5 hour and a range of 0.5-24 hours.
Press this button again to confirm the setting. “ON(OFF)” will stop flashing.
If TIMER button is not pressed within 10 seconds after the “ON(OFF)” start flashing, timer setting will be exited.
If TIMER setting is confirmed, pressing this button again will cancel it.
4. BUTTON HEAT
Press this button to set HEAT mode.
5. BUTTON COOL
Press this button to set COOL mode.
6. BUTTON SPEED
Press this button to select fan speed as follows:
Note: AUTO fan speed is not available in FAN mode.
7. BUTTONS “+” ή “-”
Every time you press button “+” , temperature setting will increase by 1
o
C and every time you press button “-”
temperature setting will decrease 1
o
C.
Temperature setting range is 16
o
C (60
o
F) ~ 32
o
C (90
o
F).
Note: During AUTO and FAN modes you cannot set temperature.
Loading ...
Loading ...
Loading ...