Loading ...
Loading ...
Loading ...
-
7
Preparation:
Park the sweeper on an even surface.
Turn the main switch using "0" position
and pull it out.
Lock parking brake.
�
DANGER
Risk of injury!
The engine requires approx. 3-4 seconds
to come to a standstill once it has been
switched off. During this time, stay well
clear of the working area.
�
WARNING
Allow the machine sufficient time to cool
down before carrying out any maintenance
and repair work.
Do not touch any hot parts, such as the
drive motor.
ATTENTION
Pull the mains plug out of the socket prior to
any maintenance work.
Disconnect the plus terminal of the battery
prior to any maintenance work.
ATTENTION
Remove batteries and waste container,
and swing the push handle forward prior to
tilting the device. Do not park the device on
the push handle.
Switch off the appliance prior to cleaning
and performing any maintenance tasks or
replacing parts.
This must be adjusted if the drive perfor-
mance of the appliance becomes insuffi-
cient when driving uphill.
Open the device hood.
Loosen counter-nut.
Adjust the adjustment screw.
Tighten the counter-nut.
Lock parking brake.
Remove the waste container.
Remove belts or cords from roller
brush.
Replacement is due if a visible deteriora-
tion in sweeping performance caused by
bristle wear is evident.
ATTENTION
Remove the batteries prior to tilting the de-
vice.
Do not park the device on the push handle.
Lock parking brake.
Remove the waste container.
Remove the batteries.
Tilt the appliance rearward.
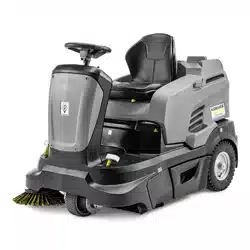
Lift the waste flap, press in the bearing
cap and swivel the roller brush toward
the front.
Pull out roller brush.
Attach the new roller brush to the drive
pin (left).
Engage the bearing cup into the boring
of the roller brush swinging arm on the
opposite side.
CAUTION
Risk of damage! Make sure that no bristles
are jammed into the boring of the roller
brush swinging arm.
Note: Once the new roller brush has been
installed, the sweeping track must readjust-
ed.
Raise the sweeper from the front and
drive it on to a smooth, even surface
covered with a visible layer of dust or
chalk.
Lock parking brake.
Let the sweeping roller rotate for ap-
prox. 15-30 seconds.
Raise the sweeper at the front and drive
it towards the side.
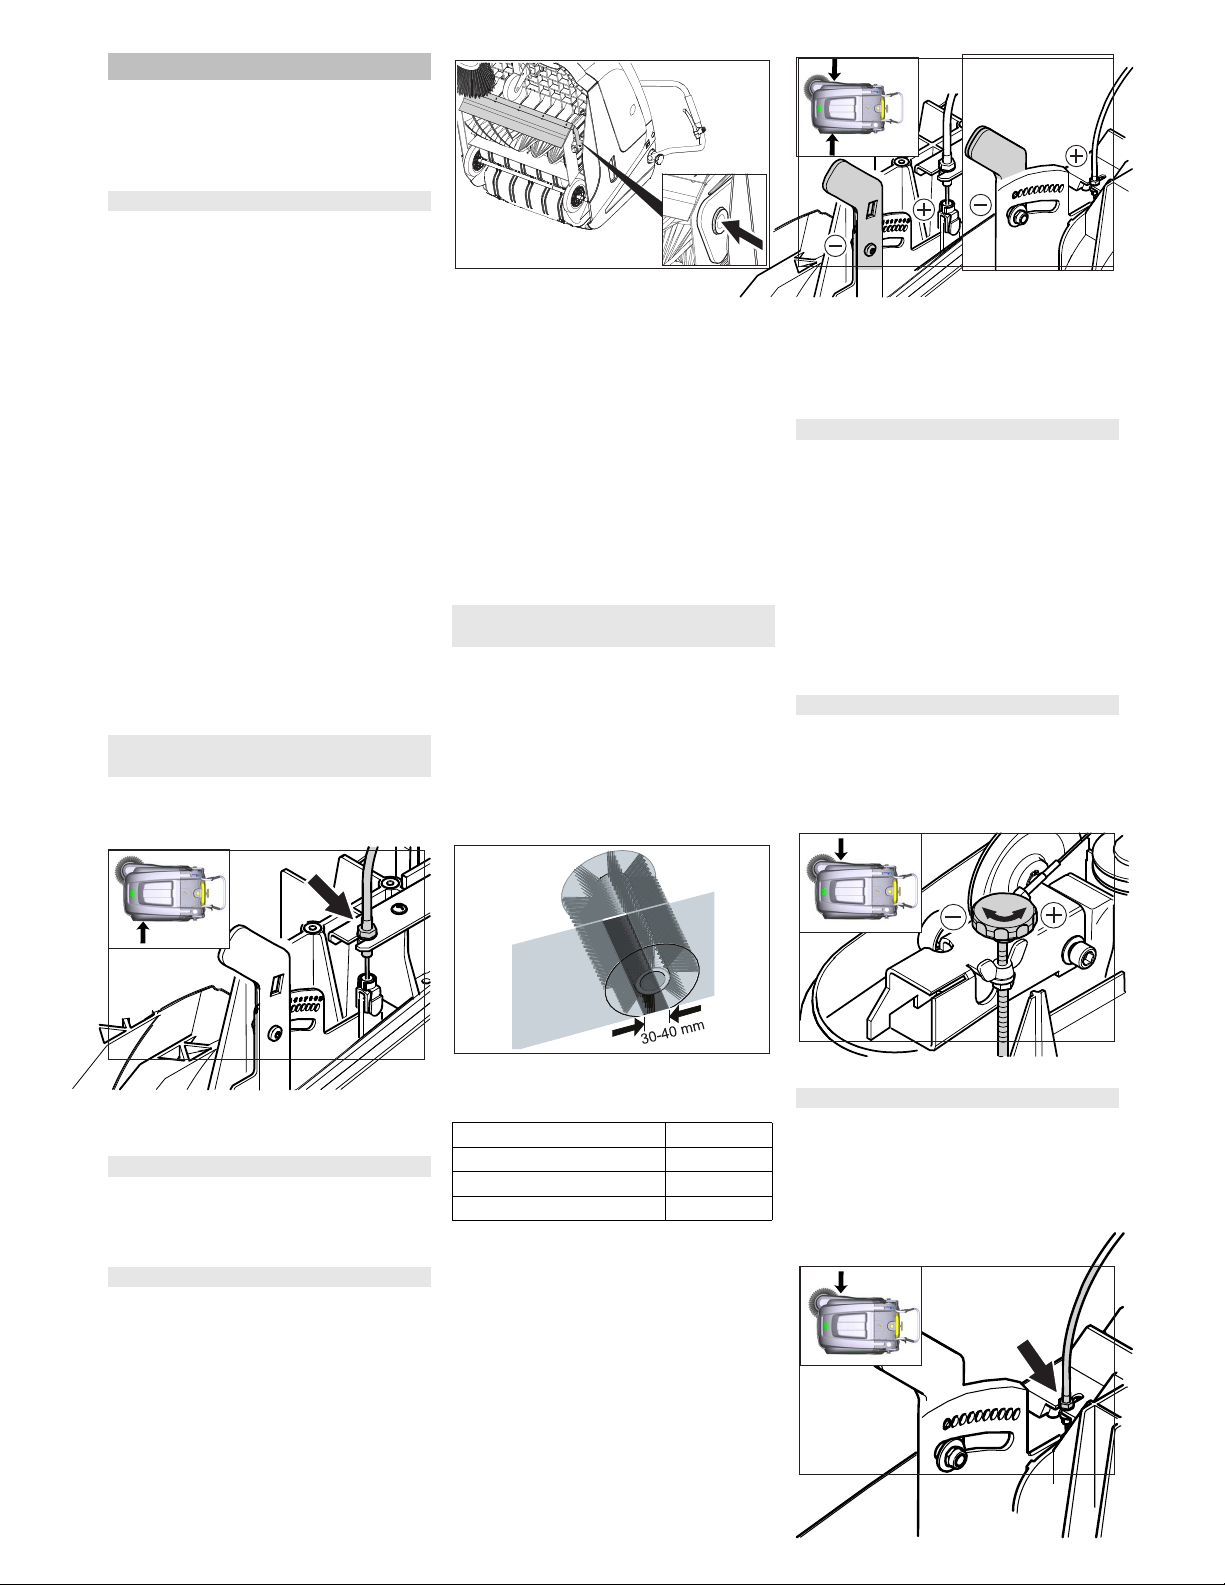
The sweeping track should have an even
rectangular shape which is between 30 and
40 mm wide.
Adjust sweeping track:
Open the devi
ce hood.
Adjust the left and right adjustment le-
vers and engage into the same boring.
– Engage adjustment lever into the lower
boring (+): Sweeping track becomes
bigger
– Engage the adjustment lever into the
upper boring (-): Sweeping track be-
comes smaller
Check sweeping mirror.
Replacement is due if a visible deteriora-
tion in sweeping performance caused by
bristle wear is evident.
Note: Remove the waste container and
move the pushing handle to the front prior
to tilting the appliance. Do not rest the ap-
pliance on the pushing handle.
Unscrew 3 screws from the underside
of the side brush.
Remove the wiper blade.
Clip new side brushes on to driver and
screw on.
Adjustment is necessary if a visible deterio-
ration in sweeping performance caused by
side-brush is evident.
Open the device hood.
Release the wing nut.
Adjust the adjustment screw.
Tighten the wing nut.
– Adjustment is necessary if the bulk
waste flap cannot be raised wide
enough.
– The Bowden cable needs to be re-
leased a little if the sweeper results be-
come poorer, for e.g. due to the wearing
of the front lip.
Open the device hood.
Loosen counter-nut.
Maintenance Works
General notes on safety
Adjust the Bowden cable of the
acceleration drive
Checking roller brush
Replacing roller brush
Check and adjust roller brush sweeping
track
Setting range (-) 1...10 (+)
Minimum sweeping track 1
Maximum sweeping track 10
New roller brush 1...3
Replacing side brush
Adjust side-brush lowering
Adjust the raising of the bulk waste flap
R
L
R
L
18 EN
Loading ...
Loading ...
Loading ...