Loading ...
Loading ...
Loading ...
Ready ToolsTM (continued)
5. Vacuumthoroughlytopickuploosedebrisand
pethair.Usea vacuumwi1_abrushattachment
anda crevicetooltodeaninfabricfoldsandtufts.
6. Tobegincleaningwith attachments,follow
the instructionsonpages10-11 for filling
the 2-in-1 watertank and the formulatank.
7. SettheReadyToolsdialtotheTOOLSsetldng.
Thiswillallowsprayandsuctionfromme hose.
8. Attachthecleaningtoolof yourchoicetothe
endofthehose.
9, Cleanbypressing1_ebiggertospraysolu'don
ontomeareatobecleaned.Slowlymovethetool
backandfo_ overmesoiledsurface.Release
metriggertosuddondirtywater.Con'dnuetoclean
inmearea,workingin smallsections,un'dldirtis
removed.Caution:Do Not nverwet.
10.
11.
Whenfinishedcleaning,removeandrinse
tool(s)in clean,runningwater.
It isrecommendedthat yousuctionclean
waterfrom the tap to rinseout the hose.
12. Beforewrappinghoseontotool rack, lift
endof hoseand stretchout to ensureall
wateris clearedfrom hose.
13. Wrapflex hosearoundtool rack.
14. Empty2-in-1 watertank andrinse out,
followinginstructionson page12.
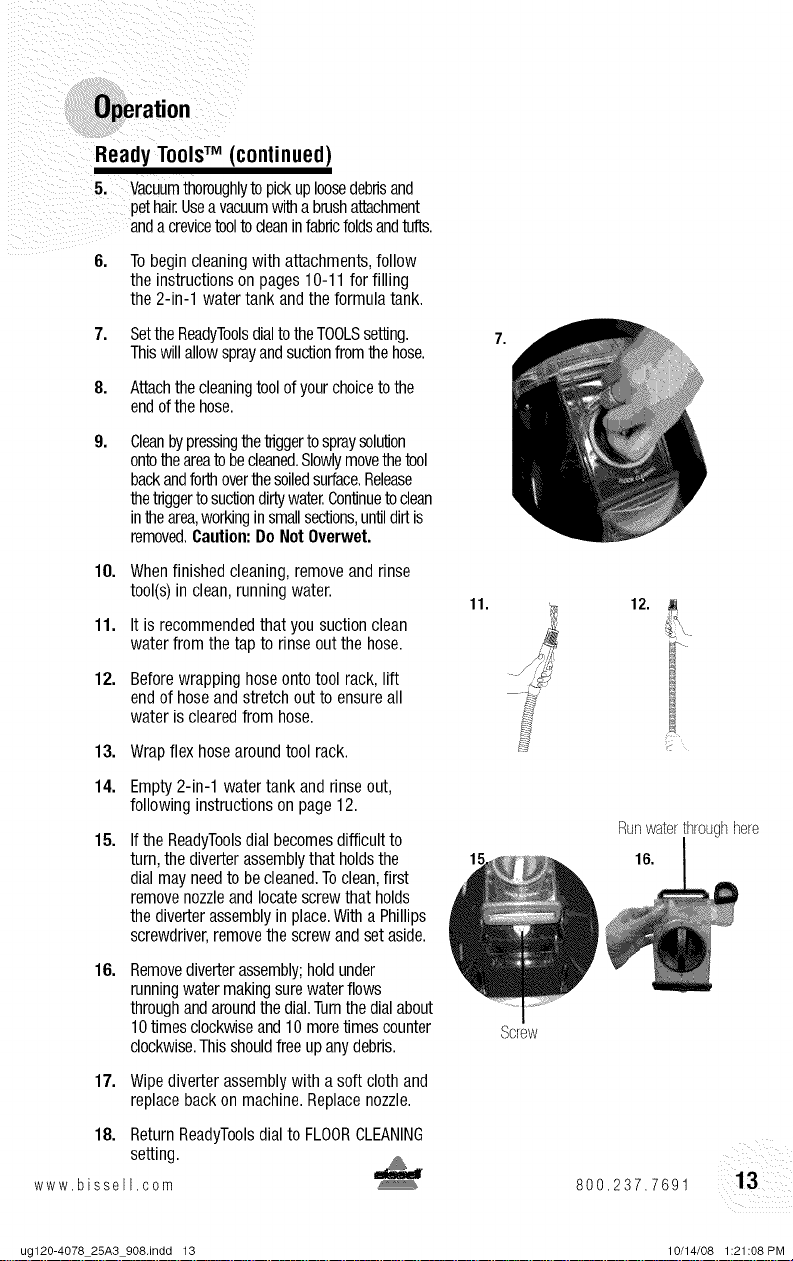
15. Ifthe ReadyToolsdial becomesdifficultto
turn,thediverterassemblythat holdsthe
dialmayneedto becleaned.Toclean,first
removenozzleandlocatescrewthat holds
thediverterassemblyinplace.Witha Phillips
screwdriver,removethe screwandsetaside.
16.
17.
18.
Removediverterassembly;holdunder
runningwatermakingsurewaterflows
throughandaroundthe dial.Turnthe dialabout
10timesclockwiseand10moretimescounter
clockwise.Thisshouldfreeupanydebris.
Wipediverterassemblywith asoft clothand
replacebackon machine.Replacenozzle.
ReturnReadyToolsdialto FLOORCLEANING
setting.
www.bissell,com
7,
11. 12.
Runwaterthroughhere
16.
Screw
800,237.7691
ug120-4078 25A3 908.indd 13 10/14/08 1:21:08 PM
Loading ...
Loading ...
Loading ...