Loading ...
Loading ...
Loading ...

8
INSTALLATION
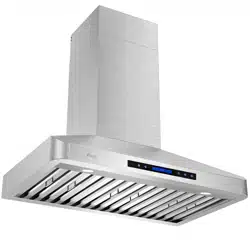
• Use a
Stud Finder
to locate
2 Studs
within the
width of the
Hood Body
.
Drill
4 new holes on the
backplate, aligning with the
Studs
, and screw in 4
screws to securely
mount
the
Range Hood
to the
Wall
.
CAUTION
Make sure the range hood is securely mounted before
releasing.
• Connect the other end of the Duct to the Roof / Wall
Vent.
• Use foil tape or duct tape to seal all connections
Electrical Connection
• This range hood comes with a power cord with
a 3-prong plug. Connect the power cord to a
designated grounded standard 110V outlet.
WARNING
Electrical Shock Hazard
Disconnect power before servicing
• In case of a direct connection to the house wiring is
preferred, do the following:
• Disconnect the power.
• Cut off the plug from the power cord.
• Connect the wires from the power cord to the wires from the
house wiring using UL listed wire connectors.
• Store the excess wires in the wiring box.
• Reconnect the power.
Installing the Oil Collector
• Locate the recess support in the bottom, near the
rear of the range hood.
• Fit the oil tunnel / container into the recess support.
Installing the Baffle Filters
• Peel off the protective cover from the baffle filters if
there's any.
• Level the baffle filter horizontally with the correct
front and back direction.
• Raise the back end of the baffle filter so that the
back end is higher than the front end.
• Keep the tilted angle and move the baffle filter
towards the back of the range hood until it reaches
the backplate. (Figure 1)
• Push the front end of the baffle filter up while
keeping the back end stationary. (Step 2 in Figure 2)
• Slide the baffle filter towards the front end until it
fits into the slot behind the LCD display. (Step 3 in
Figure 2)
• Repeat these steps to install the rest of the baffle
filters.
Completing the Installation
Turn blower ON in the control panel. Check all lights and
fan operations.
Figure 1
Figure 2
Loading ...
Loading ...
Loading ...
