Loading ...
Loading ...
Loading ...

BLAZE Instructional Book
Page | 31
Fuel (Gas) Conversion Instructions for BLAZE Gas Burners.
There will be an orifice conversion kit in each Side Burner appropriate for the opposite gas type. The kit
will include two orifices to be replaced.
CAUTION: This should only by performed by a licensed gas professional.
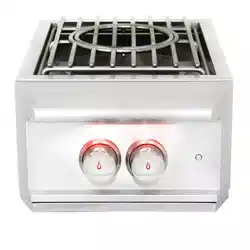
Main Burner:
1.
You must remove the cooking grate to expose the burner.
2.
Use a Philips head screw driver to remove the two screws holding the heat ring in place. Slide the ring
forward and lift to remove from the unit.
3.
On the bottom rear of the burner is a cotter pin. Remove cotter pin. (unless they were removed prior to
installation into an outdoor kitchen)
4.
To remove the burner, pull burner upwards and slide burner toward the rear of the appliance. Repeat
for each burner.
5.
Where the burner was previously located, connecting to the main valve through the hole in the basin
should now be empty space.
6.
Inside the space you will find the end of the valve (toward the front of appliance), with an orifice (brass
fitting), screwed into the end of the valve stem.
7.
Carefully remove the orifice with a 7mm socket set and extension. (These are extremely fragile! When
unscrewing, be extremely gentle, for you could easily break the brass fitting and have to replace the
valve).
8.
Once the old orifice is removed, replace it with the new orifice, (repeat for both burners). When re-
installing the orifice, do not over tighten or you will strip the brass fitting. Very little pressure is
needed!!!
9.
Inspect burners for proper flame appearance. The ideal flame appearance is one that is mostly blue
and not lifting off of the burner surface. There are air shutters found at the end of the burner (close to
the valve) which can be either opened or closed to make adjustments to the flame's appearance. To
adjust, remove the burner from the appliance and loosen the Philips head screw holding the air shutter
to the burner. If the flame is yellow, open the air shutter to make the flame bluer. If the flame is lifting
off of the burner surface, slightly close the air shutter. Re-tighten the Philips head screw and re-install
the burner to recheck the flame appearance. Repeat if necessary.
Loading ...
Loading ...
Loading ...