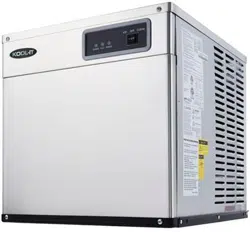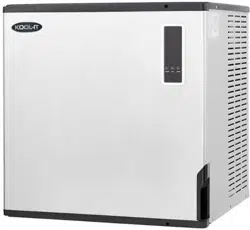
KCM-450-AH KCM-450-AH-22 KCM-670-AH
● This ice maker cannot be used in any country with a voltage supply that does not match the voltage
requirements for this unit.
● The following items
are not supplied with the unit and will need to be purchased separately.
Ice bin
Cord set.
Water supply and drain hoses.
● This ice maker requires a floor drain.
● A water filtration system is highly recommended(available for purchase with the ice maker)
Water filter system Part No. KT1-10-1(includes cartridge KCT-Q10)
● It is recommended to change the filter every six months.
● It is recommended to have the unit installed by a professional plumber/electrician.
● This product is designed for indoor installation.
Please be sure to install it indoors.
● The external appearance, design, color, and/or components of this machine may be changed without prior notice.
ICE MAKER User's Manual
Toll Free: (888) 275-4538
international: (514) 737-9701
Fax: (514) 342-3854
Toll Free Fax: (877) 453-8832

2
INDEX
1. Safety Precautions ..................................................................................
2. Installation .................................................................................................
Installing height control feet on storage bin ..........................
Installing the product and storage bin .............................................
Specifications for connecting water supply ..................................
Suitable installation conditions and locations .................................
After installation ......................................................................................
About grounding ...................................................................................
3. Check before use ..................................................................................
How to use the drain switch ..............................................................
When turning off the drain valve ......................................................
4.
Main parts ...........................................................................................
5.
General product information ................................................................
6.
Cleaning ...................................................................................................
7.
Troubleshooting ......................................................................................
8.
Manufacturer's Limited Warranty ........................................................
3~7
8~18
8
8~
9
11~12
13
14
15
16
17
18~19
20~22
23~26
27
28~29
1
0
3
1. Safety Precautions
◆ A fire may occur if plug is not clean.
◆ An electrical fire may be caused by having more than
one unit connected to the same outlet as the ice
maker.
◆ Do not use an adapter or an extension cord.
IMPORTANT ED
Use a dedicated receptacle for the ice machine.
Clean the plug
Make sure the plug is clean before inserting into
outlet.
Warning
Caution
Warning

4
◆ Damage from excessive weight can cause the unit to
overheat or catch fire.
◆ May cause an electric leak, shock or fire.
◆ Operating the product under bad conditions may cause fire
or electric shock.
◆ An electric short or fire can occur.
◆ It may cause explosion and fire.
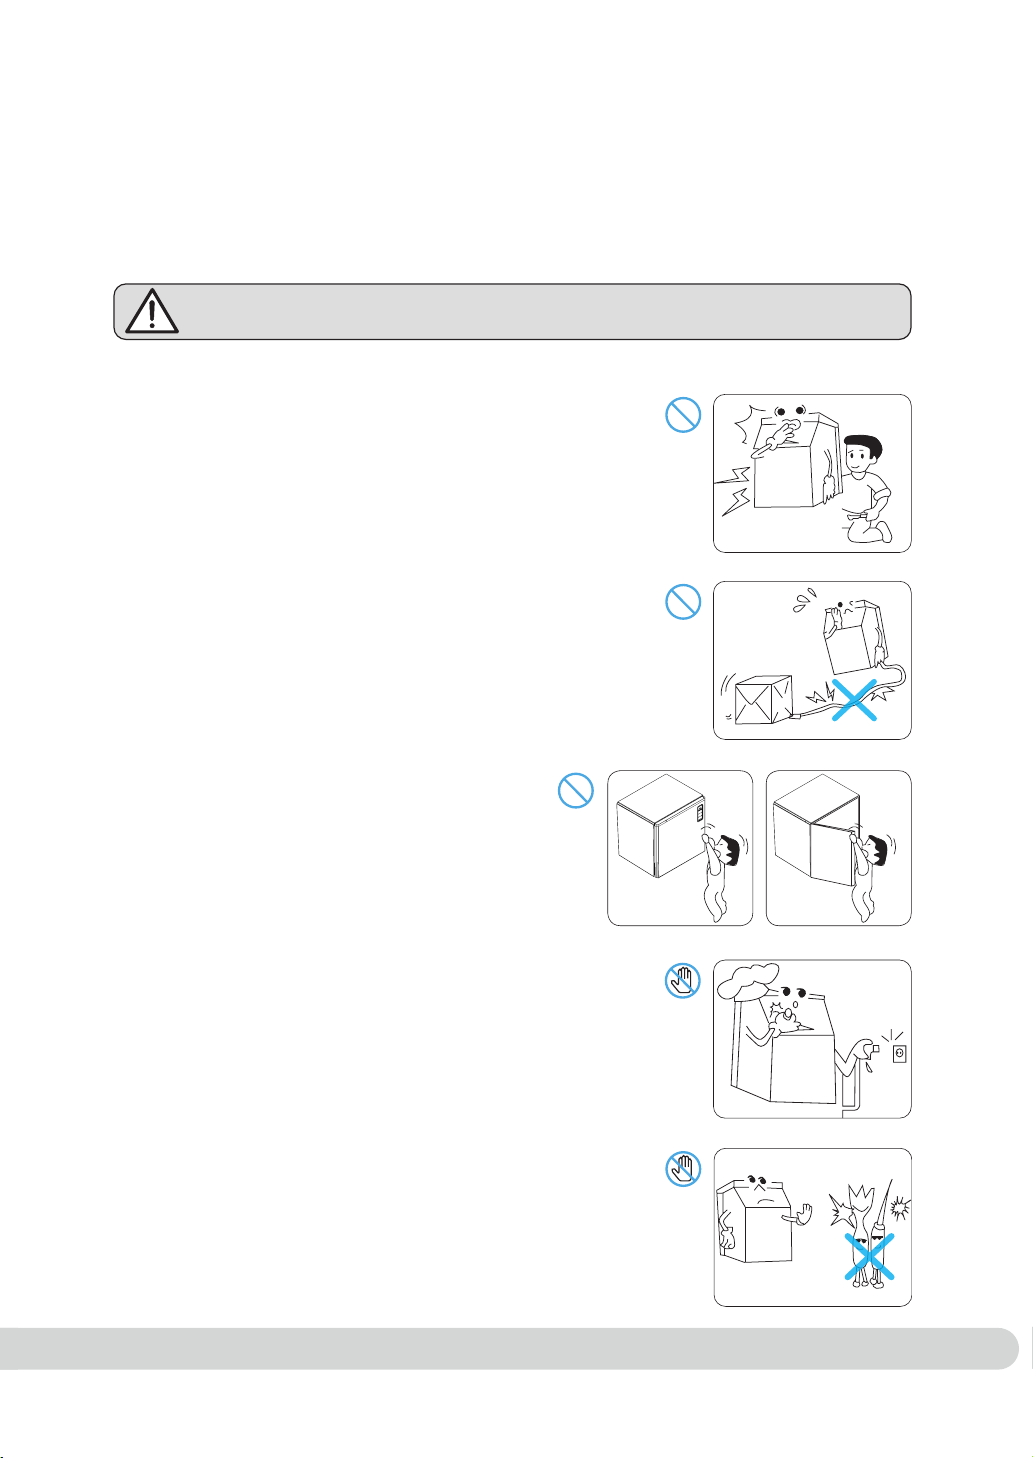
Do not place or store heavy items or the top
of the product.
Do not install the machine in a humid area or near
a water spray zone.
immediately if a burning smell or smoke is detected.
Disconnect from the power outlet and shut off the water supply.
power plug are loose
the power plug and power cord
Warning
5
◆ Tampering with the icemaker in any way may cause significant
damage to the machine.
◆ A child may be injured, or the icemaker may be damaged.
◆ Do not hang on the front door.
◆ Added moisture may cause electric shock.
◆ Abrasives/sharp objects may damage the cooling system or
cause electric shock.
◆ Damaged cords can cause electric shocks and/or fires.
◆ Contact the customer service center if the power cord or plug
is damaged.
Do not disassemble
Ice Maker door
Only operate with dry hands
Avoid abrasives when cleaning
ice
Keep the power cord in good condition.
place
on it
Warning

6
.
Using a power strip
A power strip or extension cord must not be used
and the unit must be connected to a dedicated circuit.
◆ It may cause electric shock, fire, or injury.
◆ Pulling the power cord or using a screwdriver to unplug may cause
fire or electric sparks.
◆ An ungrounded circuit may cause product failure or an electric shock.
◆ Using multiple appliances on one power strip may cause a fire.
storage,
disconnected the power plug and
ice bin.
supplyice maker to stop.
.Remove
by
itself.
Warning
7
Caution
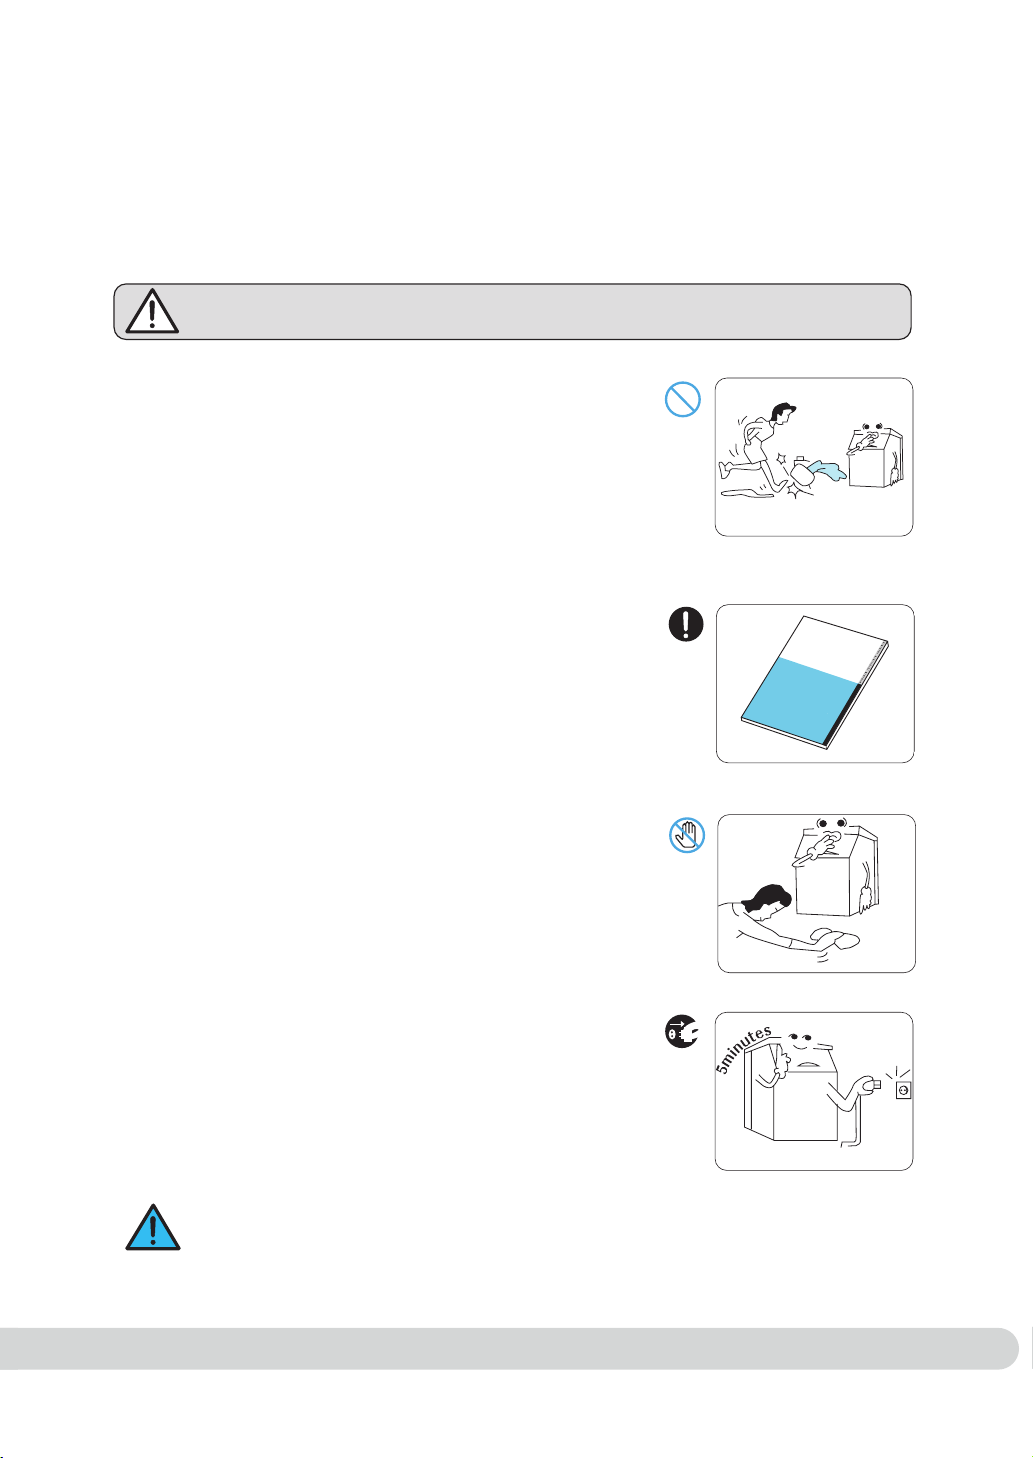
◆ Refer to the user manual for safety guidelines.
◆ Slipping on the ice may cause injury.
◆ The bottom of this product has metal parts that may
cause injury.
◆ Plugging in immediately may cause overloads or malfunctions.
floor
Please note:The warranty does not transfer
with change of ownership.
seet
.
ice makerusing

8
2. Installation
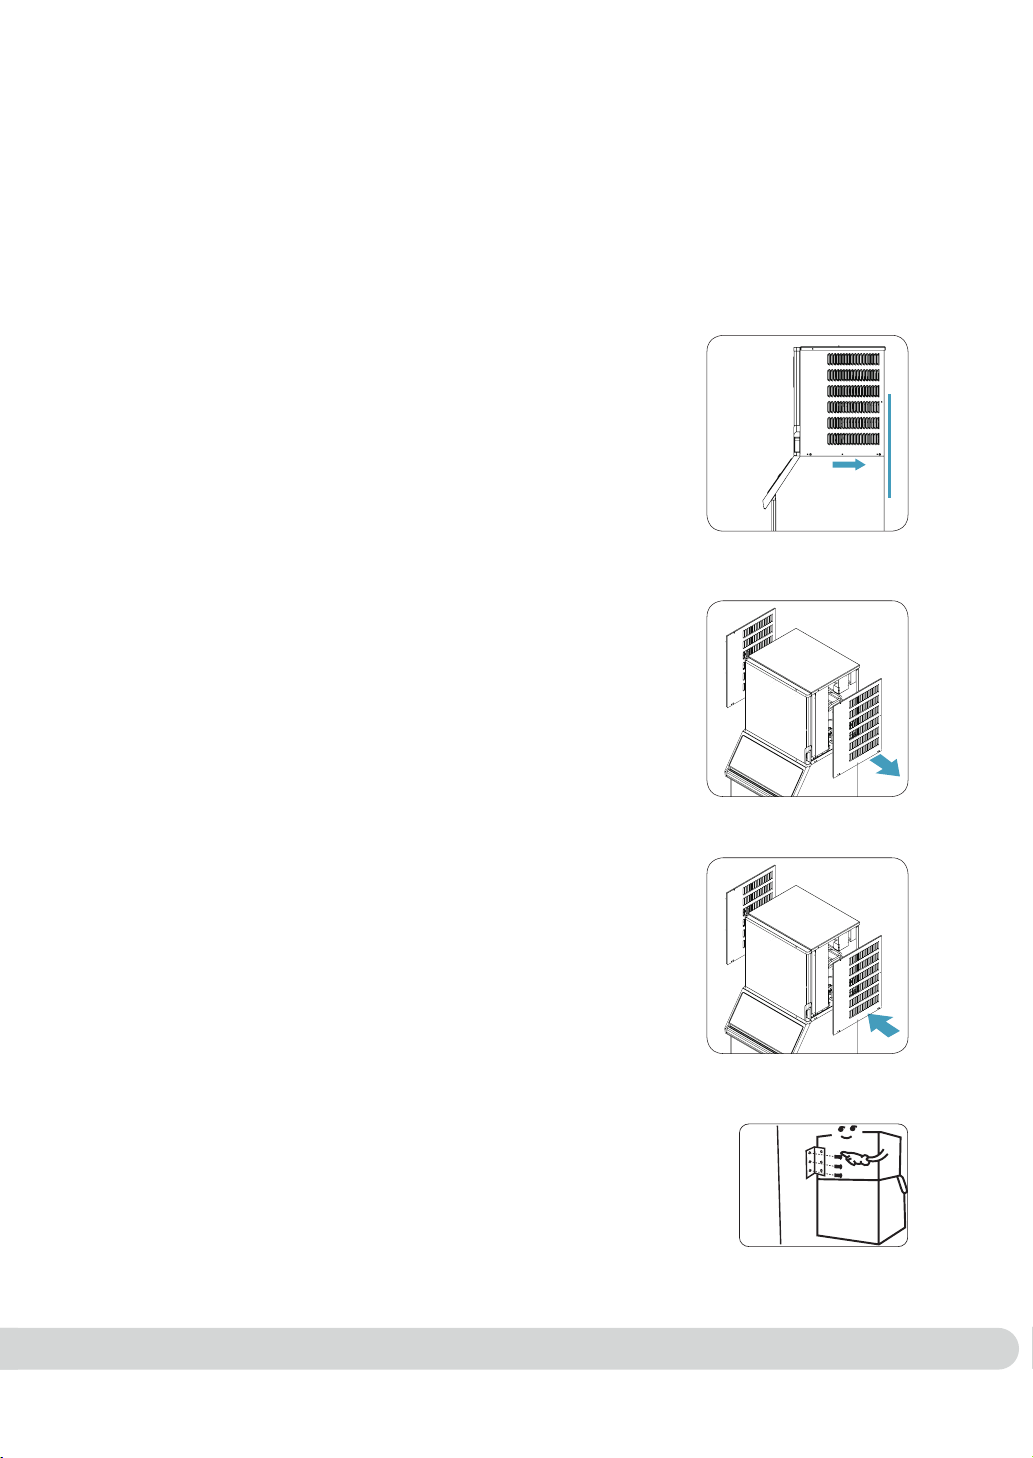
Installing leveling feet on storage bin
Installing the product and storage bin
showlace ice machineto
firmly
< Installing the storage bin >
to
.The use of a
loading stand at least 40" in height is
recommended.Lift the ice machine onto the loading
stand.
Lift standonto
◆ The foot threads should be inserted at least
4"into the base of the ice bin.
◆ Please Note:The compressor is installed on
the right side of the ice maker and is
therefore heavier.
stand
Ice machine
(head)
9
Slideto the rear

10
Ice making water drain
(3/4" FPT)
Ice making water
supply inlet (3/8" FPT)
Ice BIN drain 3/4"FPT
Specifications for connecting water supply
the water pressure is below 20psi
KCM-450-AH, KCM-450-AH-22, KCM-670-AH
[ Connecting water and drain piping ]
Appropriate water temperature
Water pressure
Appropriate piping /hose size
Ice making water supply 50 ~ 90 ℉ 20 ~ 80 psi
3/8"
MPT
Ice making water drain - -
3/4"
MPT

11
⊙ Locations away from direct heat sources
◆
a
⊙ Locations with enough clearance from the walls
◆
⊙ Locations with good ventilation
◆ production
Suitable installation conditions and locations
⊙ Even surfaces
◆ excess
◆
8 inches
12
alocation
is edible
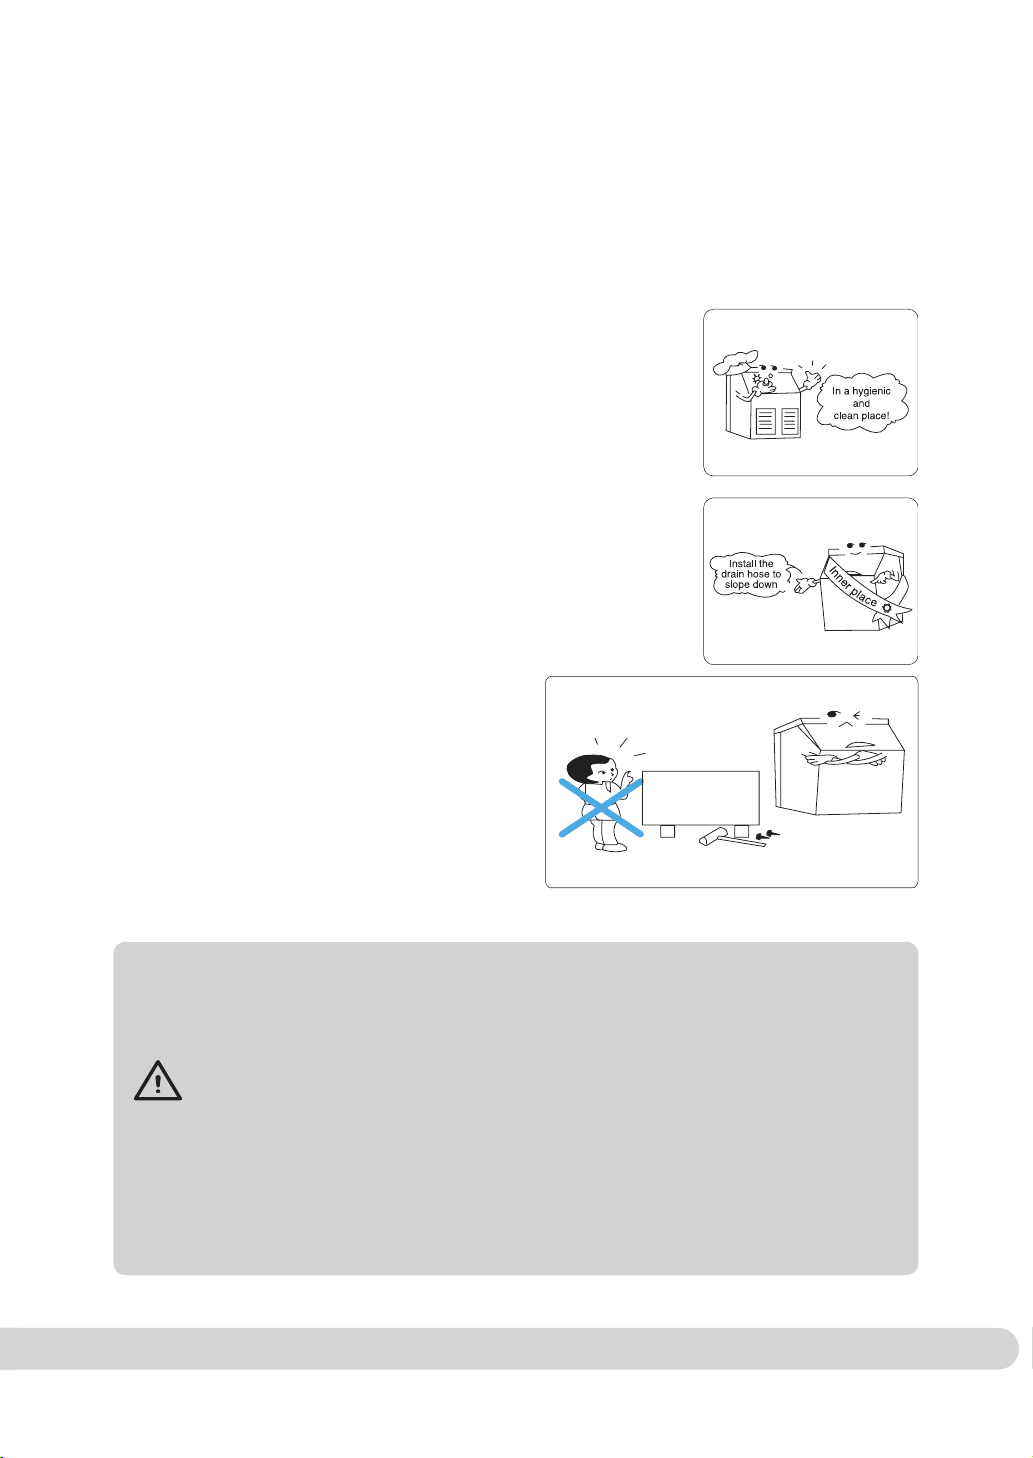
The machine must not be installed outside.
must slopes at least
1/4" per linear foot
● Since the product uses water, a proper water supply and draining facility is required.
● Water may leak during installation or operation for many reasons, and so proper drainage must
be installed.This unit requires a floor drain.
Since there is danger of electric shock due to moisture from a leak, be sure to observe the following:
1. Be sure to have a natural drainage facility(floor drain) and make the floor waterproof,
especially if the floor can get damaged due to a leak.
2. A floor drain must be available at the installation site; be sure to connect the drain hose.
3. Make sure that the floor is sloped so that any leaked water gets drained away even if the drain
hose gets dislodged or damaged. Install a water overflow prevention wall to prevent damage.
an
Warnning
No access for
children

13
⊙ Protect the water supply hose
laces
⊙ The water pressure, water temperature,
and ambient temperature.
with a water pressure
After installation
Connect to a potable water supply only.
1. Plugging into the power supply.
◆ Please make sure to plug into the correct outlet
that matches the product voltage.
2. Supplying Water to the Icemaker.
◆ Open the faucet/valve to supply water to the
ice maker.
3. Ice making
◆ Turn on the power switch to start ice making.
4. Ice Making Operation.
◆ Although the length of operation time varies depending on the
ambient temperature and the water temperature, one (1) ice
making cycle should be completed 20-30 minutes after the
operation starts.
Plug into the correct
outlet!
20~30 minutes later

14
⊙ Grounding method - With grounding terminal
⊙
Grounding method - Without grounding terminal
Do not ground the product on the following items:
.
About grounding
Over 30"

15
3. Check before use
3-1. Remove shipping tape before operation
ippingfrom
i
3-2. Where water pressure Is very low
at
location the
float valve
and raising the
float valve
3-3. How to adjust ice thickness
→ ←
Water distributor
Ice thickness sensor
Evaporator
Ice thickness
adjusting bolt
WATER TROUGH
FLOAT VALVE
16
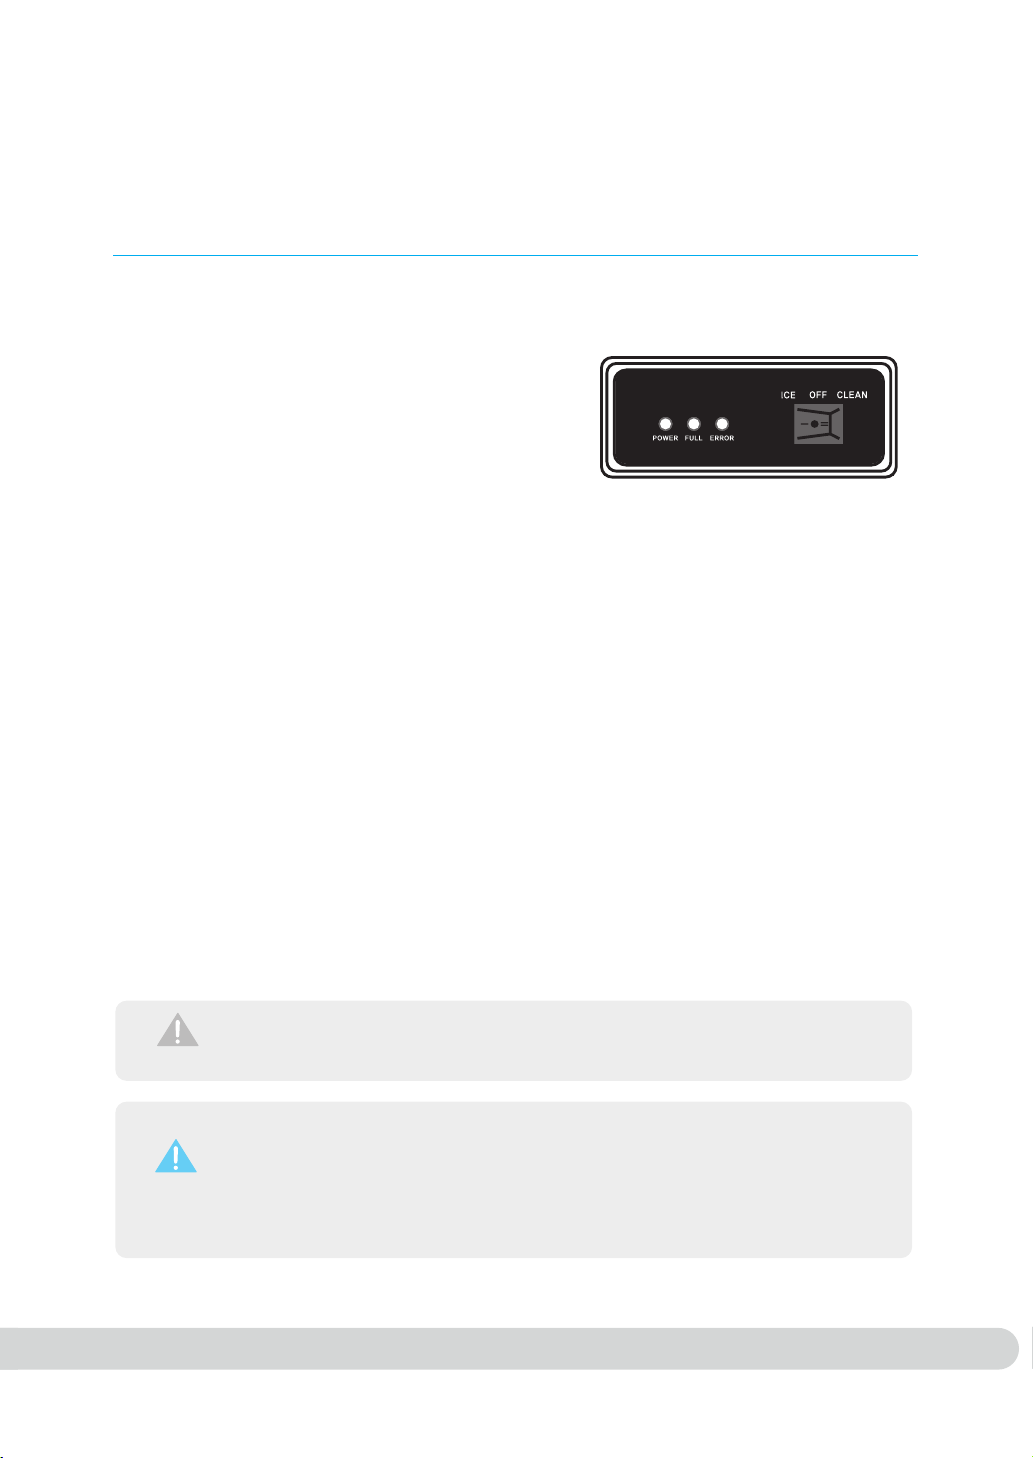
◆ When the drain switch is in the “ON” position, it will take longer to
make ice, reducing the amount of ice made per hour.
If you don't want to reduce the amount of ice, then switch the drain
to the “OFF” position. This may cause a slight deterioration in the ice
quality.
How to use the drain switch
To have transparent ice or to reduce
scale in the water trough, turn the switch
to the "ON" position.
If you keep the drain switch in the
“ON” position,the unit will drain the
remaining part of the water in the ice
machine by flushing with clean water.
(about 1 Qt) after every ice cycle.
17
Drain switch
Power switch
Drain switch
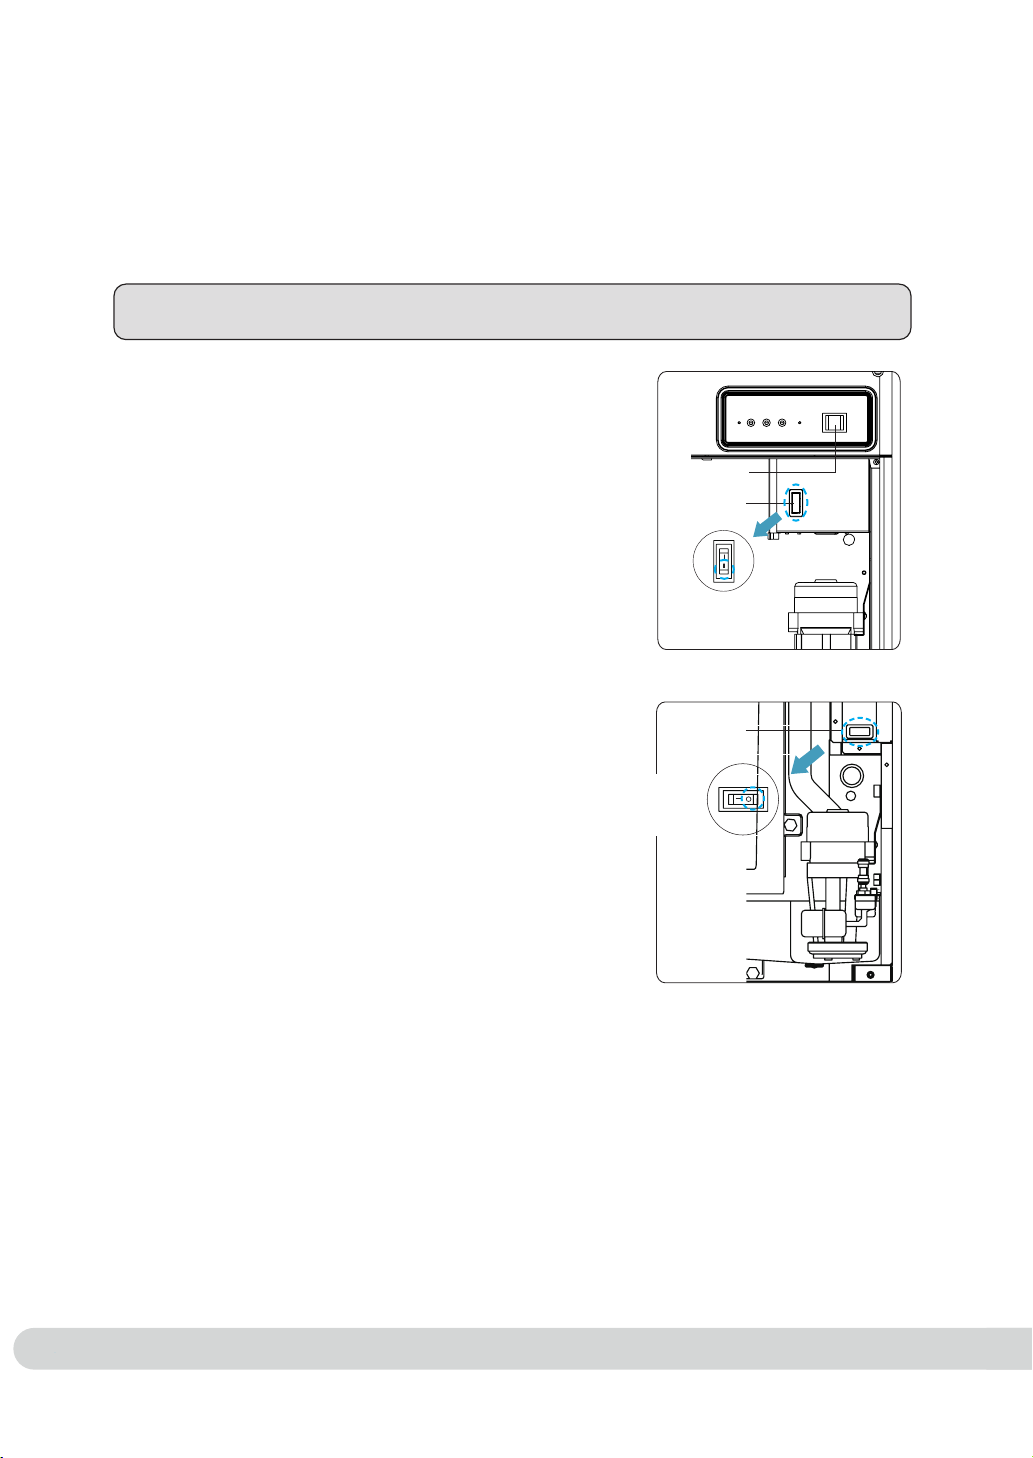
When turning off the drain valve
1. Open the front panel by
loosening two screws.
2. Tu
rn off the drain switch in the control box;
Water draining after each cycle will be
stopped.
[ KCM-450 / 670-AH ]
[ KCM-450-AH-22 ]

18
When turning off the drain valve
front
inside
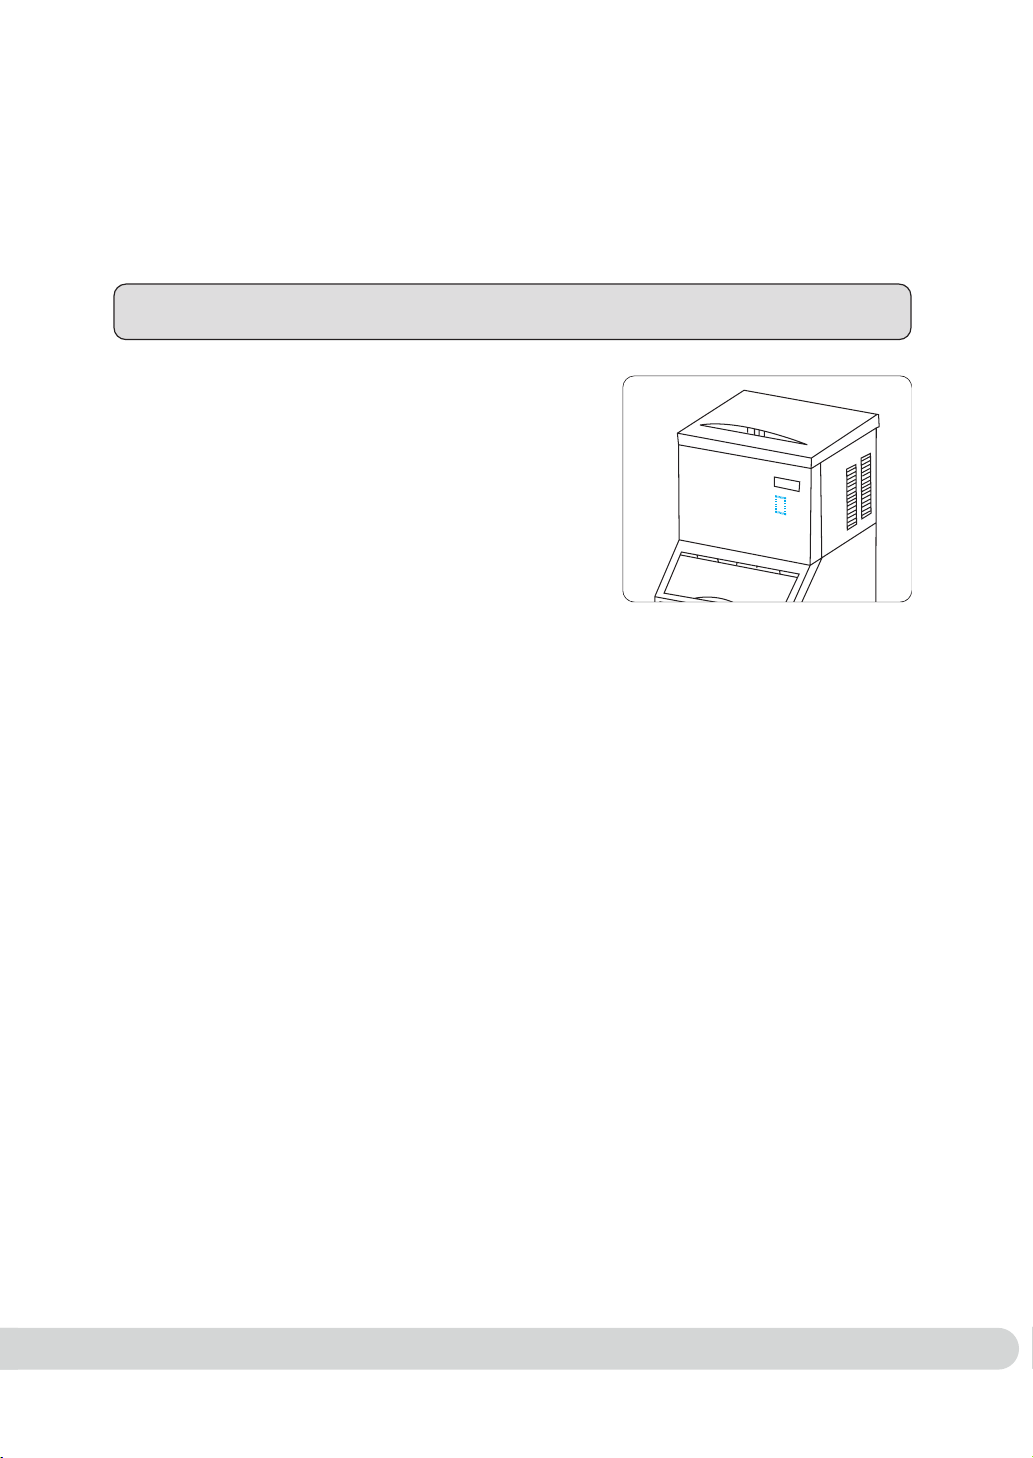
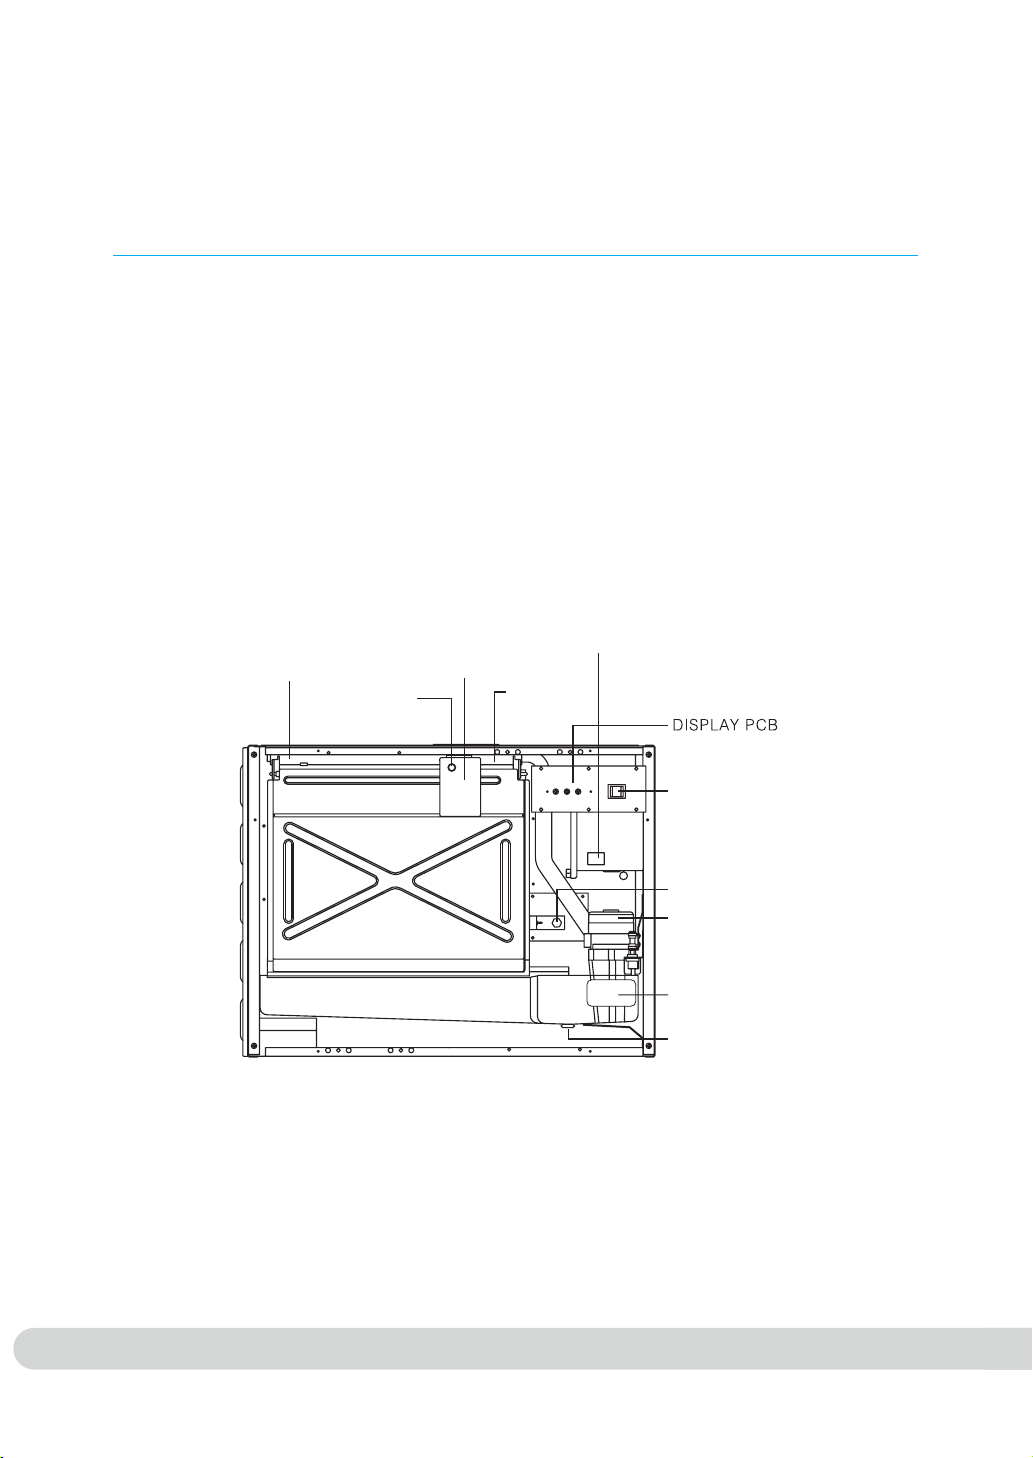
4. Main parts
(KCM-450-AH, KCM-670-AH)
ICE MAKER HEAD
ICE BIN
POWER SWITCH
PROXIMITY SENSOR
PUMP MOTOR
DRAIN PLUG
WATER SUPPLY
CONNECTOR 3/8"FPT
DRAIN CONNECTOR
3/4"FPT
DISTRIBUTOR
FLOAT VALVE
I
CE MACHINE DOOR
DRAIN LINE FOR ICE MACHINE
DRAIN LINE FOR ICE BIN
I
CE BIN DOOR

19
4. Main parts
(KCM-450-AH-22)
ICE MAKER HEAD
ICE BIN
PROXIMITY SENSOR
DRAIN SWITCH
PUMP MOTOR
DRAIN PLUG
WATER SUPPLY
CONNECTOR 3/8"FPT
DRAIN CONNECTOR
3/4"FPT
DISTRIBUTOR
FLOAT VALVE
ICE MACHINE DOOR
ICE BIN DOOR
DRAIN LINE FOR ICE MACHINE
DRAIN LINE FOR ICE BIN
20
During Ice Production
5. General product information

21
During icemaking

22
23
6. Cleaning (at least once a month)
1. Turn off the power switch.
2. Detach the drain plug to remove any residue in the water trough.
3. Detach the water curtain and clean with soft cloth.
4. Detach the water distributor and clean thoroughly.
5. Dilute mild detergent (for home use) to clean the product (1 spoonful per quart of
water). After cleaning the product with detergent, be sure to rinse the machine for at
least 20 minutes; there should be no residue left from the detergent.
※ Cleaning the condenser (once per week)
Use a (portable) vacuum cleaner to remove any dust from the condenser surface.
ICE THICKNESS
ADJUSTING BOLT
DRAIN SWITCH
ICE THICKNESS SENSOR
EVAPORATOR
POWER SWITCH
PROXIMITY SENSOR
PUMP MOTOR
WATER DISTRIBUTOR
FLOAT VALVE
DRAIN PLUG

24
Cleaning
or
CAUTION
Do not use sharp objectsremove the from
2. water trough
3. shut off.
4. water trough
NOTE
5.
6.
7.
8. 1/2 gallon
9. the water trough
10.
11.
12.
13. water trough
14. Replacethe
15.

25
Refer to this detailed sanitizing procedure and clean the machine at least once a month.
1.Set the main switch to the OFF position after ice falls from the evaporator at
the end of a harvest cycle. Or, set the main switch to the OFF position and
allow ice to melt off the evaporator.
※ CAUTION:Do not use sharp objects to remove the ice from the
evaporator. Damage may result.
2. Remove all water and ice from the bin and water trough.
3. Open the front panel (by loosening two screws) and close the water supply.
4. Mix 18L (4.76 gallon) of water and 4L (1.06 gallon) of sanitizer.
※ Note: If the bin requires sanitizing, use 2.6gal of the mixed sanitizer (2.1gal water & 1/2
gal sanitizer).
5. To start a sanitizing cycle, move the main switch to the WASH position after filling the
water trough with the mixed sanitizer.
6. Run the sanitizing cycle for 20 minutes.
7. After twenty minutes, move the main switch to the OFF position.
8. Use a brush when cleaning the evaporator, evaporator frames, the bin,
and the inside areas that contact water.
(Use 1/2 gal of the mixed sanitizer.)
9. R
emove the water curtain from the machine and clean
with a brush. (Refer to the upper drawing.)
(When disassembling the water curtain,remove the hinges on the right and the left.
10. Once sanitizing is complete, empty the bin and the water trough.
11. After emptying the bin and the water trough, open the water
supply and move the main switch to the WASH position
and start sanitizing again. (First round sanitizing)
12. Run the sanitizing cycle for 20 minutes.
13. After twenty minutes, move the main switch to the OFF position.
14. Once sanitizing is complete, empty the bin and the water trough and
move the main switch to the WASH position and start sanitizing again.(Second
round sanitizing)
15. Run the sanitizing cycle for 20 minutes.
16. After twenty minutes, move the main switch to the OFF position.
17. Empty the bin and the water trough and pour water into
the water trough.
18. The sanitizing is complete. Move the main switch to ICE and start
using the machine.
19. Finally, tighten the screws at the top and the bottom areas of
the front panel.
Sanitizer
26
1. Turn off the top right power switch. Turn off
the power switch inside the front cover.
2. Remove all ice; discard or store in a
proper container such as ice box or freezer.
3. Dilute 1.6oz of mild detergent in 2.1gal of water
at 95-113 ℉ and pour into the water trough.
4. Turn the power switch at the back to WASH.
The pump motor will run for about 90 seconds, and then
stop for about 30 seconds. This cycle will be repeated 5
times.
5. Repeat the cycle abov
e for 2 or 3 times. Refill the container
with mild detergent as needed.
6. Flush out detergent with water to clean the ice container,
hoses, ice bucket, or water trough.
7. Return the ice to the container after cleaning.
● with
●
contaminated from handling
s
Store detergent where it cannot be accessed by children
27
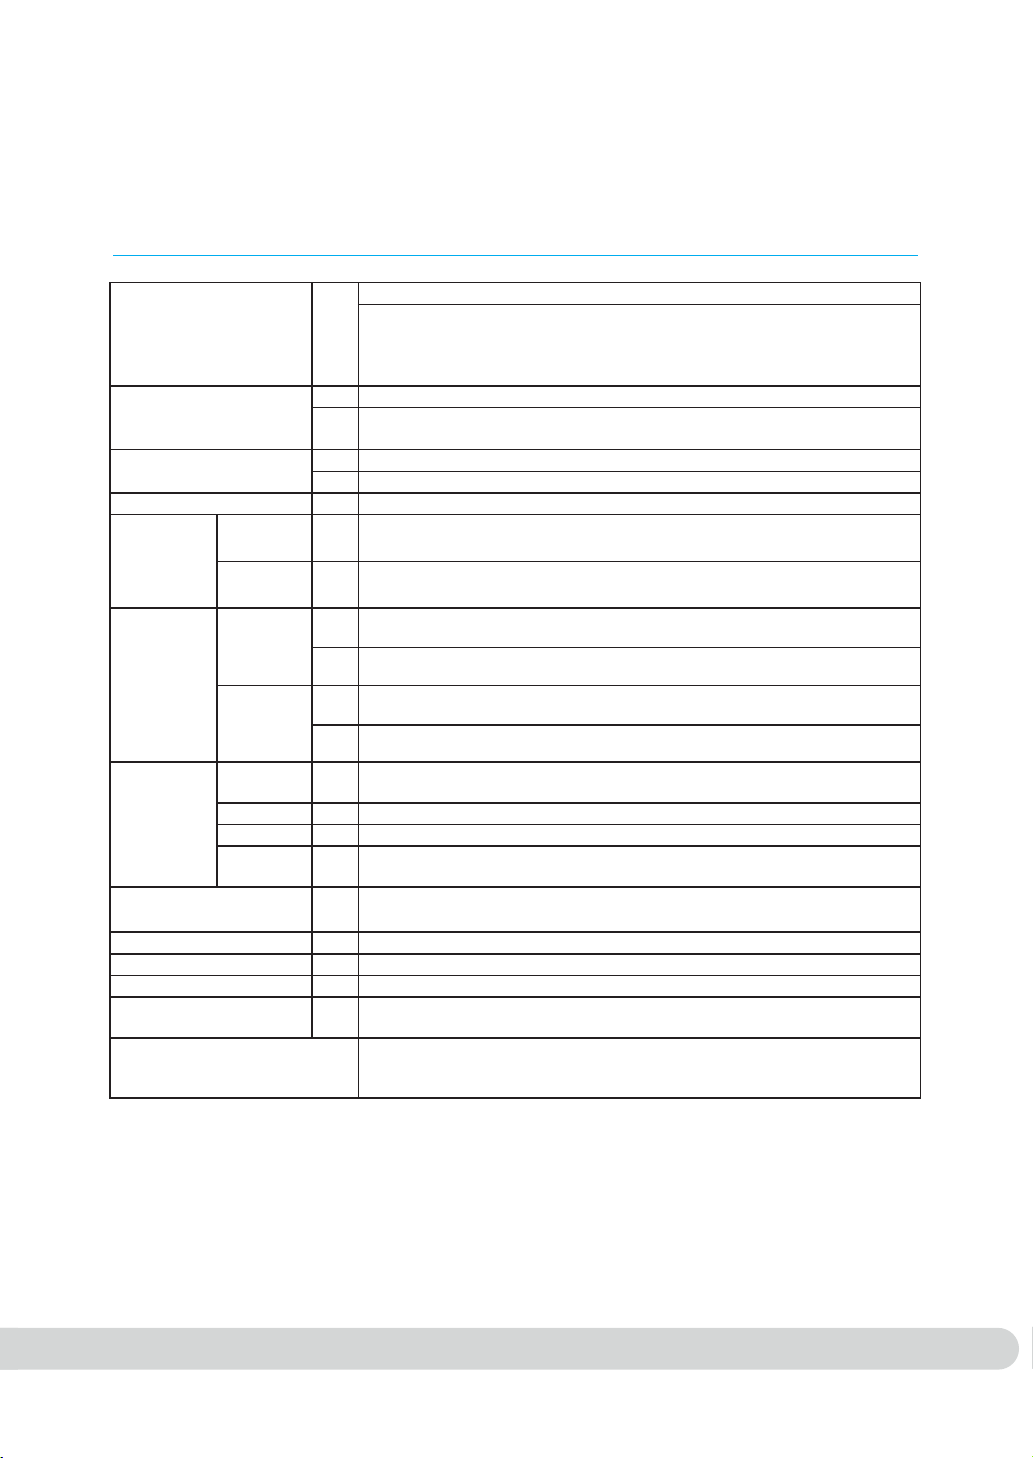
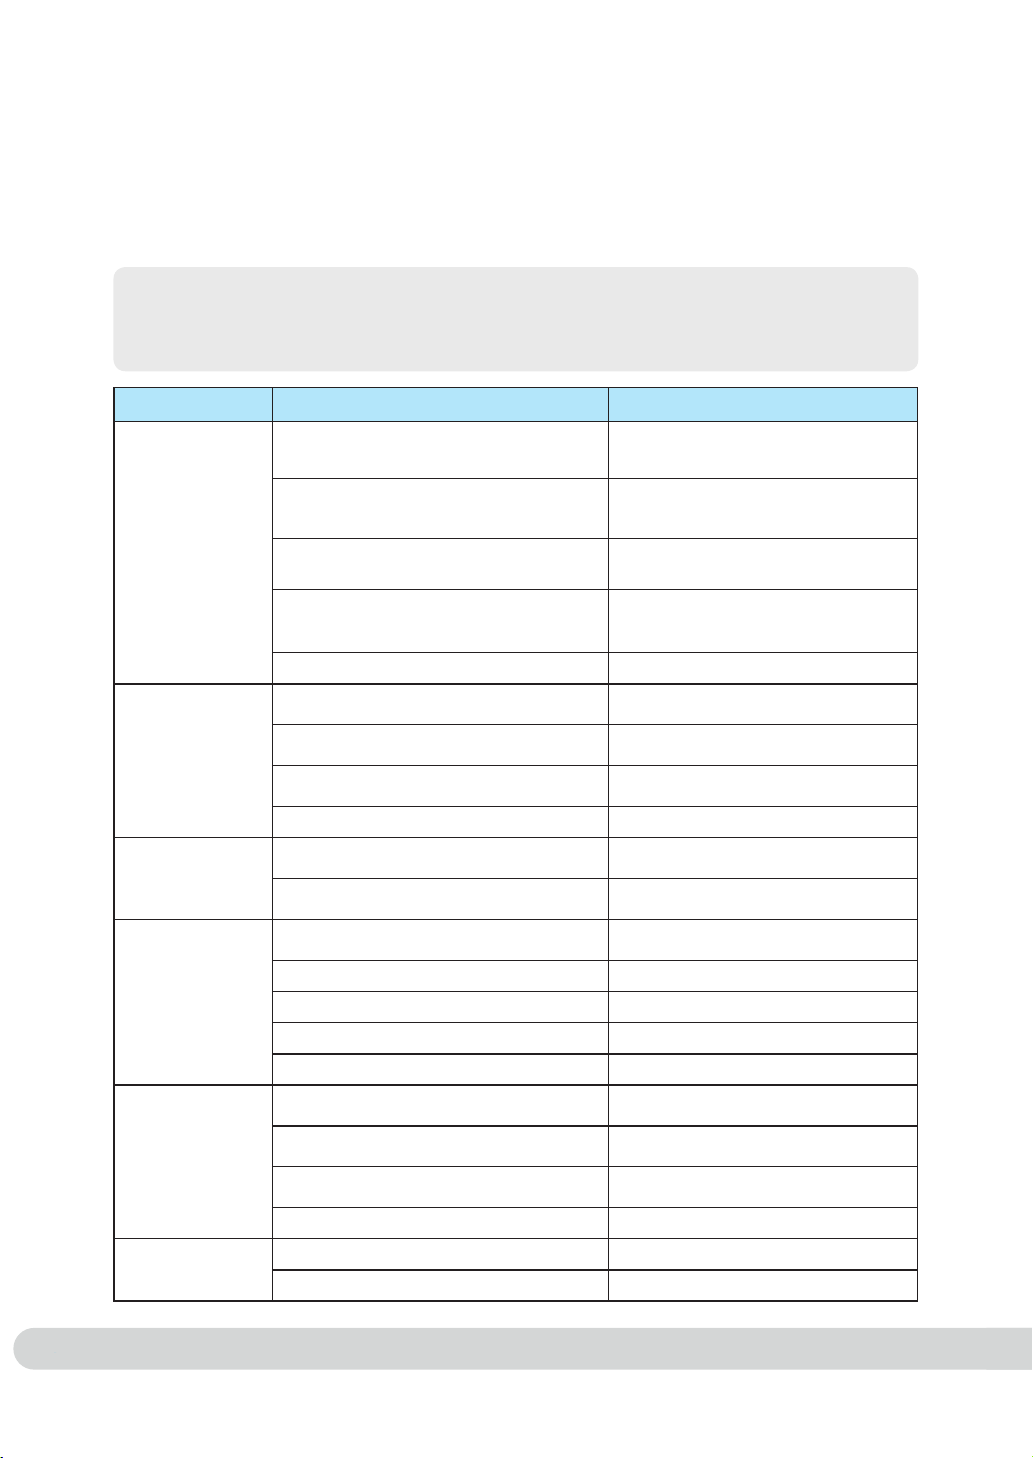
7. Troubleshooting
Check the following chart if machine is not operating correctly:
If the machine continues to operate incorrectly, contact your local dealer or customer service center.
Provide them with the following details: Model, serial number, name of local dealer, date of
purchase, and current condition of the product.
Operating Condition Check Points Measures
1. Machine does not
work.
1. Is the machine supplied with electric power?
(Did you plug it into the electrical outlet?)
1. Supply it with electric power.
(Plug it into the electrical outlet.)
2. Did the high pressure safety switch
(red button) at the upper back work?
2. Check the c
ondenser, clean if
necessary
.
3. Is the power supply to the machine
correct?
3. Check the power supply.
Use the correct power outlet.
4. Is the three-level switch (inside the front
cover) in the ICE MAKING position?
4. If it's in the OFF position or in the
WASHING position, change it to
ICE MAKING position.
5. WATER CURTAIN is open? 5. Check the water curtain
2.Lengthy ice
production.
1. The machine is too dirty.
1. Clean it using the cleaning method
described in Paragraph 6.
2. The ambient temperature is too low. 2. Adjust the ambient temperature to
be above 50℉
3. Water supply insufficient.
4. The ice thickness sensor is too wide. 4. Adjust it to 0.23~0.31inches.
3.L
ate ice
formation
1. Water supply is too weak.
1. Increase the water supply pressure.
Clean the filtering device (strainer) at the back.
2. The machine is too dirty.
2. Clean it using the same method
described in Paragraph 6.
4. Poor ice formation
or poor water
freezing
1. The ice thickness sensor works abnormally.
1. Use the adjusting bolt to keep it
0.23~0.31inches wide.
2. The water level is too high or too low.
2. Adjust the Float valve higher or lower.
3. Float valve is stuck.
3. Check whether it's working normally.
4. Filtering device (strainer) is stopped up. 4.
Take apart the strainer at the back and clean it.
5. Operating pressure is too high. 5. Refer to 3-2).
5. Too small a
quantity of ice
production
1. Water is too dirty.
1. Clean it using the same method
described in Paragraph 6.
2. Water is in short supply.
2.
Check the water supply pressure or
whether
water supply has been cut off.
3. The condenser is dirty.
3
,
Clean the aluminium fins at the
back.
4. The ambient temperature is too high.
4.4. Adjust the ambient temperature to be below 100℉
6. Water buildup in
ice bin
1. The drain opening is higher than the container.
1. Install the drain opening lower than the container.
2. The drain opening is stopped up. 2. Clean the hose.
3.Check water supply and adjust if
necessary.

28
8. Manufacturers Limited Warranty
Ice Machine Limited Warranty
Subject to the exclusions and limitations below, MVP Group warrants to the original consumer that any new
ice machine shall be free of defects in material or workmanship for the warranty period outlined below,
under normal use and maintenance, and upon proper installation and start up in accordance with the instruction
manual supplied with the product.
This limited warranty only applies to the original consumer of the product and is not transferable.
’
If a defect arises and MVP Group receives a valid warranty claim prior to the expiration of the warranty
period, MVP Group shall, at its option: (1) repair the product at MVP Group
’
s cost, including straight time
labor charges, (2) replace the product with one that is new or at least as functionally equivalent as the
original, or (3) refund the purchase price for the product. Replacement parts are warranted for 90 days or
the balance of the warranty period, whichever is longer. The foregoing constitutes MVP Group
’
s sole
obligation and the consumer
’
s exclusive remedy for any breach of this limited warranty. MVP Group
’
s
liability under this limited warranty is limited to the purchase price of the product. Additional expenses
including, without limitation, service travel time, overtime or premium labor charges, accessing or removing
the product, or shipping are the responsibility of the owner.
All Commercial units sold in the United States, Canada, and Puerto Rico are covered for 3 years parts
and labor, and an additional 2 years on compressor only.
Residential and Outdoor units shall be covered for 12 months parts and labor from the date of sale.
Storage bin limited warranty
MVP Group warrants that new ice storage bins shall be free of defects in material or workmanship under
normal and proper use and maintenance as specified by the MVP Group and upon proper installation and
start-up in accordance with the instruction manual supplied for two years parts and labor from date of sale.
NOTE:
Ice makers sold outside of the covered zones (United States, Canada and Puerto Rico) as well as
all 50 Hz units shall be warranted for 24 months parts only from the date of sale.
What is not covered?
This limited warranty does not cover, and you are solely responsible for the costs of: (1) periodic and/or
routine maintenance, (2) repair or replacement of the product or parts due to normal wear and tear, (3)
defects or damage to the product or parts resulting from misuse, abuse, neglect, or accidents, (4) defects
or damage to the product or parts resulting from improper or unauthorized alterations, modifications, or
changes, and (5) defects or damage to any product that has not been installed and/or maintained in
accordance with the instruction manual or technical instructions provided by MVP Group. To the extent that
warranty exclusions are not permitted under some state laws, these exclusions may not apply to you.
This limited warranty is the sole and exclusive warranty of MVP Group with regard to the product. All
implied warranties are strictly limited to the duration of the limited warranty applicable to the products
as stated above, including but not limited to any warranty of merchantability or of fitness for a particular
purpose. In no event shall MVP Group or any of its affiliates be liable to the consumer or any other
person for any incidental, consequential, or special damages of any kind (including, without limitation,
loss of profits, r
evenue, or business) arising from or in any manner connected with he product, any
breach of this limited warranty, or any other cause whatsoever, whether based on contract, tort, or any
other theory of liability. Some states do not allow the exclusion or limitation of incidental or consequential
damages, so the above limitation or exclusion may not apply to you.

29
Replacement Part Warranty:
Following the expiration of MVP Group
’
s product warranty, any replacement
part purchased by the equipment owner is warranted for a period of ninety (90) days from installation date
of replacement part, the compressor or evaporator is warranted for a period of one (1) year from installation
date of replacement part. All parts are to be sourced through the local Distributor to qualify for warranty.
Labor warranty is to repair or replace defective components as per time and hourly rate guidelines published
by MVP Group. Shall not include travel, normal maintenance, cleaning, adjustments, or correction of
improper installation.
How state law applies
This limited warranty give you specific legal rights, and you may also have rights that vary from state to
state or from one jurisdiction to another.
Registration
To register your product, please go to www.mvpgroupcorp.com and complete the warranty registration process.
To obtain warranty service, please contact us at:
MVP GROUP CORP.
5659 Royalmount Ave.
Montreal, QC Canada H4P 2P9
Tel 514.737.9701
Fax 514.342.3854

30
MEMO

MEMO
31

MEMO
32

Toll Free: (888) 275-4538
international: (514) 737-9701
Fax: (514) 342-3854
Toll Free Fax: (877) 453-8832