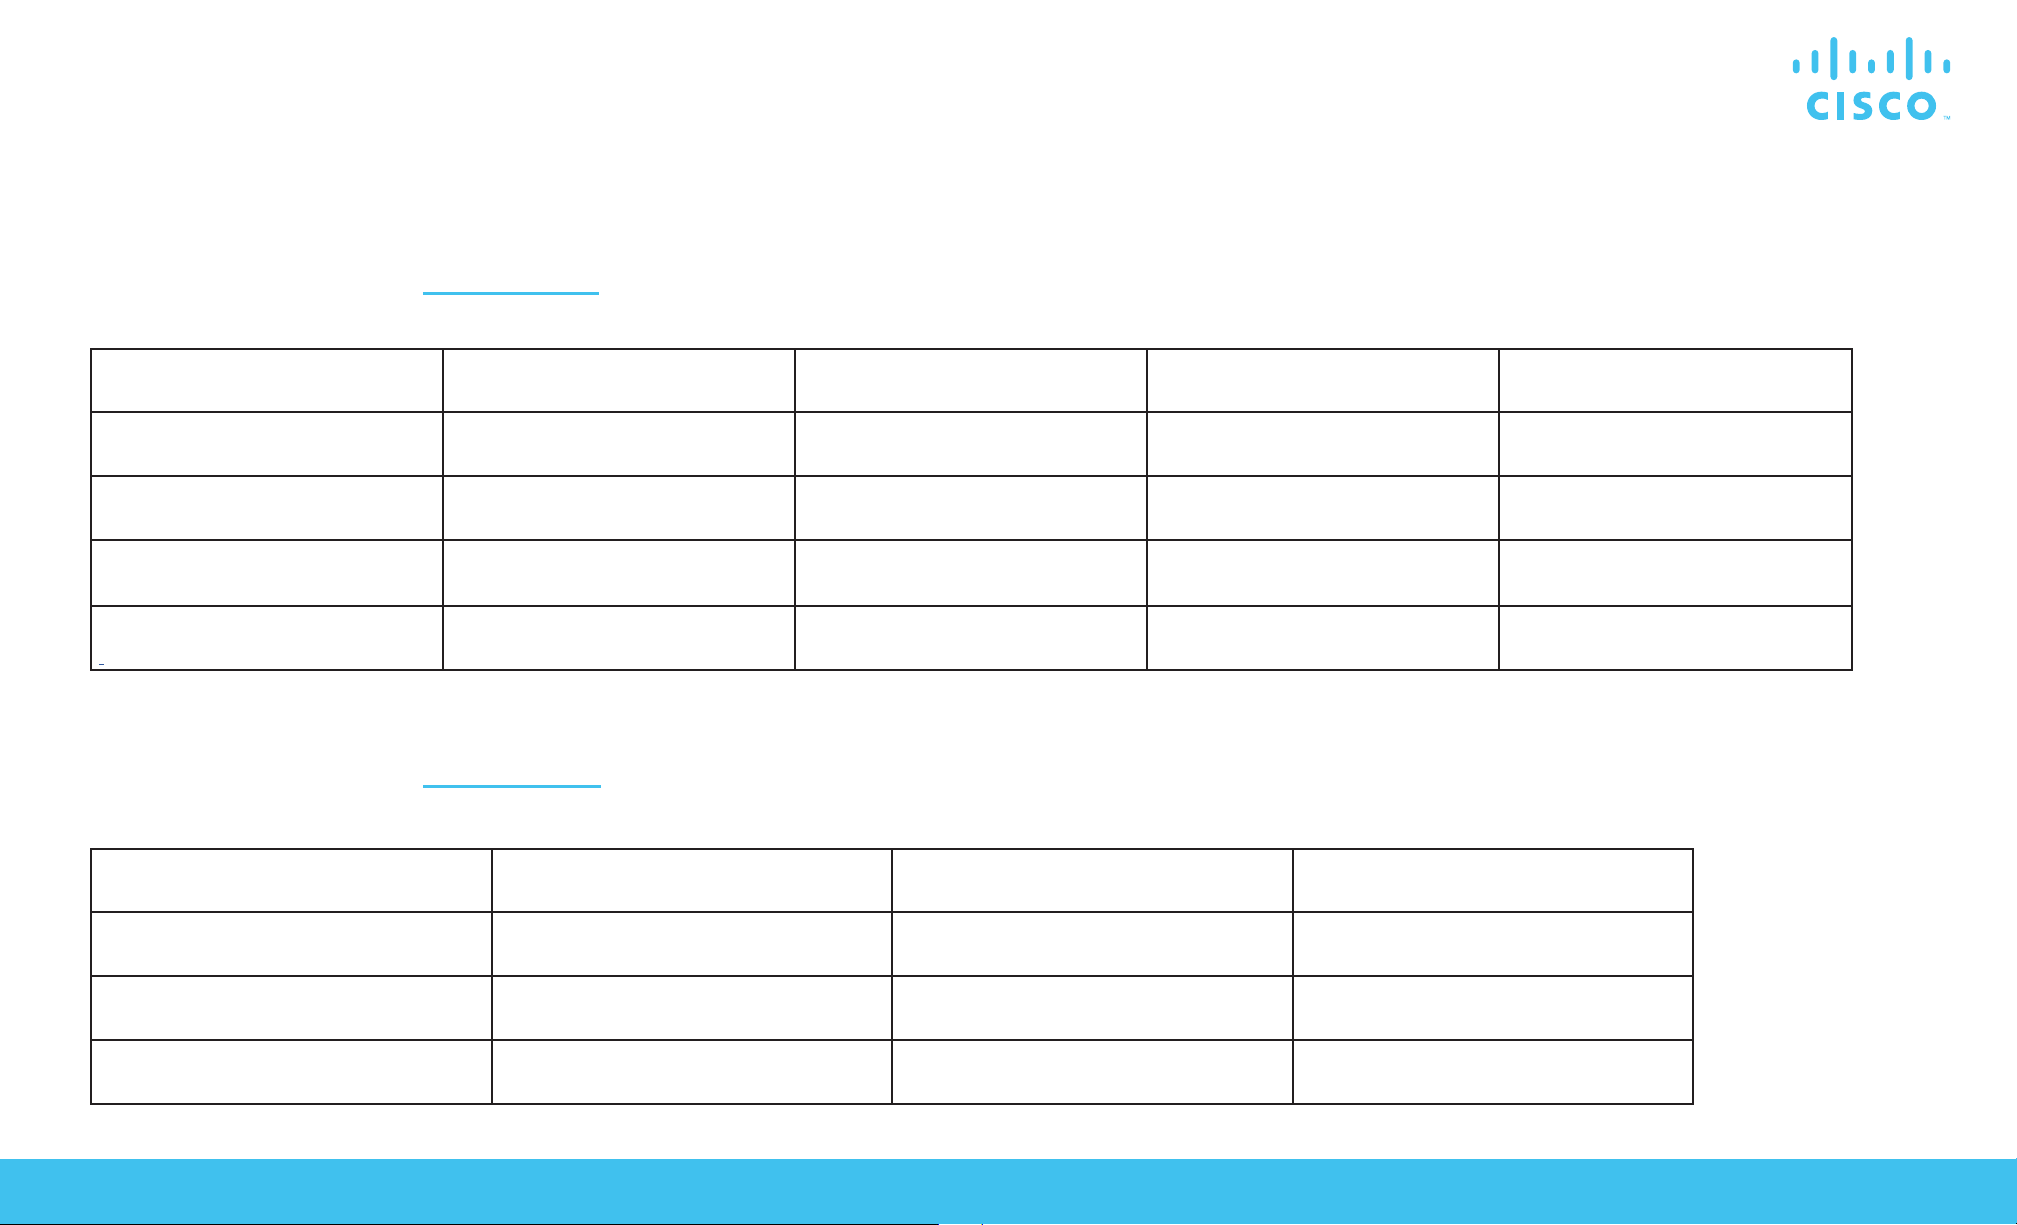
Cisco Business 350 Series Managed Switches Quick Start Guides
The Cisco Business 350 Series Switches have dierent Quick Start Guides, depending on your product. Find your product SKU below to know which version
of the Quick Start Guide to use.
Cisco Business 350 Series Managed Switches | Quick Start Guide
Quick Start Guide (Pages 2-3)
Quick Start Guide (Pages 4-5)
CBS350-8T-E-2G CBS350-16T-2G CBS350-24T-4G CBS350-48FP-4G CBS350-48P-4X
CBS350-8P-2G CBS350-16T-E-2G CBS350-24P-4G CBS350-24T-4X CBS350-48FP-4X
CBS350-8P-E-2G CBS350-16P-2G CBS350-24FP-4G CBS350-24P-4X
CBS350-8FP-2G CBS350-16P-E-2G CBS350-48T-4G CBS350-24FP-4X
CBS350-8FP-E-2G
CBS350-16FP-2G CBS350-48P-4G CBS350-48T-4X
CBS350-8S-E-2G CBS350-24MGP-4X CBS350-8XT CBS350-24XS
CBS350-24S-4G CBS350-12NP-4X CBS350-12XS CBS350-24XT
CBS350-8MGP-2X CBS350-24NGP-4X CBS350-12XT CBS350-24XTS
CBS350-8MP-2X CBS350-48NGP-4X CBS350-16XTS CBS350-48XT-4X
Cisco Business 350 Series Managed Switches
Thank you for choosing the Cisco Business 350 Series Switch.
These switches are designed to be operational right out of the box as standard switches.
In the default conguration, the switch forwards packets between the connected devices after
powering up.
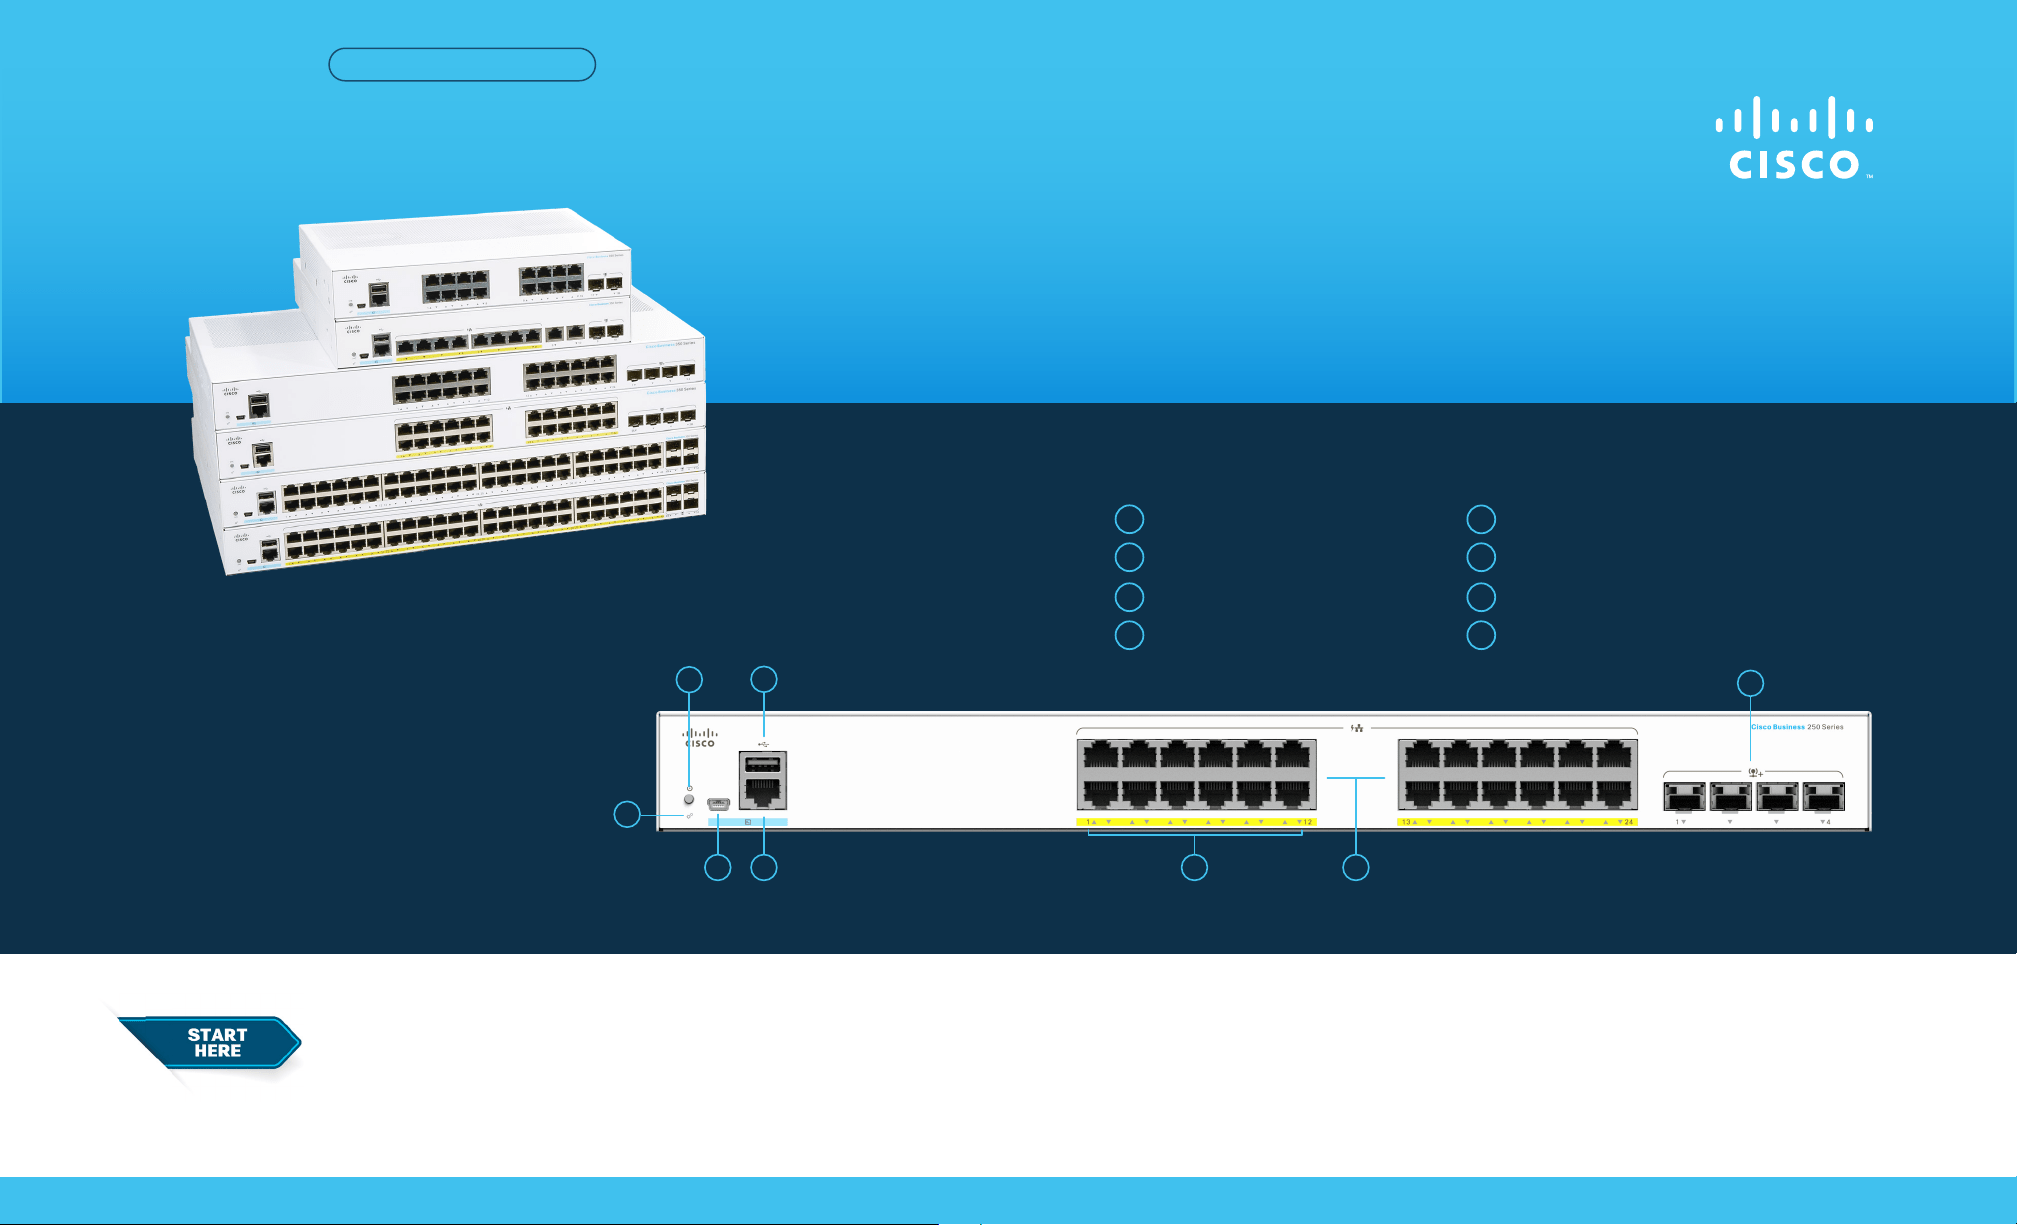
Product Features
5 73
2
4
What’s in the Box:
● Cisco Business 350 Series Switch
● Power Cord or Adapter
● Rack-Mount/Wall-Mount Kit
● Quick Start Guide
● Pointer Card with China RoHS
● Technical Support Contacts
Cisco Business 350 Series Managed Switches | Quick Start Guide
QUICK START GUIDE
First, You’ll Need...
8
1
System LED
2
Reset Button
3
Mini USB Console Port
4
USB Port
● RJ-45 Ethernet cables (Category 5e or higher)
for connecting network devices
● Tools for mounting the hardware
● Computer with an Ethernet port (or adapter) and a web browser
(Firefox, Chrome, Safari, or Edge)
● A mobile device with Wi-Fi capability (to set up using the mobile app)
1
RJ45 Console Port
5
LINK/ACT LEDs
6
Gigabit Network Ports
7
SFP/SFP+ Uplink Ports
8
6
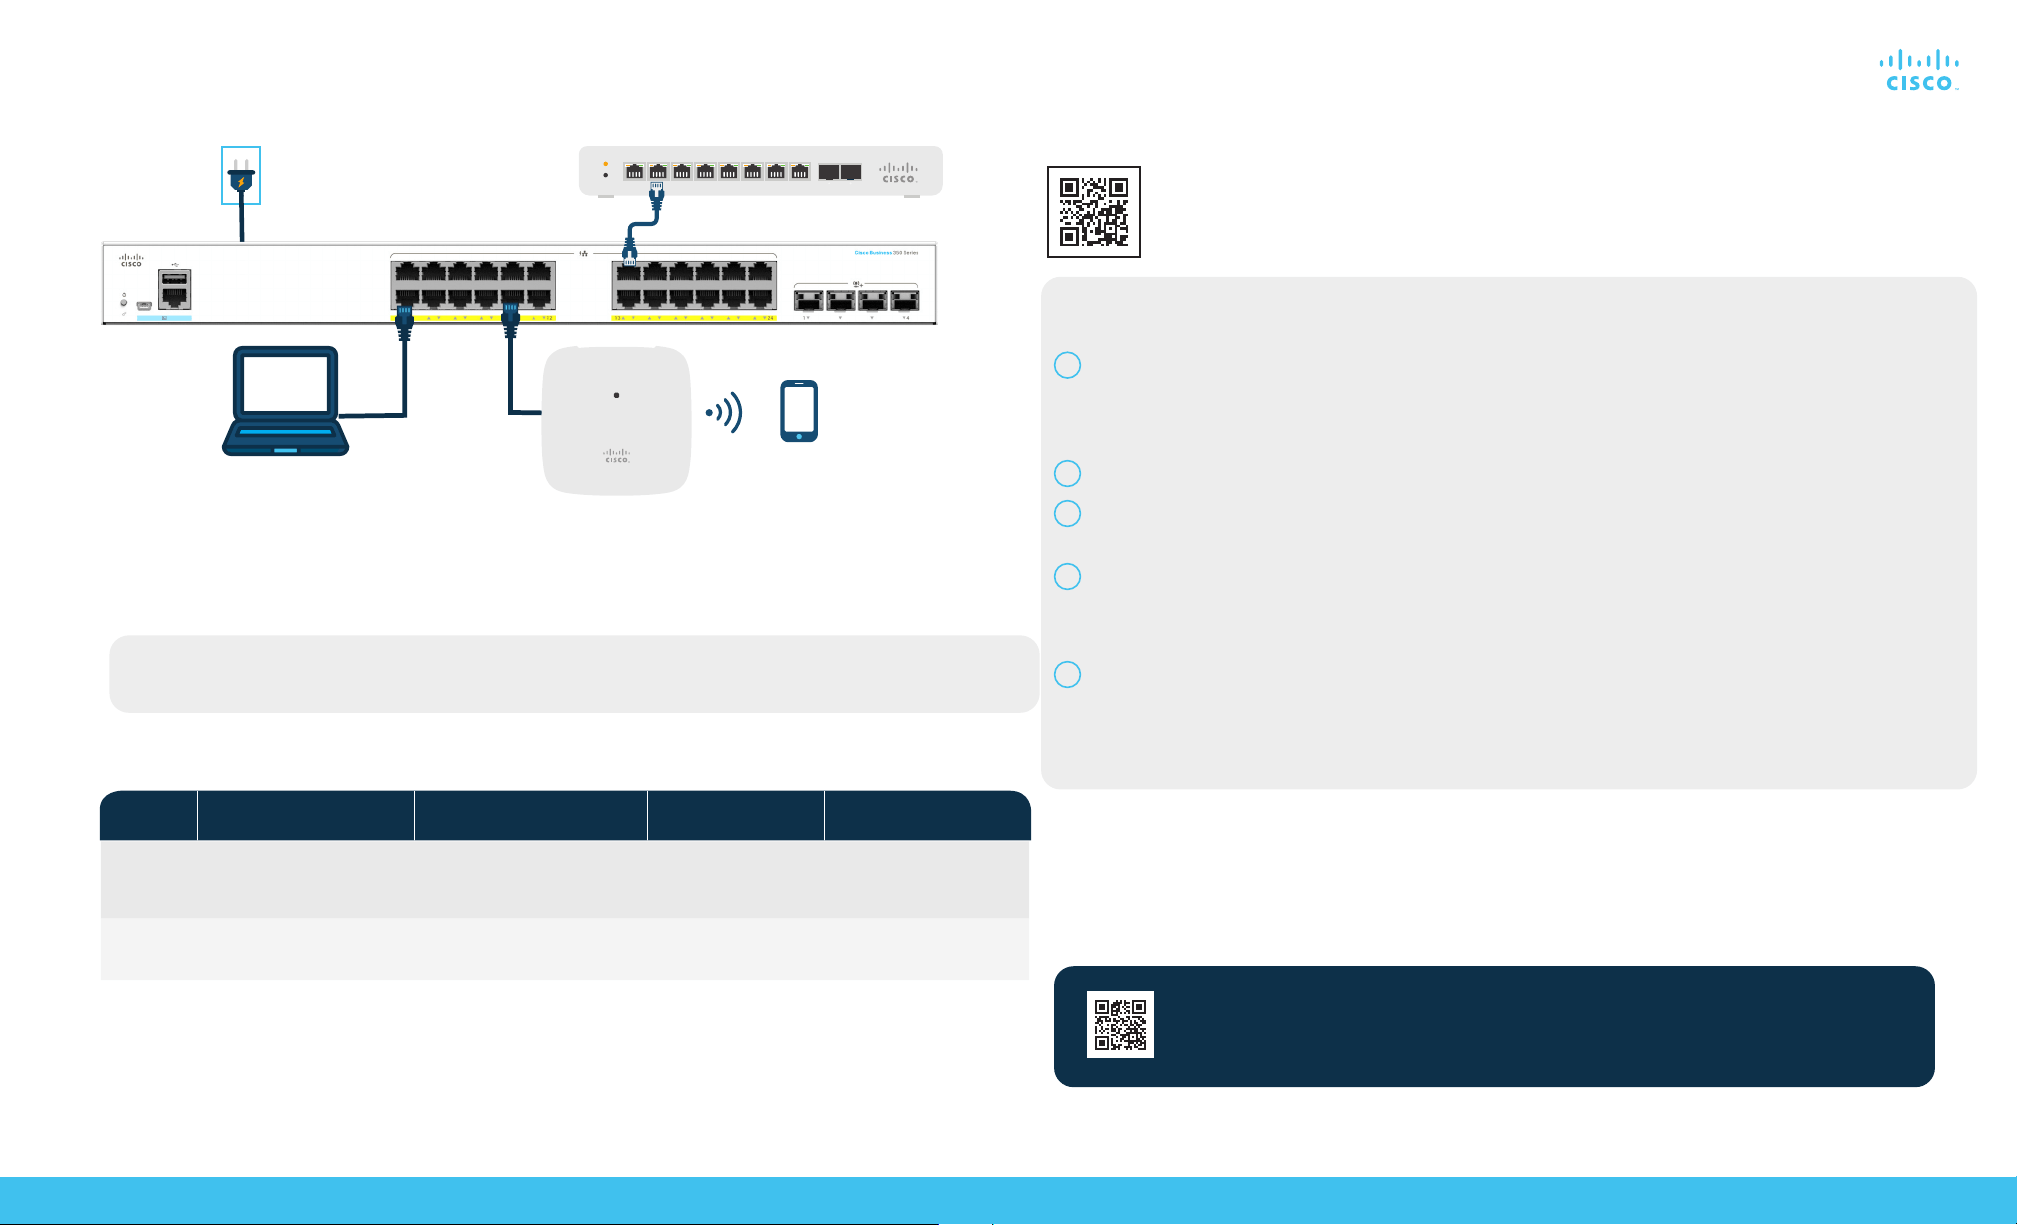
Get Congured
Get Connected
Cisco Business 350 Series Managed Switches | Quick Start Guide
©2021 Cisco and/or its aliates. All rights reserved. Cisco and the Cisco logo are trademarks or registered trademarks of Cisco and/or its aliates in the U.S. and other countries.
To view a list of Cisco trademarks, go to this URL: https:// www.cisco.com/go/trademarks. Third-party trademarks mentioned are the property of their respective owners.
The use of the word partner does not imply a partnership relationship between Cisco and any other company. (1110R)
For Cisco support and additional documentation, including mounting instructions and the
Administration Guide, visit https://cisco.com/go/cbs350.
1
The switch will attempt to acquire an IP address if there is a DHCP server in the network. If the switch cannot
acquire an IP address through DHCP, it uses the factory default IP address of 192.168.1.254, with a subnet mask
of /24.
●
If the switch is using the factory default IP address of 192.168.1.254/24, you must choose an IP address for the
computer in the range of 192.168.1.2-192.168.1.253 that is not already in use.
2
Open a web browser window.
3
Enter the switch IP address in the address bar and press Enter. For example, http://192.168.1.254.
The Switch Login Page displays.
4
Enter the default login information:
●
Username is cisco
●
Default password is cisco
(passwords are case-sensitive)
5
Click Log In.
You are now ready to congure the switch. Refer to the Administration Guide for further information.
Preparing Your Switch
Using the Mobile app: Connect the switch to an existing wireless network. This could be a wireless access point
(shown above), wireless router, or mesh extender. You will need something to act as your DHCP server (a router or
switch as shown above). Once connected, proceed to the “Get Congured” section to download the app.
Using the Web User Interface (UI): Connect a computer to one of the switch ports with an Ethernet cable. Make sure
your computer is on and proceed to the Web UI Setup instructions under the “Get Congured” section.
LED Functions
LED
OFF
GREEN STEADY GREEN FLASHING AMBER
Alternative: Web UI Setup
Mounting
For detailed mounting instructions, please see the “Get Support” section.
Plug the power cord of the switch into an outlet.
Scan the QR code here to download the app or go to cisco.com/go/cbsapp and
follow the installation instructions.
Download the Cisco Business Mobile app
Get Support
GbE
System
Switch has acquired an IP
address through DHCP or a
static IP address has been
manually congured.
Booting, performing self-tests,
acquiring IP address, or factory
default IP address is being used.
Flashing,
hardware failure
detected.
Switch is powered o.
LINK/ACT
Link between correspond-
ing port and another device
detected.
Port is passing trac. Link down.

Cisco Business 350 Series Managed Switches
Thank you for choosing the Cisco Business 350 Series Switch.
These switches are designed to be operational right out of the box as standard switches.
In the default conguration, the switch forwards packets between the connected devices after
powering up.
Product Features
2
4
What’s in the Box
● Cisco Business 350 Series Switch
● Power Cord or Adapter
● Rack-Mount/Wall-Mount Kit
● Quick Start Guide
● Pointer Card with China RoHS
● Technical Support Contacts
Cisco Business 350 Series Managed Switches | Quick Start Guide
QUICK START GUIDE
First, You’ll Need...
10
1
Reset Button
2
System LED
3
Stack Unit ID LED*
4
Stack Active Unit LED*
● RJ-45 Ethernet cables (Category 5e or higher)
for connecting network devices
● Tools for mounting the hardware
● Computer with an Ethernet port (or adapter) and a web browser
(Firefox, Chrome, Safari or Edge)
● A mobile device with Wi-Fi capability (to set up using the mobile app)
1
USB Port
5
Gigabit Network Ports
6
Link/ACT LEDs
7
PoE/Gigabit/10 Gigabit LED (Depending on model)
8
96
9
Multi-Gigabit Network Ports
10
10 Gigabit Network Ports
11
SFP/SFP+ Ports
3
5 7 8
* The Stack Active Unit LED is steady green when the switch is the active unit in a stack. The number
next to the Stack Unit ID LED, that is steady green, indicates the unit ID of the switch in a stack.
11

Get Congured
Get Connected
Cisco Business 350 Series Managed Switches | Quick Start Guide
©2021 Cisco and/or its aliates. All rights reserved. Cisco and the Cisco logo are trademarks or registered trademarks of Cisco and/or its aliates in the U.S. and other countries.
To view a list of Cisco trademarks, go to this URL: https:// www.cisco.com/go/trademarks. Third-party trademarks mentioned are the property of their respective owners.
The use of the word partner does not imply a partnership relationship between Cisco and any other company. (1110R)
For Cisco support and additional documentation, including mounting instructions and the
Administration Guide, visit https://cisco.com/go/cbs350.
1
The switch will attempt to acquire an IP address if there is a DHCP server in the network. If the switch cannot
acquire an IP address through DHCP, it uses the factory default IP address of 192.168.1.254, with a subnet mask
of /24.
●
If the switch is using the factory default IP address of 192.168.1.254/24, you must choose an IP address for the
computer in the range of 192.168.1.2-192.168.1.253 that is not already in use.
2
Open a web browser window.
3
Enter the switch IP address in the address bar and press Enter. For example, http://192.168.1.254.
The Switch Login Page displays.
4
Enter the default login information:
●
Username is cisco
●
Default password is cisco
(passwords are case-sensitive)
5
Click Log In.
You are now ready to congure the switch. Refer to the Administration Guide for further information.
Note: To congure the switch via the out-of-band port, please refer to the Administration Guide.
Preparing Your Switch
Using the Mobile App: Connect the switch to an existing wireless network. This could be a wireless access point
(shown above), wireless router, or mesh extender. You will need something to act as your DHCP server (a router or
switch as shown above). Once connected, proceed to the “Get Congured” section to download the app.
Using the Web User Interface (UI): Connect a computer to one of the switch ports with an Ethernet cable. Make sure
your computer is on and proceed to the Web UI Setup instructions under the “Get Congured” section.
LED Functions
LED OFFGREEN STEADY GREEN FLASHING
AMBER
Alternative: Web UI Setup
Mounting
For detailed mounting instructions, please see the “Get Support” section.
Plug the power cord of the switch into an outlet.
Scan the QR code here to download the app or go to cisco.com/go/cbsapp and
follow the installation instructions.
Download the Cisco Business Mobile app
Get Support
GbE
System
Switch has acquired an IP
address through DHCP or a
static IP address has been
manually congured.
Booting, performing self-tests,
acquiring IP address, or factory
default IP address is being used.
Flashing,
hardware failure
detected.
Switch is powered o.
LINK/ACT
Link between corresponding
port and another device
detected.
Port is passing trac. Link down.
PoE*
Steady
Power is being supplied
to a device connected to
the port.
Power is not being supplied
or nothing is connected to
the port.
Gigabit*
1000 Mbps link is estabslished. Connection speed is under
1000 Mbps or nothing is
connected to the port.
10 Gigabit*
10 Gbps link is established. Connection speed is under 10
Gbps or nothing is connected
to the port.
* If present, depends on model.