Loading ...
Loading ...
Loading ...
14
ASSEMBLY INSTRUCTIONS (CONTINUED)
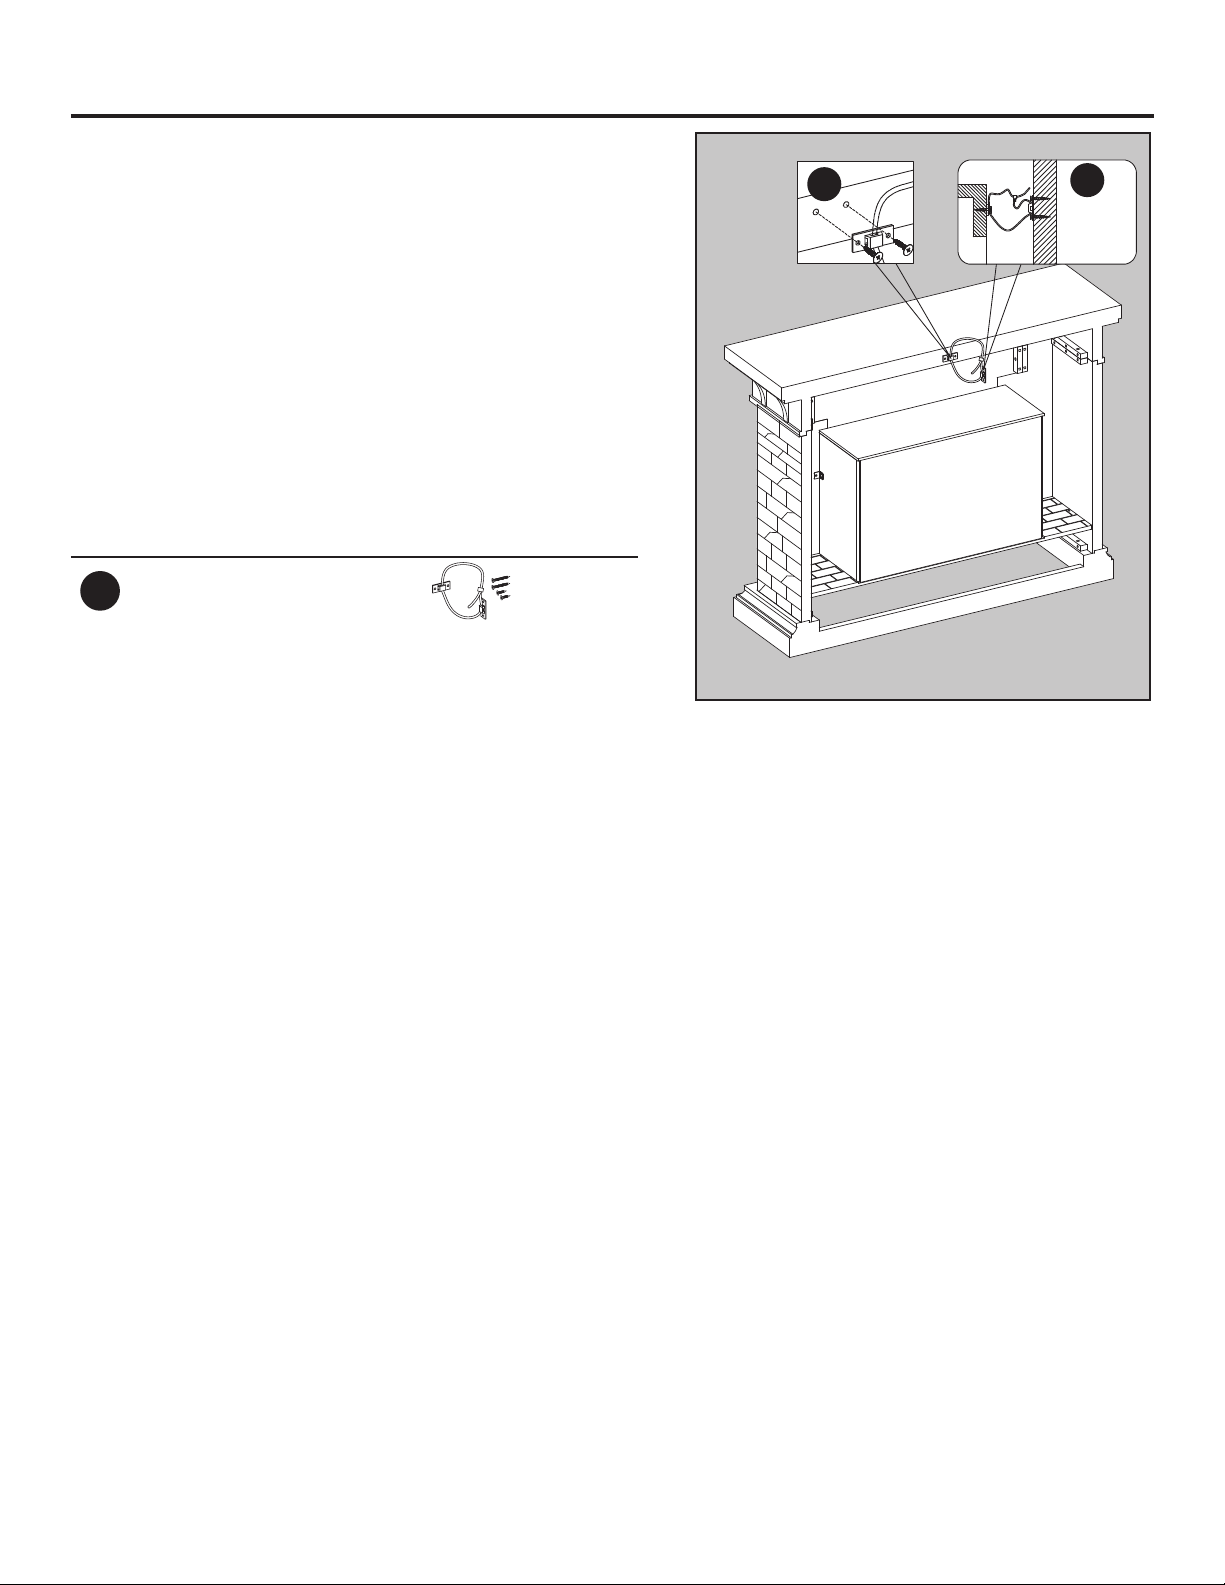
WARNING: You must install the tip restraint
hardware to help prevent any accidents or damage
to the unit. We strongly recommend attaching the tip
restraint hardware to a wall stud and your unit. For
all other wall types, please visit your local hardware
store to obtain the proper hardware.
Assembly is now complete. With the help of another
person, move the unit to the final desired position.
Once in the final position, you may attach the tip
restraint hardware to the wall. You may now plug
the heater into the power outlet.
Hardware Used
DD
Tip Restraint
Hardware
x 1
1
Wall Stud
2
Loading ...
Loading ...
Loading ...