Loading ...
Loading ...
Loading ...

Page 9
OPERATION
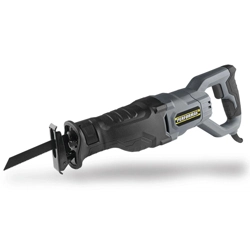
INSTALLING SAW BLADE (FIG.2)
1. Unplug the saw from the power supply.
2. Pull the blade-clamp lever as far as it will
go to open the tool-less blade clamp.
3. Insert the blade until it stops, then
release the blade-clamp lever to lock
the blade in position.
4. Use your gloved hand to push in and
pull out on the blade to be sure the
blade is clamped securely.
FIG. 2
Blade-clamp lever
REMOVING THE SAW BLADE
(FIG.2)
1. Unplug the reciprocating saw from the
power supply.
2. To remove the blade, pull the blade-
clamp lever as far as it will go and, with
your gloved hand, pull the blade out of
the clamp.
WARNING:
For all work and
when changing the blade, always wear
protective gloves. The sharp edges of the
blade will cause personal injury. The blade
can be very hot while working.
WARNING:
Always ensure that
the tool is switched OFF and unplugged
from the power supply before making
any adjustments and attaching any
accessories.
WARNING:
Make sure that the
front end of the blade extends through
the footplate for the entire stroke length.
Do not use specialty blades that are very
short or those with a signicant cant. The
blade must not contact the footplate at
any point in its stroke. A blade that is too
short or canted could jam inside the foot
and snap.
PIVOT SHOE
SLIDING THE SHOE IN OR OUT
(FIG.3)
For maximum control and longer blade life,
the base assembly slides in or out to permit
you to adjust the effective stroke length.
1. Unplug the reciprocating saw from the
power supply.
2. Loosen the two shoe-adjustment
screws with the hex key (supplied), and
slide the shoe to the desired position.
The shoe can be locked in any position.
3. Tighten the shoe-adjustment screws to
lock the shoe in the desired position.
FIG. 3
Pivot shoe
Loading ...
Loading ...
Loading ...