

METAL FLOOR FAN
INSTRUCTION/OPERATING
MANUAL
1
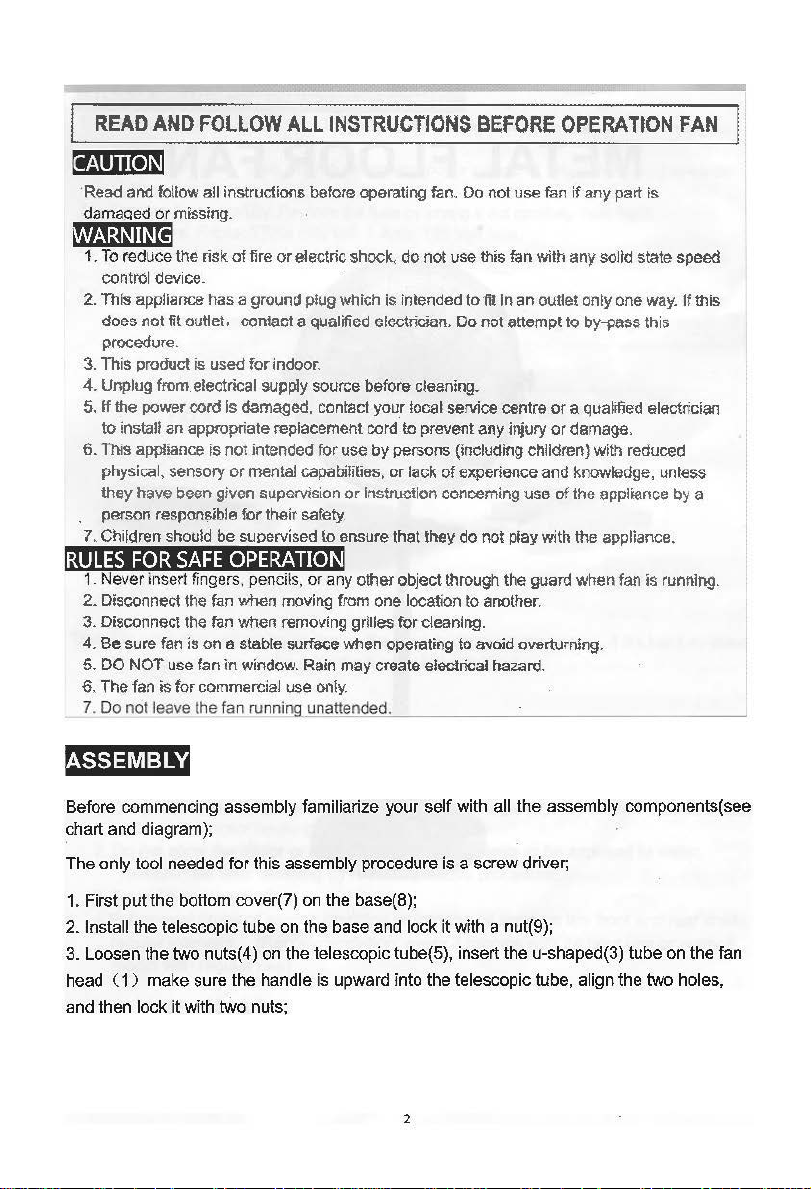
READ
AND
FOLLOW
ALL
INSTRUCTIONS
BEFORE
OPERATION
FAN
!41J•(•]~i
·Read and follow all
instructi011s
before operating fan. Do not use fan
if
any part is
damaced
or
missing.
~.V!1U@
II
@tel
1.
To
reduce the risk
of
tire
or
electric shock, do not use this fan with any solid state speed
control
device.
2.
This appliance has a ground plug
which
is intended
to
'fit In an outlet only one
way.
If this
does not fit oullet. contact a qualified electrician. Do not attempt to by-pass this
procedure.
3.
This product is used for indoor.
4.
Unplug
from.
electrical supply source before cleaning.
5.
ff
the power cord Is
~maged.
contact your local
service
centre
or
a qualified electrician
to
install an appropriate
replacement
cord
to
prevent
any
injury or
damage.
6.
This appliance is not intended for use
by
persons (including children)
with
reduced
physical,
sensory
or
mental
capabilities,
or
lack
of
experience
and
knowledge,
unless
they have been given supervision
or
lnstruetlon conceming use
of
the appliance
by
a
person resportsible
for
their
safety.
7. Children should be supervised
to
ensure that tney do not play with the appliance.
RULES
FOR
SAFE
OPERATION
1.
Never
insert fingers.
penciis
,
or
an
y other object
through
the
guard
when
fan
is
runnlng.
2.
Disconnect
the fan when
movil'\9
from one
location
to another.
3. Disconnect
the fan when removing grilles for cleaning.
4. Be sure fan is on a stable surface when operating to avoid
oVBrturnlng.
5.
DO
NOT use fan
in
window.
Rain
may
create eleclrical
hazard.
6.
The
fan
is
for
commert:ial
use
only.
7. Do not leave
the
fan
rvnniillJ,
_
_,
u
:.:.
n,a
"-'tte""n'-'-'d.,_,
e
"'
d
,_.
-----------------
ASSEMBLY
Before commencing assembly familiarize your self with all the assembly components( see
chart and diagram);
The only
tool
needed for this assembly procedure is a screw driver;
1. First put the bottom cover(7)
on
the base(8);
2.
Install the telescopic tube
on
the base and lock it with a nut(9);
3. Loosen the two nuts(4)
on the telescopic tube(5), insert the u-shaped(3) tube
on
the
fan
head (
1)
make sure the handle is upward into the telescopic tube, align the two holes,
and then lock it with
tWo
nuts;
2
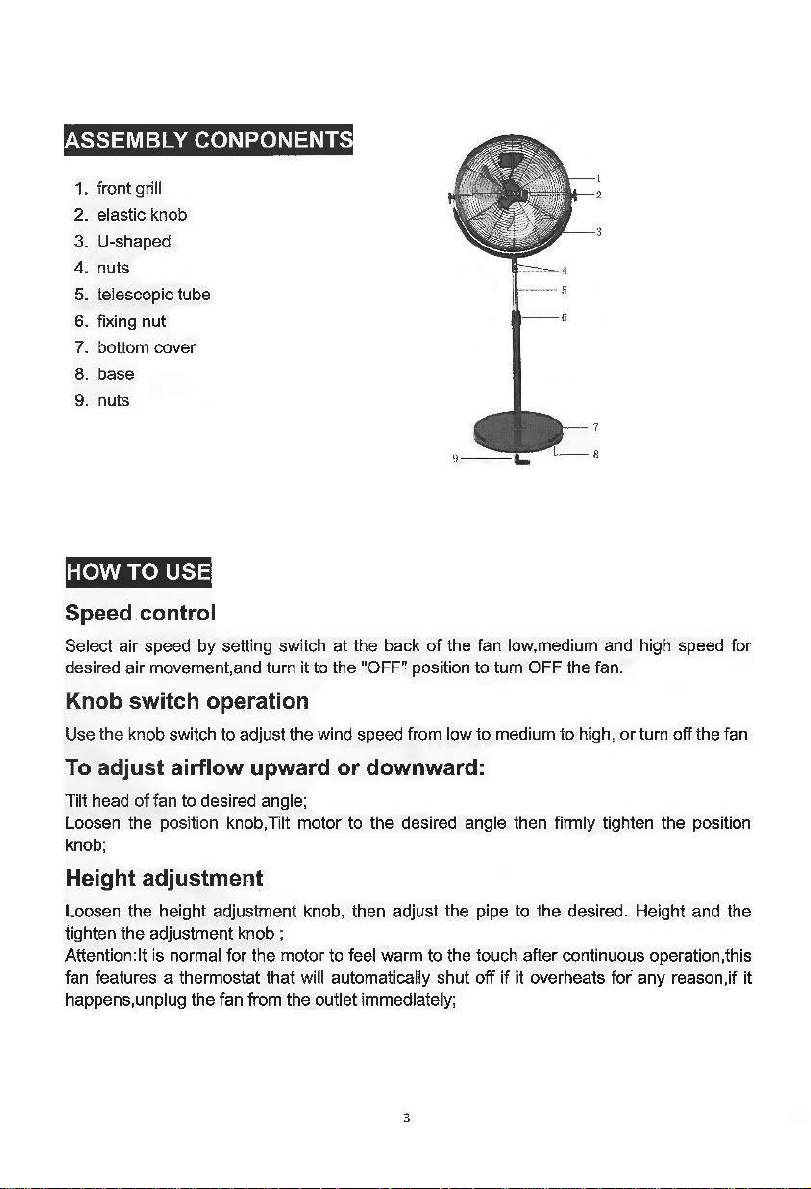
SSEMBLY CONPONENT
1. front grill
2.
elastic knob
3.
U-shaped
4.
nuts
5. telescopic tube
6. fixing
nut
7. bottom cover
8. base
9. nuts
HOW
TO
USE
Speed control
Select air speed by setting switch
at
the back
of
the fan low,medium and high speed for
desired air movement,and turn
it
to the
"OFF~
position to tum OFF the fan.
Knob switch operation
Use
the
knob switch
to
adjust the wind speed from
low
to
medium
to
high,
or
turn
off
the fan
To adjust airflow upward
or
downward:
Tilt head
of
fan
to
desired angle;
Loosen the position knob,Tilt motor to the desired angle then firmly tighten the position
knob;
Height adjustment
Loosen the height adjustment knob, then adjust the pipe to the desired. Height and the
tighten
the
adjustment knob ;
Attention:lt is normal for the motor to feel warm
to
the touch after continuous operation,this
fan features a thermostat that
will automatically shut
off
if
it overheats
for'
any
reason,if
it
happens,unplug the fan from the outlet immediately;
3
USER SERVICING INSTRUCTIONS
1. Grasp plug and remove from the receptacle
or
other outlet device. Do not unplug by
pulling on cord
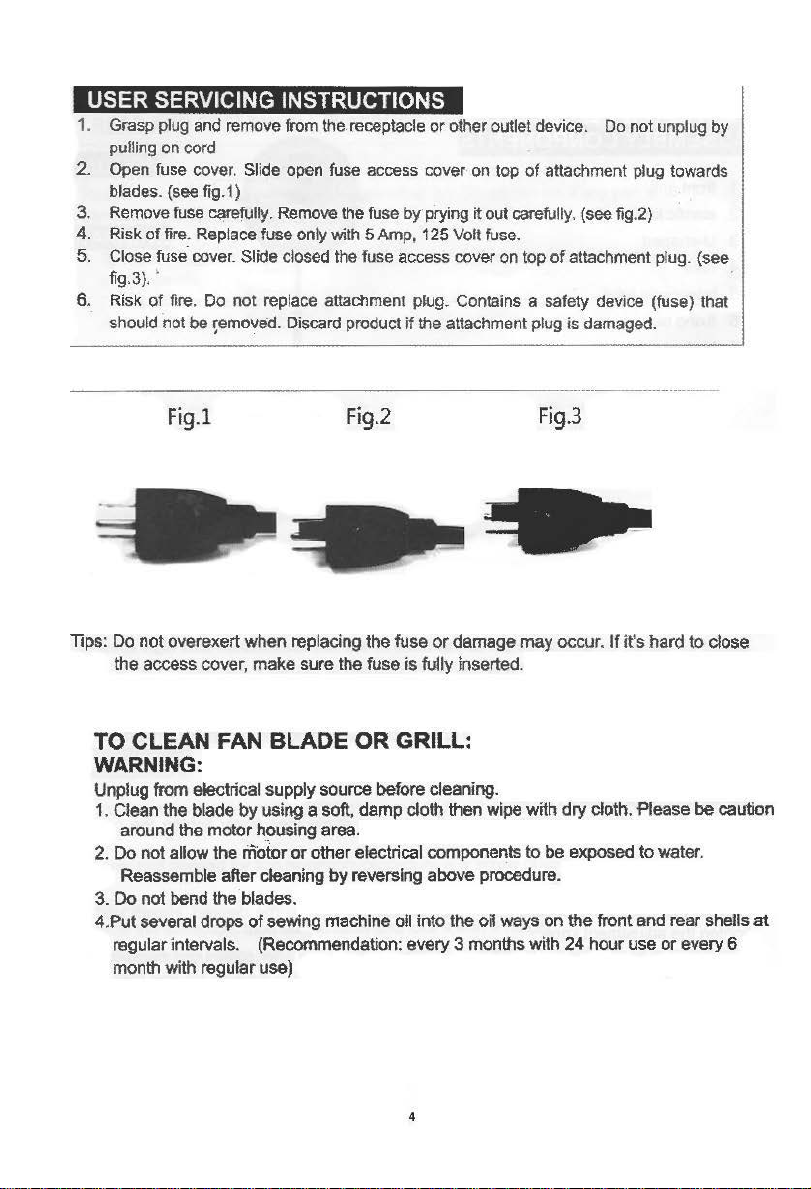
2.
Open fuse cover. Slide open fuse access cover on top
of
attachment plug towards
blades. (see fig.1)
3. Remove fuse
~efully.
Remove the fuse by prying
it
out
carefully,
(see fig.2}
4.
Risk
of
fire. Replace fuse only with 5
Amp
, 125 Volt fuse.
5.
Close
fuse·
cover. Slide closed the fuse access cover on top
of
attachment plug. (see
fig.3} • .
6.
Risk
of
fire. Do not replace attachment plug. Contains a safety device (fuse) that
should not
be
~emoved.
Discard product
if
the attachment plug is damaged.
--
--
-
---
- -
----------
--
----·
----
----
----
Fig.l
Fig.2
Fig.3
Tips:
Do
not
overexert
when
replacing
the
fuse
or
damage
may
occur.
If
it's
hard
to
close
the
access
cover,
make
sure
the fuse
is
fully
inserted.
TO
CLEAN FAN BLADE
OR
GRILL:
WARNING:
Unplug from electrical supply source before cleaning.
1, Clean
the
blade by
using
a soft,
damp
cloth
then
wipe
with
dry
cloth.
fltease
be
caution
around
the
motor
h~using
area.
2.
Do
not
allow
the
motor
or
other
electrical components
to
be
exposed
to
water.
Reassemble after
cleaning by reversing
above
procedure.
3.
Do
not
bend
the
blades.
4.
Put
several
drops of sewing
mach
ine
on
into
the
oil ways
on
the
front
and rear shells
at
regular
intervals. (Recommendation:
every
3
months
with
24
hour
use
or
every 6
month with
regular
use)
4