Loading ...
Loading ...
Loading ...

— 14 —
IMPORTANT:
•Observeallgoverningcodesandordinances.
•It is the customer’s responsibility to contact a qualified electrical installer.
•Ifcodespermitandaseparategroundwireisused,itisrecommendedthataqualifiedelectriciandeterminethat
thegroundpathisadequate.A120-Volt,60Hz,AC-only,fusedelectricalsupplyisrequiredonaseparate15-amp
circuit, fused on both sides of the line.
•DONOTgroundtoagaspipe.
•Checkwithaqualifiedelectricianifyouarenotsurethattherangehoodisproperlygrounded.
•DONOThaveafuseintheneutralorgroundcircuit.
IMPORTANT: Save this Installation Guide for electrical inspector’s use.
GROUNDING INSTRUCTIONS:
•Thisappliancemustbegrounded.Intheeventofanelectricalshort-circuit,groundingreducestheriskofelectric
shock by providing an escape wire for the electric current.
•Thisapplianceisequippedwithacordhavingagroundingwirewithagroundingplug.Theplugmustbeplugged
into an outlet that is properly installed and grounded.
WARNING: Improper grounding can result in a risk of electric shock.
•Consultaqualifiedelectricianifthegroundinginstructionsarenotcompletelyunderstood,orifdoubtexistsasto
whether the appliance is properly grounded. DO NOT use an extension cord. If the power supply cord is too short,
have a qualified electrician install an outlet near the appliance.
Installation
STEP 13
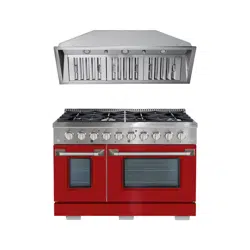
Install Filters
Assemble the metal handles to the lters using provided screws,
before installing them in range hood.
•Angle and insert one end of the lter into the upper channel of the
range hood (Figure 12).
•Raise the other end towards the inside of range hood, rotate and
insert in the bottom end of opening (Figure 13).
•Release the handle once the lter ts into a resting position.
•Repeat to install all lters.
Figure 11
Figure 12 Figure 13
Loading ...
Loading ...
Loading ...