Loading ...
Loading ...
Loading ...
●
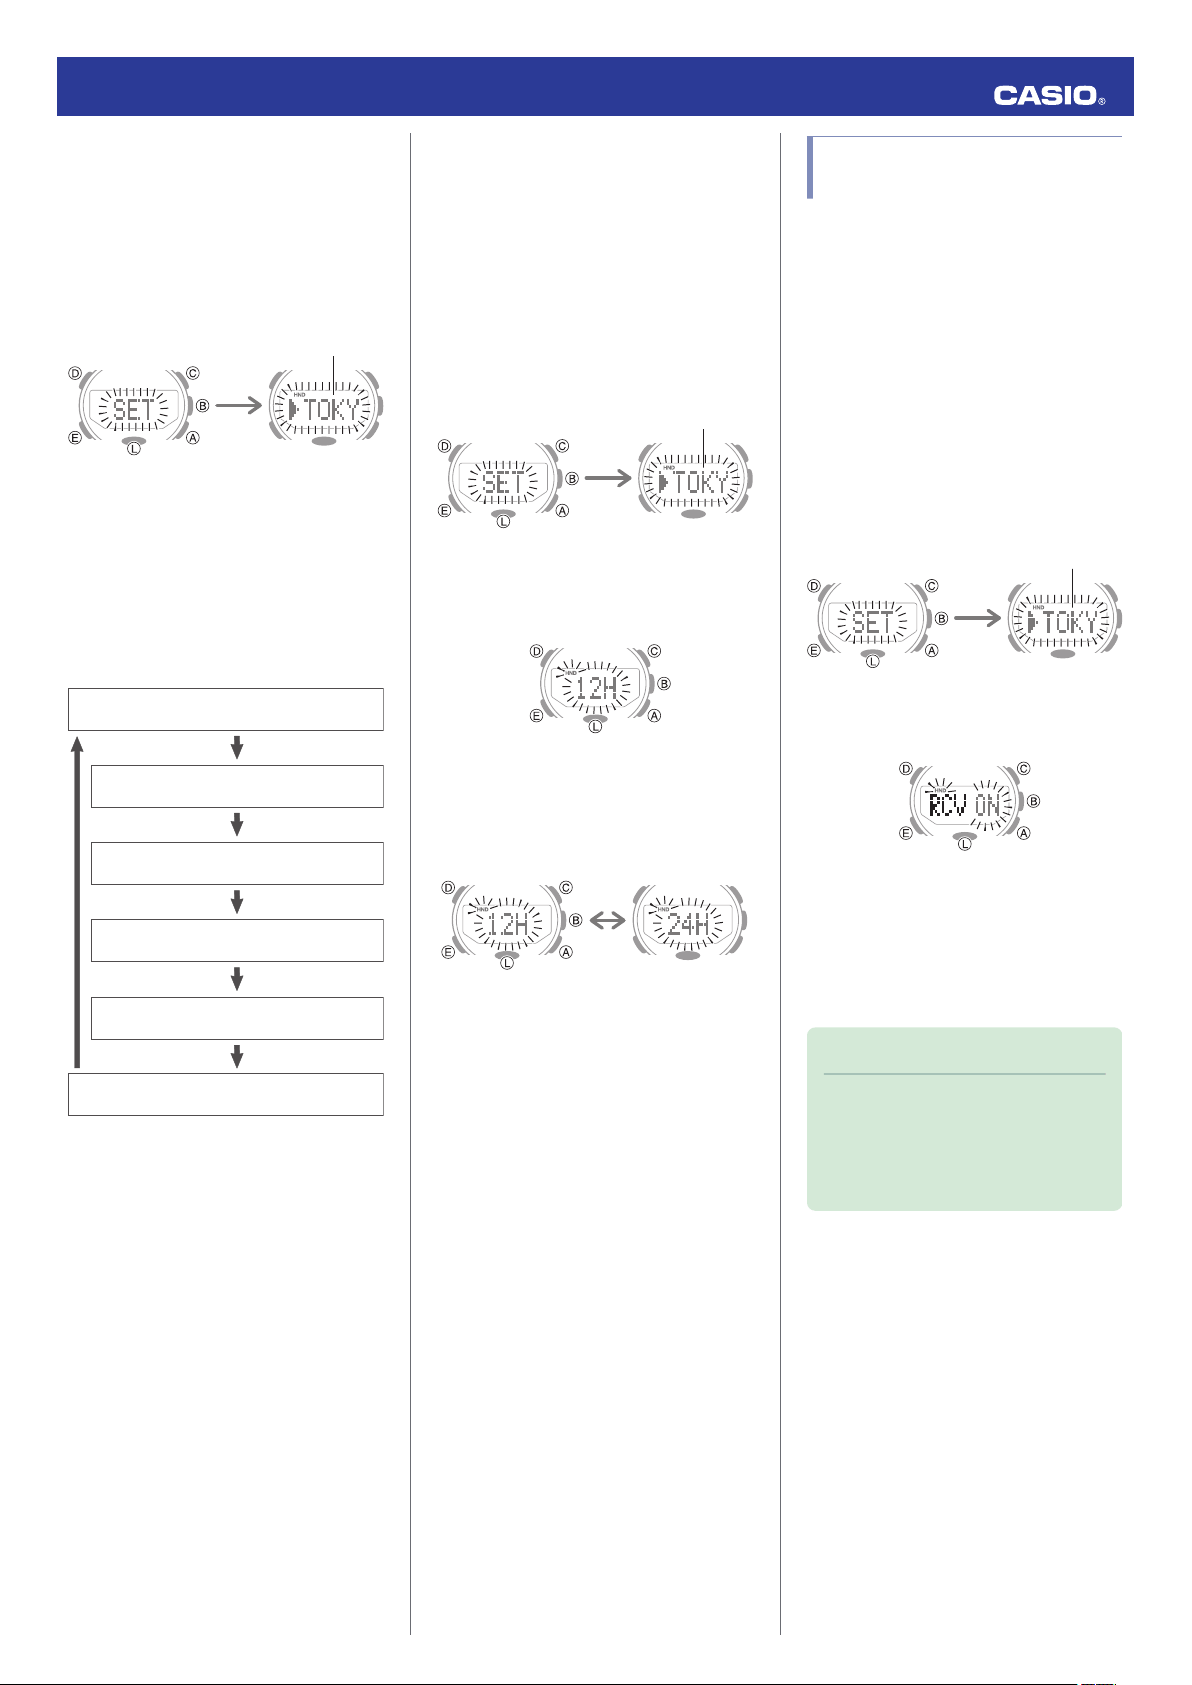
Setting the Time/Date
1. Enter the Timekeeping Mode.
l
Navigating Between Modes
2. Hold down (D) for at least two seconds.
Release the button when the name of the
currently selected Home City appears on
the display.
Home City
3. Press (D).
This causes the seconds to flash.
4. Keep pressing (E) until the setting item
you want to change is selected.
●
Each press of (E) moves to the next
setting item in the sequence shown
below.
Day
Month
Ye a r
Minutes
Hours
Seconds
5. Configure the date and time settings.
●
To reset the seconds to 00: Press (A). 1
is added to the minutes when the
current count is between 30 and 59
seconds.
●
Use (C) and (A) to change the other
settings.
6.
Repeat steps 4 and 5 to configure time
and date settings.
7. Press (D) to exit the setting screen.
●
Switching between 12-hour and 24-
hour Timekeeping
You can specify either 12-hour format or 24-
hour format for the time display.
1. Enter the Timekeeping Mode.
l
Navigating Between Modes
2. Hold down (D) for at least two seconds.
Release the button when the name of the
currently selected Home City appears on
the display.
Home City
3. Press (E) four times.
This causes [12H] or [24H] to flash on the
display.
4. Press (A) to toggle the setting between
[12H] (12-hour timekeeping) or [24H] (24-
hour timekeeping).
24-hour timekeeping12-hour timekeeping
5. Press (D) twice to exit the setting screen.
Using the Watch in a Medical
Facility or Aircraft
Whenever you are in a hospital, on an aircraft,
or in any other location where connection with
a phone may cause problems, you can
perform the procedure below to disable auto
time adjustment. To re-enable auto time
adjustment, perform the same operation
again.
1. Enter the Timekeeping Mode.
l
Navigating Between Modes
2. Hold down (D) for at least two seconds.
Release the button when the name of the
currently selected Home City appears on
the display.
Home City
3. Press (E) five times.
This displays [RCV].
4. Press (A) to select the auto time
adjustment setting you want.
[OFF]: Auto time adjustment disabled.
[ON]: Auto time adjustment enabled.
5. Press (D) twice to exit the setting screen.
Note
●
If the watch is paired with a phone,
PRO TREK Connected can be used to
disable auto time adjustment.
l
Using PRO TREK Connected to
Disable Auto Time Adjustment
Operation Guide 5601
8
Loading ...
Loading ...
Loading ...