Loading ...
Loading ...
Loading ...
49-5000712 Rev. 1 9
INSTALLATION INSTRUCTIONS
Installation Instructions
For more help, visit GEAppliances.com
BEFORE YOU BEGIN
Read these instructions completely and
carefully.
•
IMPORTANT – Save these
instructions for local inspector’s use.
•
IMPORTANT – Observe all
governing codes and ordinances.
• Note to Installer – Be sure to leave these
instructions with the consumer.
• Note to Consumer – Keep these instructions for
future reference.
• Skill level – Installation of this appliance requires
basic mechanical skills.
• Completion time – Approximately 1 hour
• We recommend that two people install this
product.
• Proper installation is the responsibility of the
installer.
• Product failure due to improper installation is not
covered under the Warranty.
<RX0867XVHSURSHULQVWDOODWLRQSURFHGXUHVDV
described in these instructions when installing this
air conditioner.
ELECTRICAL REQUIREMENTS
CAUTION
• Do not, under any circumstances, cut or remove
the third (ground) prong from the power cord.
• Do not change the plug on the power cord of this
air conditioner.
• Aluminum house wiring may present special
problems—consult a qualified electrician.
Power cord includes a current interrupter device. A
TEST and RESET button are provided on the plug
case. The device should be tested on a periodic
basis by first pressing the TEST button and then
the RESET button while plugged into the outlet.
If the TEST button does not trip or if the RESET
button will not stay engaged, discontinue use of
the air conditioner and contact a qualified service
technician.
For Existing Wall Sleeves
Note that the air conditioner dimensions are: 24”
wide, 14” high, and 18” deep (without front). Install air
conditioner according to these Installation Instructions
to achieve the best performance. Save these
Installation Instructions for future reference.
NOTE: Do not use any screws other than those
specified here.
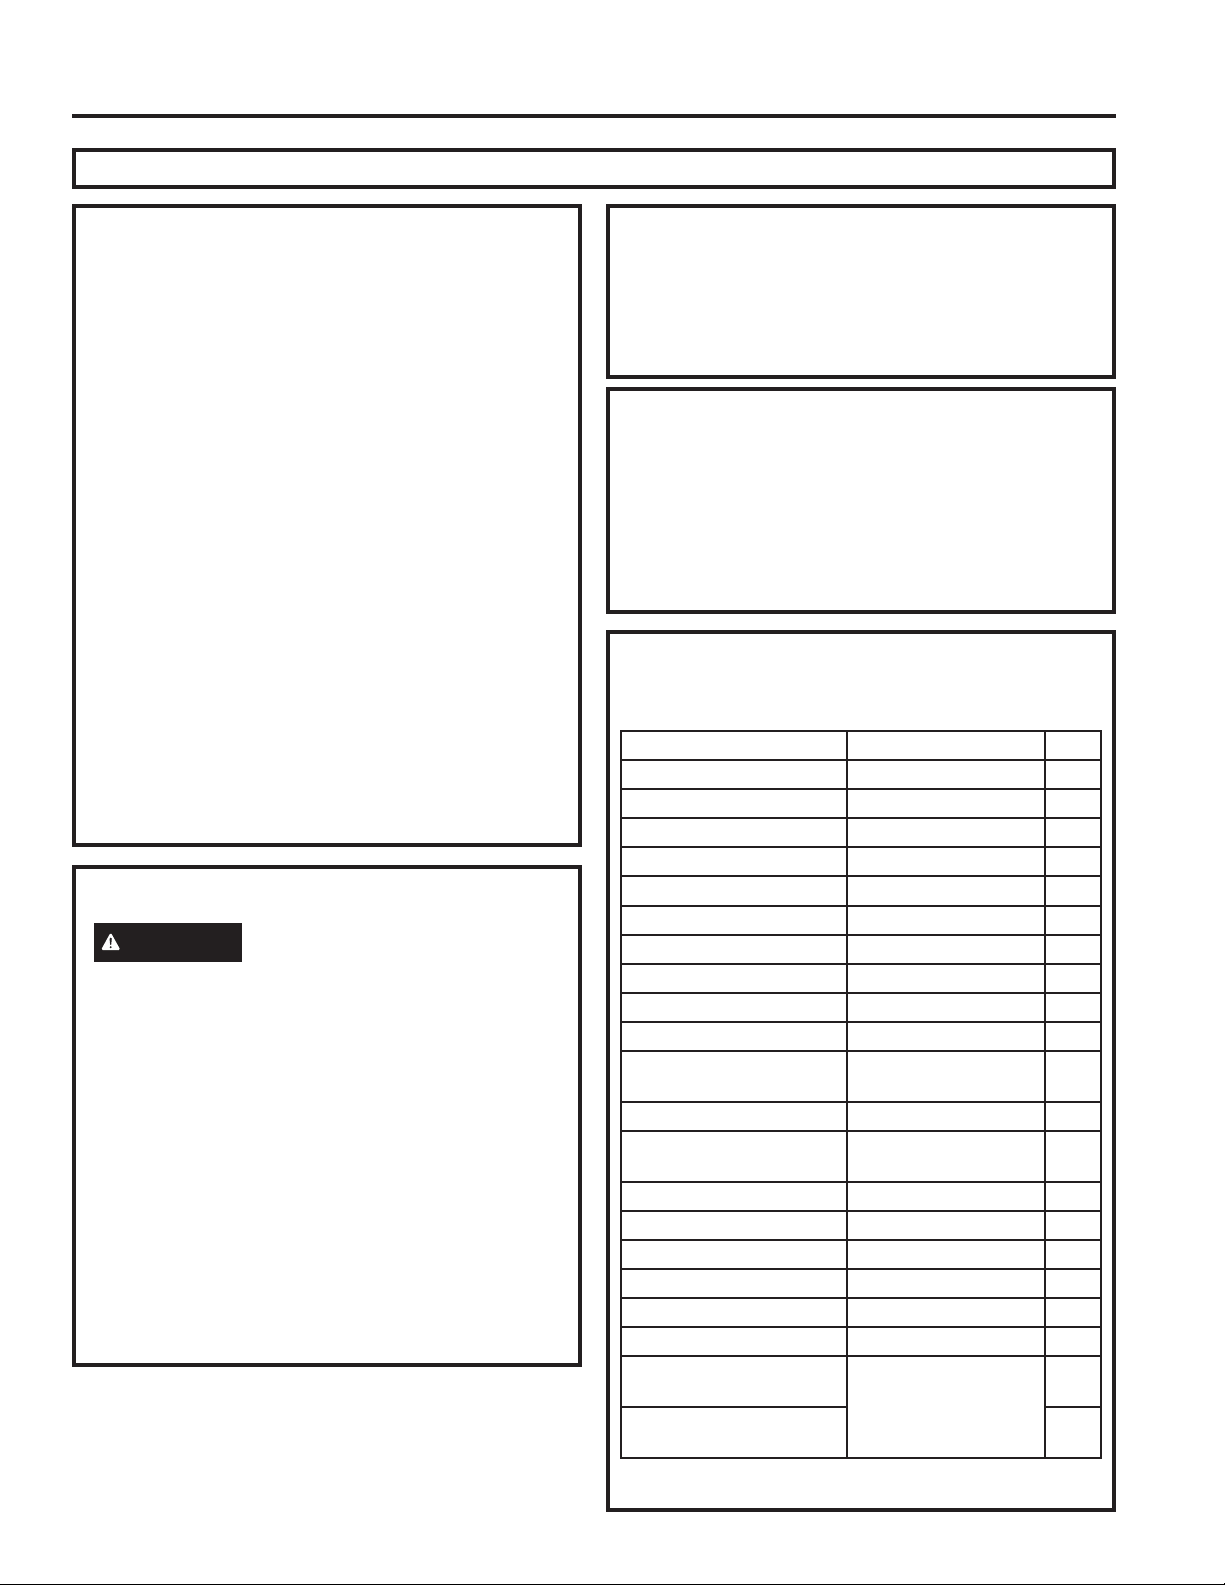
Parts Included
You may not need all parts in the kit. Discard unused
parts.
Name Spec. Qty
Tapered spacer Blocks 17” long 2
&HQWHULQJ6XSSRUW%ORFNV ´[´[´ 4
Plastic Divider ´[´[´ 2
Stuffer Seal ´[´[´ 1
Seal ´[´[´ 3
Seal ´[´[´ 2
Seal ´[´[´ 3
Seal ´[´[´ 2
Seal 2
Trim Frame (side legs) 2
Trim Frame (top & bottom
legs)
2
Ground Wire (green) 1
Toothed Washer for
grounding screw
2
Grounding Screw 1
Grille (Plastic) 1
Grille (Aluminum) 1
Nuts (Plastic) 4
Screw Washer 4
Screw 4
Security Brackets for a
24” Wall Sleeve
(in separate packetS
with 4 mounting
screws)
2
Security Brackets for a
26” Wall Sleeve
2
IMPORTANT NOTE
For optimal energy efficiency and performance,
we recommend using the RAB24 Wall Sleeve and the
supplied stamped aluminum outdoor grille or
the RAB26A with the RAG13 stamped aluminum
outdoor grille.
Loading ...
Loading ...
Loading ...