Loading ...
Loading ...
Loading ...
— 16 —
Installation
STEP 4 (Continued)
Gas Connection
DANGER:
• PleasemakesuretoreadALLsafetyprecautionsonpages4to10.
•
Do not use a flame to check for leaks from gas connections. Checking for leaks with a flame may result in a
fire or explosion.
• Tightenallconnectionsifnecessarytopreventgasleakageintheapplianceorsupplyline.
• Checkalignmentofcontrolknobvalvesafterconnectingtheappliancetothegassupplytobesuretheappliance
manifold pipe has not moved. A misalignment could cause the valve stems to rub on the control panel, resulting in
a gas leak at the valve.
• Disconnectthisapplianceanditsindividualmanualshut-offvalvefromthegassupplypipingsystemduringany
pressure testing of that system at test pressures in excess of 1/2 psi (3.5 kPa or 12” water column).
•
Isolate the appliance from the gas supply piping system by closing its individual manual shut-off valve during any
pressure testing of the gas supply piping system at test pressures equal to or less than 1/2 psi (3.5 kPa or 12” water
column).
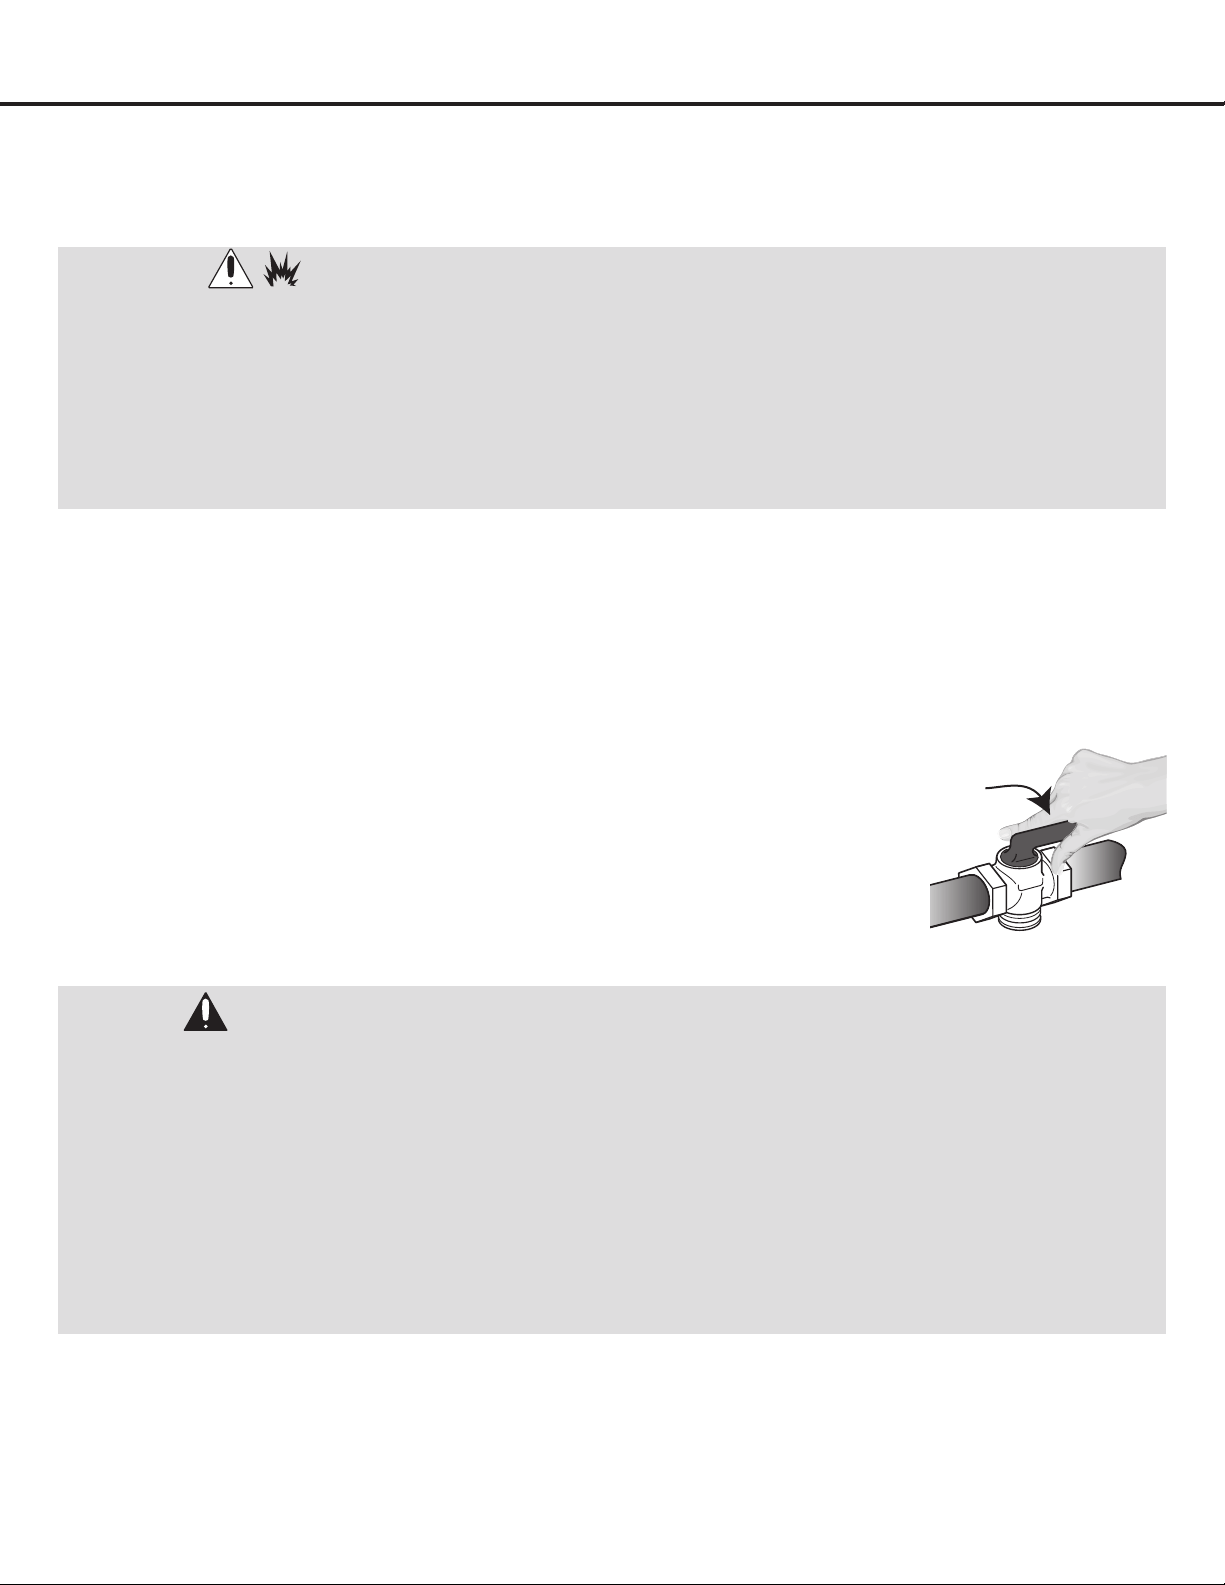
Figure 4
u
Shut off the main gas supply valve before removing
the old cooking appliance (if applicable) and leave it
offuntilthenewhook-uphasbeencompleted.Don’t
forget to relight the pilots on other gas appliances
when you turn the gas back on.
v
Because hard piping restricts movement of the
appliance, the use of a CSA certied exible metal
appliance connector is recommended unless local
codes require a hard-piped connection. Never reuse
an old connector when installing a new appliance. If
the hard piping method is used, you must carefully
align the pipe.
To prevent gas leaks, use pipe joint compound
resistant to NG gases on all male external pipe
threads.
w
Use a exible gas line to connect to the 1/2” tting,
located on the bottom right hand corner underneath
the appliance.
x
When all connections have been made, be sure all
appliance controls are in the off position and turn
on the main gas supply valve. Check for gas leaks
by using a 75% water,
25% dish washing soap
solution. If a gas leak
occurs, shut off gas
immediately, tighten all
connections, and retest
for leaks.
WARNINGS:
• PleasemakesuretoreadALLsafetyprecautionsonpages4to10.
• ExplosionHazard.
• UseanewCSAInternationalapprovedgassupplyline.
• Installashut-offvalve.
• Securelytightenallgasconnections.
• IfconnectedtoLP,haveaqualifiedpersonmakesuregaspressuredoesnotexceed12”(30cm)watercolumn.
Examples of a qualified person include: licensed heating personnel, authorized gas company personnel, and
authorized service personnel.
• Failuretodosocanresultindeath,explosion,orfire.
After installation:
• Check ignition of cooktop burners.
• Check the air shutter adjustment – sharp blue ame, with no yellow tipping or lifting ames.
• Check ignition of oven burner.
• Visually check tubular burner (oven burner) re-ignition to be sure both rows of burner ports are relighting each time.
• Check for gas leaks at all gas connections (using a gas detector, never a ame).
• Check oven bake and convection bake function.
Loading ...
Loading ...
Loading ...